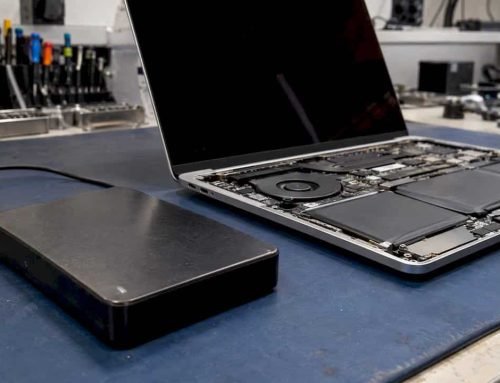
Stop all disk writes immediately. Encrypted drive recovery on a Mac is possible, but only when you can supply the decryption credentials, the account password, the 24-character recovery key, or the Apple ID tied to the volume. Without one of those, the data is cryptographically inaccessible, even to a professional lab. If you do have credentials, you can attempt DIY unlocking through macOS Recovery and Terminal, or bring the drive to a data recovery lab for hardware repair and imaging.
TL;DR:
- Recovery is only possible with available credentials such as your password, recovery key, or Apple ID escrow; without them, data remains cryptographically inaccessible.
- Stop all disk writes immediately to avoid overwriting sectors that contain recoverable data, and avoid attempting repairs on failing drives yourself.
- Use macOS Recovery to unlock and mount the volume via Disk Utility or Terminal, then copy essential files before further troubleshooting.
- Physical damage, such as mechanical failure or controller issues, prevents access unless the drive is repaired first, and encryption cannot be bypassed without the recovery key.
- Professional labs can recover data from hardware failures if valid credentials exist, but cannot decrypt the data without the correct encryption key or password.
Table of Contents
- Why FileVault’s Encryption Matters for Encrypted Drive Recovery on Mac
- How Do You Unlock and Recover Data From a FileVault Drive?
- Can a Data Recovery Lab Fix an Encrypted Drive With Hardware Damage?
- Where to Find Your FileVault Recovery Key Before You Call Anyone
- Before You Call: What to Do and What a Lab Will Need
- What Does the Diagnostic and Recovery Timeline Actually Look Like?
- How Macwest Handles Encrypted Mac Recoveries
- Ready to Recover Your Encrypted Mac Drive?
- Sources
- FAQ
Why FileVault’s Encryption Matters for Encrypted Drive Recovery on Mac
FileVault does not just lock a folder. It transforms every byte on the APFS volume into unreadable ciphertext using AES‑XTS encryption, and on any Mac with a T2 chip or Apple silicon, the encryption keys live inside the Secure Enclave, a dedicated security processor that never exposes raw key material to the operating system. That distinction is why encrypted drive recovery on a Mac looks so different from recovering an unencrypted disk. A conventional recovery tool can scan sectors on a plain HFS+ or unencrypted APFS drive and rebuild files from raw data patterns. On a FileVault volume, those same sectors are meaningless noise until something supplies the correct key.
Apple’s own documentation on volume encryption with FileVault lays out the key hierarchy: a per-volume media key encrypts the actual data, and that media key is itself wrapped by keys derived from your password, your recovery key, or credentials escrowed with Apple ID or a Mobile Device Management (MDM) system. Unwrap the right key, and the volume mounts normally. Miss it, and you are staring at scrambled data no software can interpret.
Three credential paths typically unlock a FileVault volume:
- Account password. The password for any authorized user on the Mac can unlock the drive during boot or in Recovery Mode.
- The 24-character recovery key. Generated when FileVault is turned on, this key is a personal recovery key that works independently of any user account.
- Apple ID escrow or MDM management. Some Macs store the recovery key with the user’s iCloud account, and business-managed Macs often escrow it with the organization’s MDM server.
“Cryptographically inaccessible” is not a scare phrase, it is a literal description. Modern AES‑XTS encryption cannot be brute-forced in any realistic timeframe with consumer or even enterprise-grade computing resources. If none of the three credential paths above are available, the files inside that volume stay locked regardless of who examines the drive or what software they run.
How Do You Unlock and Recover Data From a FileVault Drive?
Stop all disk writes immediately. Every additional boot attempt, every disk utility scan, and every write operation on a failing drive risks overwriting the very sectors that hold recoverable data. That rule applies whether the Mac won’t boot because of a software fault or because the drive itself is starting to fail mechanically. Before you touch anything else, resist the urge to “try it again” repeatedly.
Once you have confirmed you know your password or recovery key, here is the practical sequence for encrypted drive recovery on a Mac:
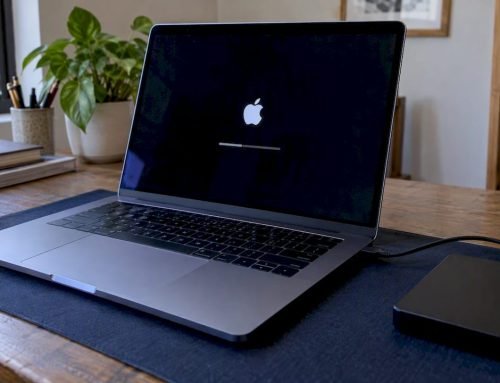
- Boot into macOS Recovery. On Apple silicon Macs, hold the power button until “Loading startup options” appears, then choose Options. On Intel Macs, hold Command+R during startup. This loads a minimal recoveryOS environment that does not touch your main volume’s data.
- Open Disk Utility from the Recovery menu. Your drive should appear with its APFS container and a locked “Data” volume underneath it, usually shown with a lock icon.
- Select the locked volume and click “Mount.” Disk Utility prompts for either the account password or the recovery key. Enter it carefully. According to HowToGeek’s guide on recovering data from a Mac that won’t boot, this single step resolves the majority of “my Mac won’t boot but I need my files” cases when the drive itself is healthy.
- If Disk Utility fails to mount the volume, switch to Terminal. From the Recovery menu, open Terminal and run
diskutil apfs listto identify the container and volume identifiers, something likedisk3s1for the encrypted Data volume. - Unlock the volume directly. Run
diskutil apfs unlockVolume /dev/disk3s1(substituting your actual identifier) and enter the recovery key or password when prompted. Terminal often succeeds where the graphical tool times out or hangs, because it skips the GUI’s rendering overhead and gives you direct error feedback. - Once mounted, copy files immediately to external storage. Do not attempt further repairs on the source drive until your critical files are safely duplicated elsewhere.
Pro Tip: Keep a second external drive formatted and ready before you start any recovery attempt. Fumbling to format a destination drive mid-recovery wastes time you may not have if the source media is degrading.
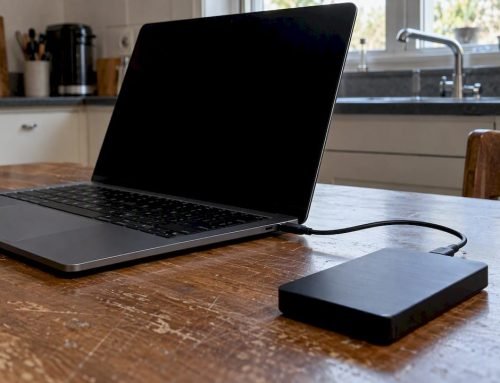
If the volume mounts but the Mac still will not boot normally, or if you need to work from a completely separate machine, Target Disk Mode (on Intel Macs) or Share Disk mode (on Apple silicon Macs, accessed through the same Recovery Mode Options menu) lets you connect the problem Mac to a healthy one over a USB‑C or Thunderbolt cable. The failing Mac’s drive appears as an external volume on the healthy Mac’s desktop, still encrypted, still requiring the same password or recovery key to unlock, but now you have the full toolset of a working macOS installation, including Time Machine, Migration Assistant, or simple drag-and-drop copying, to pull files off safely.
For volumes that mount but show file corruption or directory errors, Disk Utility’s First Aid function can repair some APFS container problems. When First Aid reports it cannot repair the volume, Terminal’s fsck_apfs command sometimes succeeds where the GUI version fails, though it requires the volume to already be unlocked. Running diskutil repairVolume on a container with a damaged encryption header rarely helps and can occasionally make things worse.
Here is the clear stop condition: if diskutil apfs unlockVolume repeatedly rejects a recovery key you are confident is correct, if Disk Utility shows the container itself as “unreadable” rather than just the locked volume, or if the drive is making clicking, grinding, or repeated spin-up-and-down sounds, stop immediately. Continued attempts on a mechanically failing drive reduce the odds of professional recovery later. That is the point where a practical APFS recovery playbook stops being a DIY project and becomes a job for a lab with imaging equipment.
Can a Data Recovery Lab Fix an Encrypted Drive With Hardware Damage?
A lab can repair the physical failure and then recover data, but only if valid credentials exist somewhere. That is the honest limit of what any recovery service, no matter how advanced its equipment, can promise on a FileVault-protected Mac.
Hardware failures on Mac storage fall into a few broad categories, and each interacts with encryption differently:
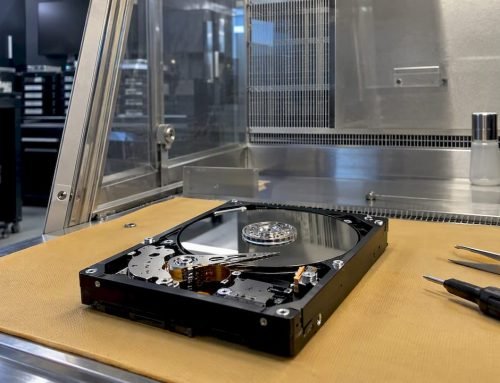
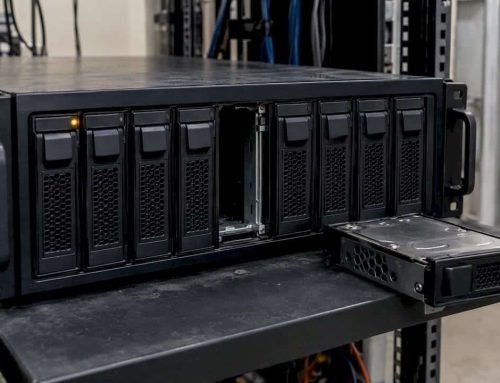
- Mechanical hard drive failure. Older iMacs and some Mac Pro configurations still use spinning platters, where a damaged read/write head or a seized spindle motor prevents any data access, encrypted or not, until the mechanical fault is repaired in a cleanroom environment.
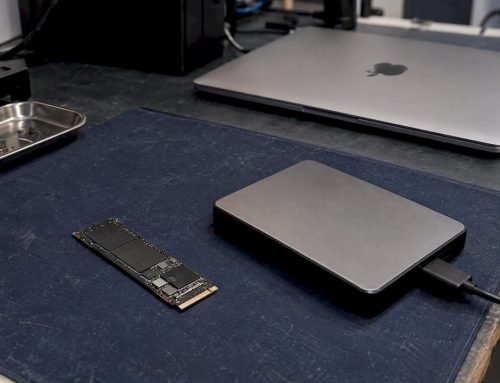
- SSD or NVMe controller failure. Most current Macs use soldered NVMe storage, and a failed controller chip can make an otherwise-healthy NAND flash array unreadable to any connected system.
- Logic board failure. Liquid damage or a failed power delivery component on the logic board can prevent the Mac from powering the storage at all, even though the drive itself is intact.
If you can supply the recovery key or password, a lab’s job is largely mechanical or electronic: stabilize the damaged media, image every accessible sector onto healthy storage, then apply the decryption key to that image rather than the fragile original drive. That sequence, described in detail by RitriData’s overview of what encrypted drive recovery actually requires, protects the only surviving copy of your data from further physical risk during the recovery process.
What a lab cannot do is decrypt an AES‑XTS volume without a key. No combination of specialized hardware, custom firmware access, or NAND-level chip reading bypasses the math behind modern Mac encryption. Nevertheless, competent labs still recommend imaging and preserving the encrypted media rather than discarding it, because a key discovered later, an old sticky note, a forgotten password manager entry, or an MDM administrator locating the escrowed key can still unlock a preserved image months after the original hardware failure.
A trustworthy shop signals its process clearly before you commit: free diagnostics to assess the actual failure without upfront cost, transparent handling procedures for your physical device, and a “no recovery, no charge” policy that aligns the lab’s incentive with your outcome rather than billing regardless of results.
Where to Find Your FileVault Recovery Key Before You Call Anyone
Locating your credentials is often the single fastest path to a successful recovery, faster than any repair, faster than any lab appointment. Check these sources in order before assuming your data is unreachable:
- System Settings. On a working Mac, go to Privacy & Security, then FileVault, to see whether the recovery key is stored with your Apple ID or set to be shown only once at setup.
- iCloud account. If you selected “Allow my Apple ID to unlock this disk” when FileVault was enabled, the recovery key lives with your Apple ID and appears when you sign in during the unlock prompt.
- The Passwords app or a password manager. Many users save the 24-character recovery key as a secure note in iCloud Keychain, 1Password, or a similar tool without remembering they did so.
- Printed or handwritten notes. FileVault’s setup screen explicitly suggests writing down and storing the recovery key somewhere physical.
- Your organization’s IT department. On a managed Mac, MDM escrow often holds the recovery key on a corporate server even if you never saw it yourself.
If your Mac boots to the login window rather than Recovery Mode, you can trigger the recovery key prompt directly: click your password field, then click the small arrow or question mark that appears, or hold Shift and Option while clicking Return after a few failed password attempts, which brings up the option to reset using the recovery key instead of the account password. Enter it exactly as generated, dashes included, since a single mistyped character rejects the entire key.
Before You Call: What to Do and What a Lab Will Need
Preparation shortens the recovery timeline and can meaningfully reduce cost. Two actions matter most in the first few minutes after you notice a problem:
- Power down and stop using the drive. Every additional boot cycle on failing media narrows your recovery window.
- Do not attempt DIY mechanical repairs, such as opening a sealed drive enclosure or reflowing a logic board yourself, since amateur intervention frequently converts a recoverable fault into an unrecoverable one.
When you do reach out to a lab, have these items ready:
- The Mac’s serial number and proof of ownership.
- Any password, recovery key, or Apple ID credentials you have located.
- Details on whether Time Machine or iCloud Drive backups exist elsewhere.
Pro Tip: Check your Time Machine backup history and iCloud Drive sync status before paying for recovery. If your critical files already synced to iCloud or backed up to an external Time Machine disk before the failure, you may not need paid recovery at all, just a straightforward restore to a working Mac.
What Does the Diagnostic and Recovery Timeline Actually Look Like?
Every credible recovery process starts with diagnostics, and that is precisely why many labs offer it free: assessing the failure costs the shop time but should not cost you money before you know whether recovery is even feasible. A proper diagnostic identifies whether the fault is mechanical, electronic, or purely credential-related, and that finding drives every decision after it.
Several factors stretch or shrink the timeline from there:
- Storage type. A mechanical HDD failure often demands cleanroom disassembly, while a soldered NVMe SSD failure requires component-level chip work.
- Damage severity. A drive with early-stage bad sectors images far faster than one with a failing spindle motor or burned controller.
- Parts sourcing. Logic board component repair sometimes requires locating a specific replacement chip, which can add days.
- Encrypted APFS imaging complexity. Because the recovery process must preserve exact sector data for later decryption, imaging an encrypted container generally takes longer than imaging unencrypted media of the same size.
| Failure Type | Typical Diagnostic Finding | Recovery Feasibility With Credentials | Recovery Feasibility Without Credentials |
|---|---|---|---|
| Clicking or grinding HDD | Mechanical head or motor failure | Often recoverable via cleanroom imaging | Data preserved but inaccessible |
| SSD/NVMe not detected | Controller or NAND failure | Often recoverable via chip-level extraction | Data preserved but inaccessible |
| Liquid damage, won’t power on | Logic board component failure | Recoverable after board repair, if volume still unlocks | Data preserved but inaccessible |
| Boots but volume won’t mount | Software or encryption header fault | Frequently recoverable via Recovery Mode or Terminal | Not recoverable until key is found |
The decision rule is straightforward: if you have credentials, pursue recovery, whether DIY or lab-assisted, with confidence that success is achievable. If you do not have credentials and cannot locate them through any of the sources described above, focus your energy on finding the key rather than paying for recovery attempts that cannot succeed without it.
How Macwest Handles Encrypted Mac Recoveries
Every encrypted drive that comes to the data recovery lab is treated with a process of diagnosing first, deciding second, and charging only if recovery is successful. Macwestlosangeles built its process around that order deliberately, because encrypted APFS volumes punish shortcuts. A rushed diagnostic on a FileVault drive can miss the difference between a locked-but-healthy volume and one with genuine media damage underneath the encryption layer.
Free diagnostics provide honest assessment before any payment, and same-day appointments help clients get timely answers when data loss is urgent. Our “no recovery, no charge” policy exists because we believe the lab should carry the risk on outcome, not the client.
Technically, the work includes APFS container repair, NVMe controller extraction, RAID reconstruction, and logic board component repair when hardware issues block storage access. That combination matters specifically for FileVault cases, where the encryption layer and the hardware layer often need separate, sequential solutions before a single file comes back.
Ready to Recover Your Encrypted Mac Drive?
If you have run through the DIY steps above and hit a wall, or if your Mac shows physical symptoms like clicking sounds, a cracked logic board, or liquid exposure, the smarter move is professional diagnostics before more attempts risk the data further. Macwestlosangeles offers free diagnostics and a strict “no recovery, no charge” policy, so you find out exactly what happened to your drive before committing to any repair cost. Centrally located at 12041 Wilshire Blvd, Ste 26, between the 405 and Santa Monica near UCLA and the Getty Center, we serve West LA, Santa Monica, Beverly Hills, Brentwood, Westwood, Venice, Hollywood, and Culver City with same-day appointments for urgent cases.
Before you call, gather what you can: your Mac’s serial number, any password or recovery key you have located, and details on existing backups. For a second, independent perspective on when hardware failure truly requires a specialist rather than a software fix, PC Scientist’s guide to professional data recovery offers a useful outside view on the same decision point. When you are ready to move forward, call 310-866-0828 or request a quote directly through our hard drive data recovery page to get your Mac in front of a technician today.
Sources
- Volume encryption with FileVault (Apple Support)
- How to get your data off a Mac that won’t boot (HowToGeek)
- Encrypted drive file recovery: what works in 2026 (RitriData)
FAQ
Can an Encrypted Hard Drive Be Recovered?
Yes, but only if you can supply the correct password, recovery key, or Apple ID credentials tied to the FileVault volume; without one of those, the data stays cryptographically inaccessible even after a successful hardware repair.
How Do You Unlock an Encrypted Mac Hard Drive?
Boot into macOS Recovery, open Disk Utility, select the locked volume, and enter your account password or 24-character recovery key; if Disk Utility fails, use Terminal’s diskutil apfs unlockVolume command on the specific volume identifier.
How Much Does Data Recovery Typically Cost?
Costs vary widely based on failure type, ranging from straightforward credential-based unlocks that may cost little to nothing, up to complex mechanical or logic board repairs; Macwestlosangeles offers free diagnostics so you know the scope before agreeing to any charge.
Can a Mac Unlock a Drive Encrypted With Windows BitLocker?
No. FileVault and BitLocker use separate, incompatible encryption systems, and macOS cannot natively unlock a BitLocker-protected Windows drive without the original Windows credentials and specialized cross-platform tools.
What Happens if I Lose Both My Password and Recovery Key?
If both the account password and the 24-character recovery key are lost with no Apple ID or MDM escrow available, the FileVault volume’s data is permanently inaccessible, since modern AES‑XTS encryption cannot be practically broken by any lab or software.