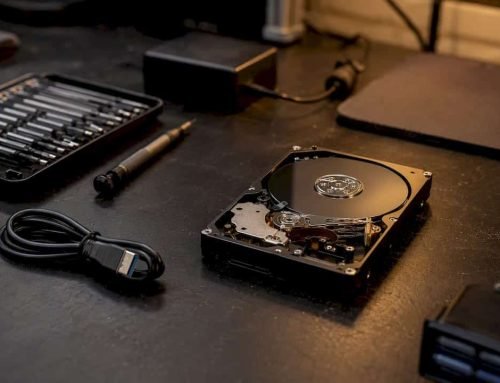
Stop all disk writes immediately. If your photos disappeared from a recently deleted folder on a healthy, mounted APFS volume, a read-only clone followed by a trusted recovery app gives you a reasonable shot at getting them back. If the drive makes clicking or grinding sounds, refuses to mount, or the Mac suffered liquid damage, skip the software and call a professional now. Further attempts will reduce your chances.
Your two paths forward:
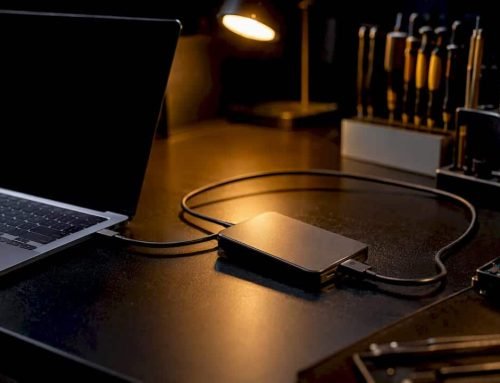
- Clone first, then scan: Create a bit-for-bit disk image using a read-only method, then run a recovery app against the image, not the live drive. Recover files to a separate external drive.
- Call a pro immediately: Contact Macwest Data Recovery at 310-866-0828 for same-day appointments, Free Diagnostics, and a “No recovery, no charge” policy. Relevant for hardware failures, RAID arrays, NVMe SSDs with TRIM, and logic-board damage.
Key technical factors that determine success: whether the volume uses APFS, whether the Mac runs Apple Silicon (M1–M5), whether the storage is an NVMe SSD (TRIM is almost certainly active), and whether you have a Time Machine backup you have not yet checked.
Pro Tip: Before opening any recovery app, check Time Machine and iCloud Photos first. Both can restore deleted images in seconds with zero risk of overwriting anything.
Key Takeaways
The fastest path to recovering lost Mac photos is to stop all disk writes immediately, clone the drive before running any software, and call a professional if the device shows physical symptoms or the volume will not mount.
| Point | Details |
|---|---|
| Stop writes first | Power down or unmount the affected drive before doing anything else to preserve recoverable data. |
| Clone before scanning | Image the drive and run recovery software against the copy, never the live source volume. |
| TRIM limits SSD recovery | On APFS NVMe drives, TRIM can erase deleted blocks quickly, making immediate action critical. |
| DIY tools for logical loss | Disk Drill, Stellar, EaseUS, and PhotoRec handle accidental deletion on healthy, mounted volumes. |
| Macwestlosangeles for complex cases | Since 2006, Free Diagnostics, “No recovery, no charge,” same-day appointments at 310-866-0828. |
Table of Contents
- What to do right now to stop further data loss
- Should you try DIY software or call a professional?
- Which DIY apps actually work for photo recovery on Mac?
- How to run a safe photo recovery scan step by step
- How to evaluate a recovery tool’s real-world effectiveness
- What professional data recovery does that software cannot
- What 18 years of Mac recoveries actually teach you
- Macwestlosangeles: same-day Mac photo recovery in Los Angeles
- Sources
- FAQ
What to do right now to stop further data loss
Every second the drive stays active after a deletion, macOS may write new data over the blocks your photos occupied. The sequence below is ordered by urgency.
- Stop all writes. Do not save files, install apps, or let cloud sync run on the affected device.
- Power down if you hear abnormal sounds. Clicking, grinding, or repeated spin-up attempts signal physical damage. Shut the Mac down immediately and do not restart it.
- Unmount external drives and remove SD cards. If the loss is on an external HDD, SD card, or USB drive, eject it cleanly and set it aside.
- Disable automatic iCloud and Time Machine syncs on the affected volume to prevent new writes.
- Note the device type. SSD (internal NVMe on all modern Macs), HDD, SD card, or iPhone backup — each has a different recovery profile and urgency level.
- Clone or image the drive before running any software. Use a read-only imaging workflow to create a bit-for-bit copy; run all recovery attempts against that image, never the source.
- Recover to a different drive. Never write recovered files back to the same volume you are scanning.
For hardware failures or any situation where the drive will not mount, call Macwest Data Recovery at 310-866-0828. Same-day appointments are available, and the Free Diagnostics policy means you pay nothing if recovery is not possible.
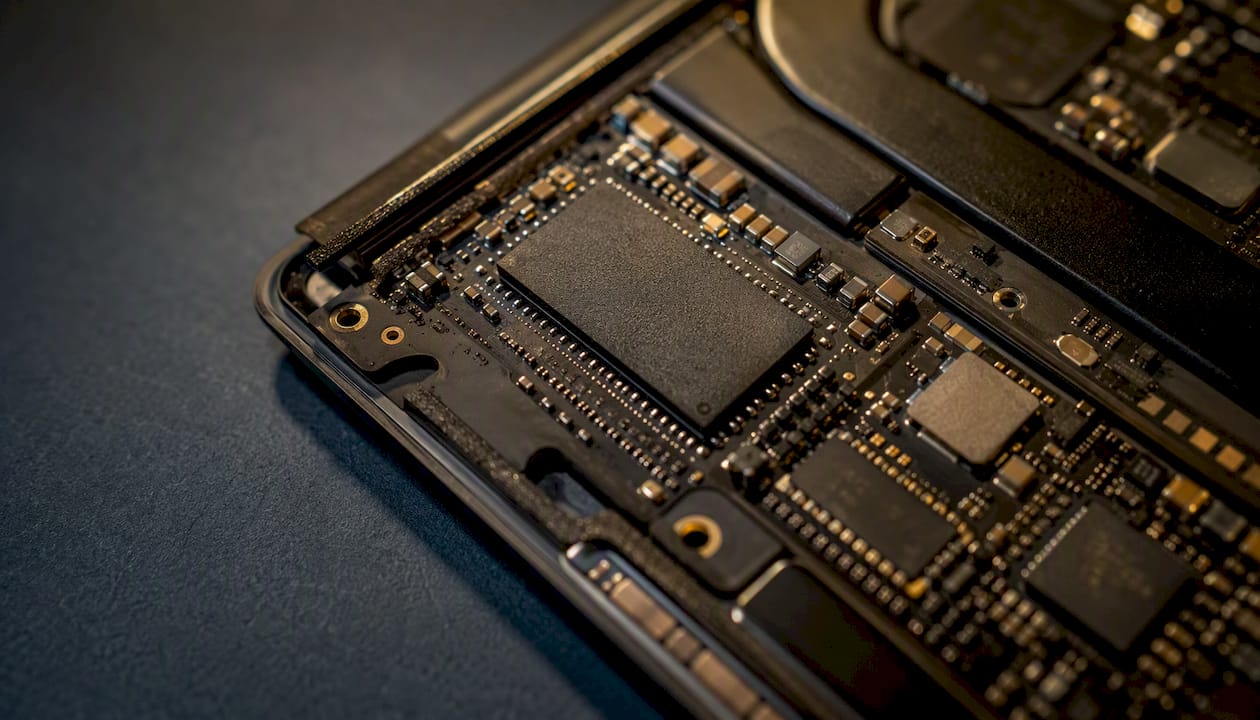
Pro Tip: On Apple Silicon Macs, the internal SSD is soldered to the logic board. You cannot remove it for external imaging without specialized equipment. If the Mac itself does not boot, a professional lab is the only safe option.
Should you try DIY software or call a professional?
The answer depends on the failure type, not on how comfortable you are with software.
DIY recovery is reasonable when:
- Photos were accidentally deleted from a mounted, healthy volume (APFS or HFS+).
- The drive mounts normally and passes a basic S.M.A.R.T. check.
- The loss involves a memory card or formatted SD card where only directory metadata is missing.
- The deletion happened recently and the Mac has been powered off since.
Stop and call a professional when you see any of these red flags:
- Clicking, grinding, or repeated spin-up sounds from the drive.
- The volume fails to mount or shows as unreadable in Disk Utility.
- The Mac has liquid damage or a logic-board fault.
- The storage is part of a RAID 0, 1, 3, or 5 array that has degraded or failed.
- The drive is encrypted with FileVault and the recovery key is unavailable.
- The internal NVMe SSD is on an Apple Silicon Mac that will not boot.
On cost: recovery software ranges from free (PhotoRec) to roughly $79–$399 for licensed tools. When software costs approach lab pricing and the data is irreplaceable, professional recovery is the better investment.
The practical rule: If the drive is physically damaged or the volume will not mount, every DIY attempt risks permanent data loss. Power the device down, do not open it, and bring it to a professional. Macwest Data Recovery offers same-day appointments and charges nothing if recovery is not achievable.
Which DIY apps actually work for photo recovery on Mac?
The table below covers the six tools that appear most consistently in Mac recovery workflows, with the dimensions that matter most for photo recovery decisions.
Disk Drill’s Macworld review highlights its ability to rebuild deleted files from mounted APFS volumes, its imaging features, and the requirement to grant Full Disk Access for best results. PCMag’s assessment reinforces those strengths while noting it can be less reliable on severely damaged volumes.
PhotoRec carves file signatures across hundreds of formats and costs nothing, but it does not preserve original filenames or directory structure — every recovered file gets a generic name. That is acceptable for bulk JPG recovery but frustrating for organized RAW photo libraries.
Data Rescue’s Macworld review positions it as a pro-grade toolkit with cloning features and a roughly 1 GB free recovery trial, though its pricing and update cadence can be a drawback for occasional users.
macOS-specific caveats to know before you start:
- All GUI tools require Full Disk Access in System Settings > Privacy & Security to scan internal volumes.
- Recovering to the same volume you are scanning risks overwriting the data you are trying to retrieve.
- On Apple Silicon Macs, some workflows require disabling SIP (System Integrity Protection) for boot-drive scans — follow each vendor’s specific guidance carefully.
- HEIC and RAW formats (CR2, ARW, NEF, DNG) require a tool with file-signature carving, not just directory scanning.
How to run a safe photo recovery scan step by step
Follow this sequence exactly. Skipping the cloning step is the single most common reason recoveries fail permanently.
- Stop all writes to the affected volume. Power down if there is any sign of hardware trouble.
- Create a read-only disk image of the source drive using Disk Utility (File > New Image > Image from [Drive]) or a dedicated imaging tool. Store the image on a separate external drive with enough free space. Alternatively, have Macwest image the drive in their lab.
- Attach a recovery destination drive — a separate external SSD or HDD with sufficient capacity. This is where recovered photos will land.
- Install your chosen recovery app and open System Settings > Privacy & Security > Full Disk Access. Add the app to the allowed list.
- Run a quick scan first on the disk image (not the live source). Quick scans read the file system catalog and recover recently deleted files in minutes.
- Run a deep or RAW scan if the quick scan misses files. RAW scanning uses file-signature carving to find JPG, HEIC, CR2, ARW, NEF, DNG, and other formats even when the directory is gone.
- Preview recovered photos before committing to a full recovery. Most paid tools show thumbnails; verify the files are intact before writing them out.
- Recover to the external destination drive — never to the source volume.
- Verify the recovered files by opening a sample across different formats, then copy them to your primary storage once confirmed.
File-specific notes: Photos Library bundles (.photoslibrary) should be recovered as a whole package, not file by file, to preserve album metadata. RAW files from Canon (CR2/CR3), Sony (ARW), and Nikon (NEF) require a tool with explicit signature support for those formats.
Pro Tip: If a deep scan returns mostly zeroed or blank files on an internal SSD, TRIM has already run on those blocks. Stop immediately — continued scanning will not help and may complicate a professional recovery. Call 310-866-0828.
How to evaluate a recovery tool’s real-world effectiveness
These are the signals that actually predict whether a tool will work for your situation.
What to look for in a recovery tool:
- APFS volume mounting: Can the tool mount and parse an APFS image directly, or does it only work on live volumes? Tools that can work from a disk image are safer and more flexible.
- File-signature (RAW) carving: Directory-based recovery only finds files the file system still references. Signature carving finds JPG, HEIC, and RAW files by their binary headers, which matters after a format or catalog corruption.
- Apple Silicon compatibility: Confirmed native support for M1, M2, M3, M4, and M5 chips matters for both performance and permission handling on modern Macs.
- Preview fidelity: A tool that shows accurate thumbnails before recovery lets you confirm recoverability without paying or writing files.
- Imaging capability: Tools like Data Rescue that include a cloning or imaging feature reduce the need for a separate utility.
On SSDs, TRIM actively wipes deleted blocks as a background process, which is why undelete tools rarely succeed on modern Mac laptops once any time has passed. On APFS-formatted drives, TRIM behavior makes imaging the drive before any recovery attempt the only reliable approach — running software directly on the live source accelerates the destruction of recoverable data.
A vendor’s stated success rate means little without knowing whether the test used HDDs or SSDs, recently deleted files or formatted volumes, and whether TRIM had already run.
What professional data recovery does that software cannot
Software recovery works on the file system layer. Professional recovery works below it, at the hardware and firmware level.
What a professional lab does:
- Physical inspection under magnification to identify component-level damage before any power is applied.
- Logic-board component repair, including capacitor, controller, and bridge chip replacement.
- Hardware write-blocking and bit-for-bit imaging in a controlled environment.
- Chip-off or ISP (In-System Programming) access for soldered NVMe SSDs when standard imaging fails.
- RAID 0, 1, 3, and 5 array reconstruction, including degraded or failed arrays.
- Secure chain-of-custody handling and verification reporting.
What to expect from a professional recovery:
- Free Diagnostics before any commitment to a fee.
- “No recovery, no charge” policy — you pay only when data is successfully retrieved.
- Same-day appointments for urgent cases.
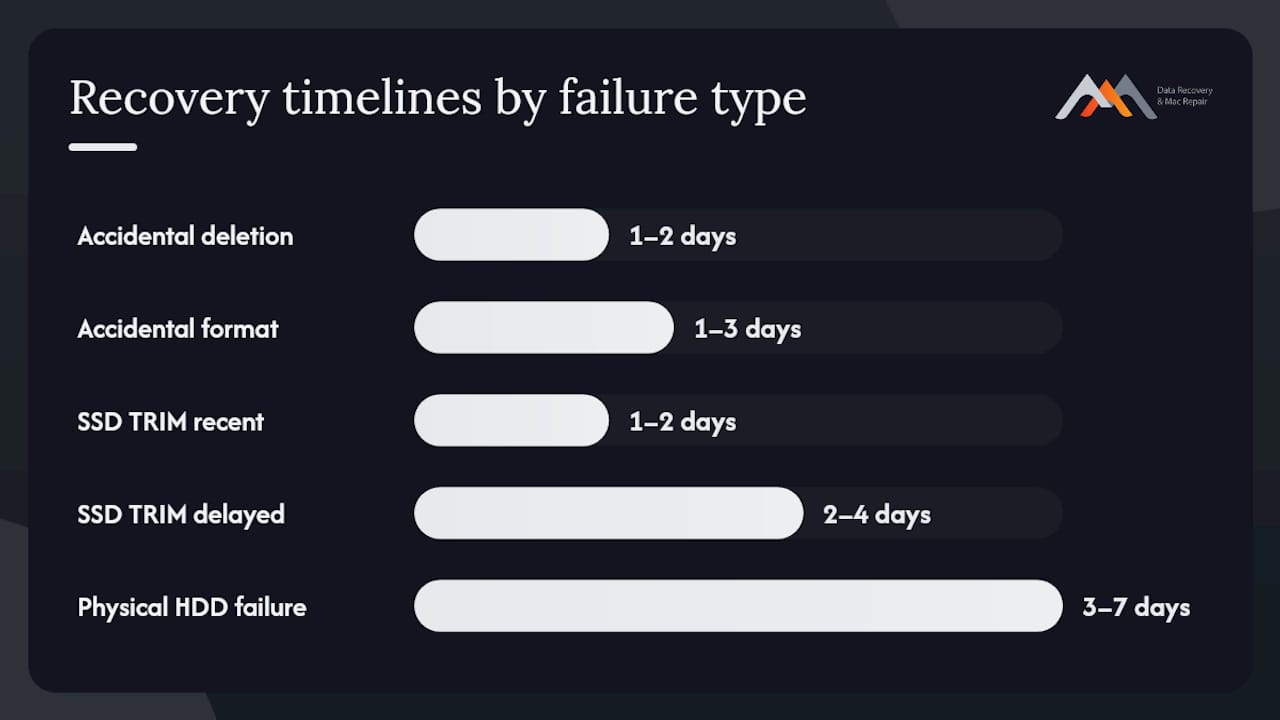
- Typical turnaround for logical recoveries (accidental deletion, format): 1–3 business days. Physical recoveries (drive failure, liquid damage, board repair): 3–7 business days depending on parts.
The table below gives realistic probability ranges and time estimates by failure category, based on professional lab experience.
| Failure type | Recovery probability | Typical timeline | Cost driver |
|---|---|---|---|
| Accidental deletion, healthy HDD | High | 1–2 days | Software + labor |
| Accidental format, HDD or SD | Moderate to high | 1–3 days | Deep scan + verification |
| SSD with TRIM (recent deletion) | Moderate (time-sensitive) | 1–2 days | Imaging speed |
| SSD with TRIM (delayed, continued use) | Low to moderate | 2–4 days | Chip-off or ISP access |
| Physical drive failure (HDD) | Moderate | 3–7 days | Component repair + imaging |
| Logic-board or liquid damage | Variable | 3 to 7 business days | Board-level repair |
| RAID array failure (0/1/3/5) | Moderate to high | 3–7 days | Array reconstruction |
Before you bring the device in: do not attempt to open the Mac, do not run further DIY software if the drive shows physical symptoms, and do not charge a liquid-damaged Mac. Bring the device as-is, along with any external drives or cards involved.
For complex NAS or RAID failures, Macwest’s NAS and RAID recovery services cover multi-disk arrays and enterprise storage configurations.
What 18 years of Mac recoveries actually teach you
The most common photo loss scenario Macwest Data Recovery sees is not a dramatic hardware failure. It is a macOS upgrade that stalled mid-process, leaving the APFS volume in a partially committed state, or a user who emptied the Trash and then kept using the Mac for two days before calling. By the time the device arrives, TRIM has often cleared the blocks that mattered most.
The second most common pattern is SD card corruption from a camera or drone. Cards fail silently — no warning, no error, just missing files. Because SD cards do not use TRIM, recovery rates are considerably higher than for internal SSDs, provided the card is not written to after the loss.
The honest note on limits: when an internal NVMe SSD on an Apple Silicon Mac has been in active use for more than a few hours after deletion, even professional chip-off recovery may return incomplete results. APFS metadata handling combined with aggressive TRIM means the window is genuinely short. The clients who get their photos back are almost always the ones who powered down immediately and called the same day.
Same-day appointments are available. The Free Diagnostics policy means there is no cost to find out whether recovery is possible before committing to anything.
Macwestlosangeles: same-day Mac photo recovery in Los Angeles
When software is not enough, or when you simply cannot afford to lose the photos, Macwest Data Recovery & Mac Repair has handled Mac data recovery since 2006 from its location at 12041 Wilshire Blvd, Ste 26 in West LA, between the 405 and Santa Monica, near UCLA and the Getty Center.
The service covers hard drive and SSD data recovery for MacBook, iMac, Mac Mini, and Mac Pro, including NVMe, RAID 0/1/3/5, logic-board repair, liquid damage, and memory card recovery. Every case starts with Free Diagnostics and a “No recovery, no charge” guarantee.
Macwestlosangeles serves West LA, Santa Monica, Beverly Hills, Brentwood, Westwood, Venice, Hollywood, and Culver City. For same-day appointments or urgent photo recovery, call 310-866-0828 or visit the Los Angeles data recovery service page to book directly.
Sources
The following references support the technical claims in this article and are worth bookmarking for deeper reading.
FAQ
Can you recover permanently deleted photos from a Mac?
Yes, in many cases — provided the drive has not been written to extensively since deletion. On HDDs and SD cards, deleted files often remain recoverable until overwritten. On APFS NVMe SSDs, TRIM can erase those blocks quickly, so immediate action and professional imaging give the best odds.
What is the best free photo recovery app for Mac?
PhotoRec is the most capable free option, using file-signature carving to recover JPG, HEIC, RAW, and hundreds of other formats. The trade-off is that it does not preserve original filenames or folder structure and requires comfort with a command-line interface.
How do you recover photos on a MacBook?
Stop all disk writes, check Time Machine and iCloud Photos first, then create a disk image of the affected volume. Run a recovery app like Disk Drill or Stellar Data Recovery against the image, preview the results, and save recovered files to a separate external drive. If the MacBook will not boot or the drive shows physical symptoms, call Macwestlosangeles at 310-866-0828 for same-day professional recovery.
Is photo recovery software legitimate and safe to use?
Established tools like Disk Drill, Stellar Data Recovery, EaseUS, and Data Rescue are legitimate and widely reviewed by publications including Macworld and PCMag. The key safety rule is to always recover files to a different drive than the one being scanned, and to work from a disk image rather than the live source volume whenever possible.