TL;DR:
- Fixing a portable hard drive requires diagnosing whether the failure is logical or physical before taking action. Logical failures respond to recovery software, while physical damage needs professional cleanroom intervention. Proper hardware checks and cautious recovery attempts protect data and improve chances of successful data retrieval.
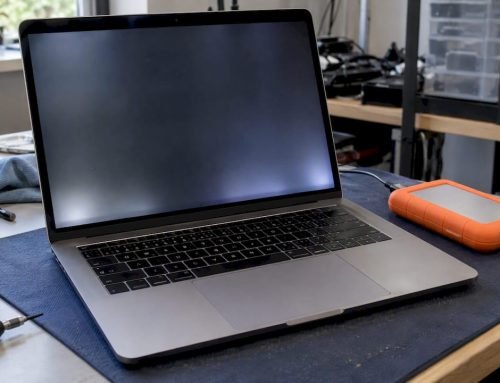
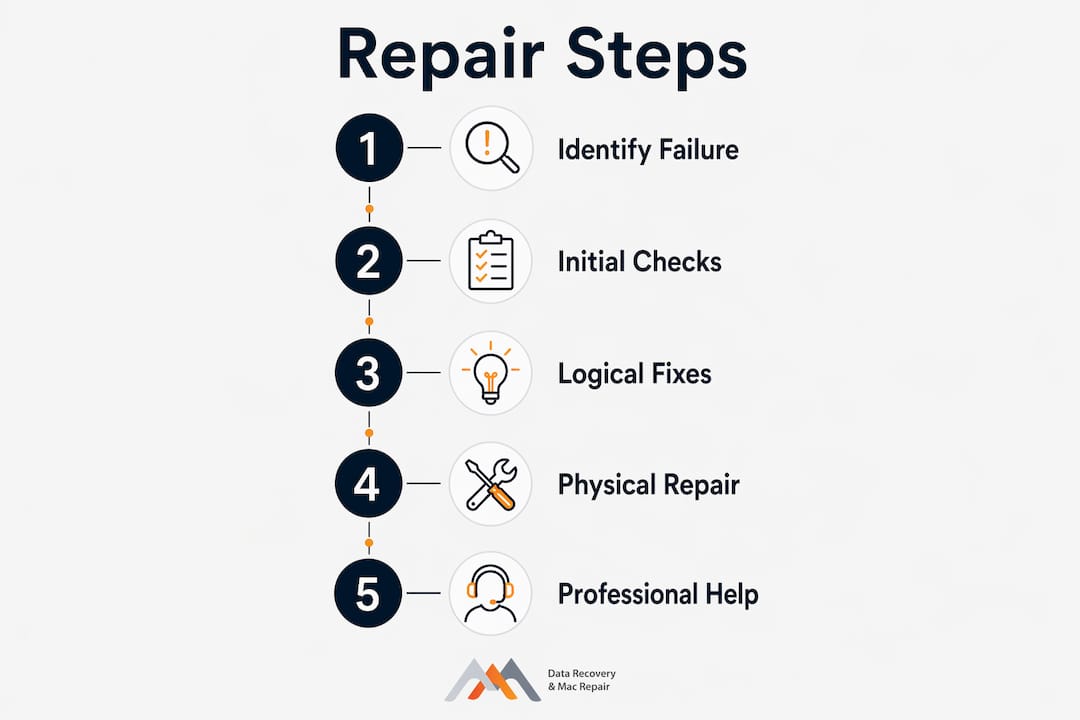
Fixing a portable hard drive requires identifying whether the failure is logical or physical before taking any action. Stop all disk writes immediately if your drive shows signs of failure. Logical failures, such as file system corruption, accidental formatting, or partition loss, respond well to software recovery tools like Recuva and TestDisk. Physical failures, including clicking sounds, head crashes, or liquid damage, require professional cleanroom intervention. This guide walks you through every stage of portable hard drive troubleshooting, from basic cable checks to knowing when to call a specialist, so you protect your data at every step.
What common problems cause portable hard drives to malfunction?
Portable hard drive failures fall into two categories: logical and physical. Knowing which type you have determines every decision that follows.
Logical failures include accidental deletion, file system corruption, partition loss, and drives appearing in RAW state. The drive itself is physically intact, but the data structures that tell your computer how to read it are damaged or missing. These failures are the most recoverable with the right software approach.
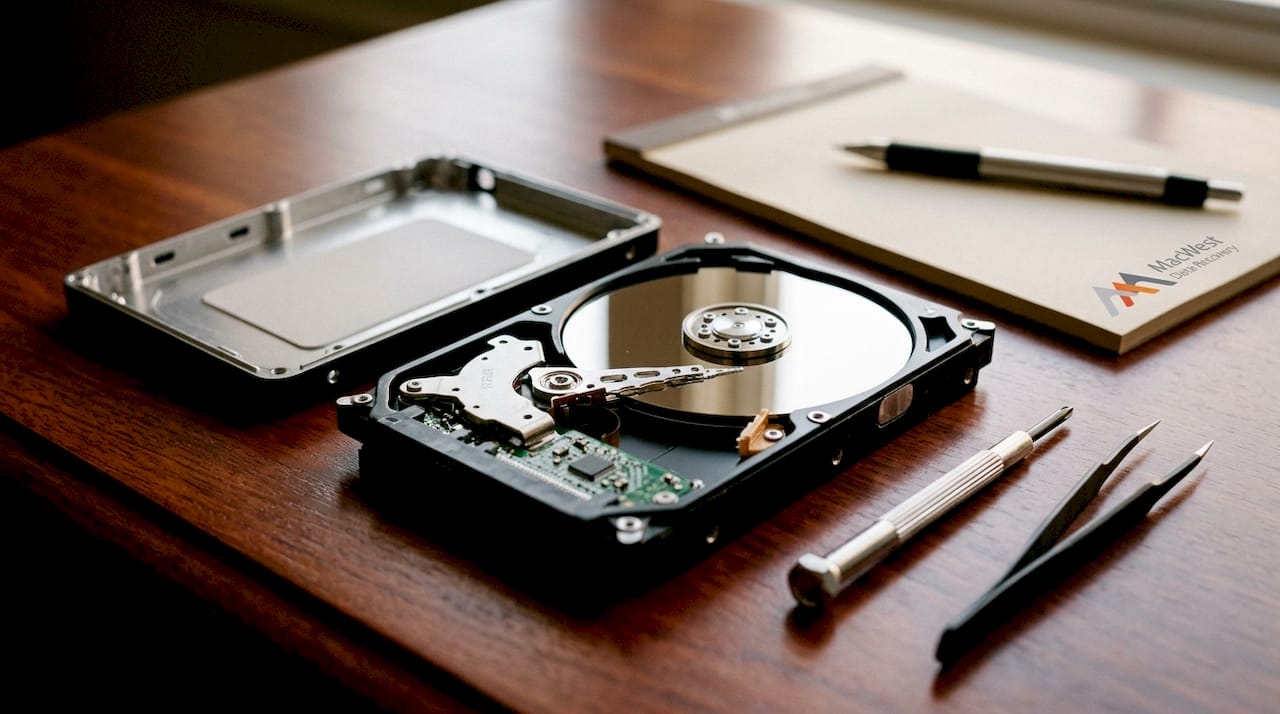
Physical failures involve mechanical or electronic damage: dropped drives, water exposure, power surges, worn read/write heads, or age-related platter degradation. A drive with physical damage often produces clicking or grinding sounds, fails to spin up, or is not detected by any computer at all.
| Symptom | Failure Type | Implication |
|---|---|---|
| Drive detected, shows RAW or no file system | Logical | Software recovery is viable |
| Clicking or grinding noise on spin-up | Physical | Power off immediately; seek professional help |
| Drive not detected in Disk Management | Physical or logical | Test cables first; then assess further |
| Error messages about corrupted files | Logical | Avoid formatting; use recovery software |
| Drive detected but files missing | Logical | Partition or file table damage; recoverable |
| No spin-up, complete silence | Physical (PCB or motor) | Professional diagnosis required |
Distinguishing failure type is the single most important step in any repair attempt. Applying software tools to a physically failing drive can accelerate damage and reduce your chances of recovery.
How to fix a portable hard drive with initial troubleshooting steps
Before running any software, work through these hardware-level checks. Many drives that appear dead are actually suffering from a faulty cable, a low-power USB port, or a failed enclosure rather than a true drive failure.
Start with the basics:
- Check the USB cable. Swap it for a known-good cable. Cables fail more often than drives.
- Use a rear-panel USB port. Front-panel and hub ports often deliver less power. Rear-panel ports connect directly to the motherboard and provide more stable power delivery.
- Open Disk Management on Windows (press Windows + X, then select Disk Management). Wait 10–20 seconds for enumeration. Skipping this wait causes premature “drive dead” conclusions.
- Check for unallocated space. If the drive appears without a drive letter, right-click and assign one. This alone fixes many “invisible drive” cases.
- Update or reinstall the device driver. Open Device Manager, find the drive under Disk Drives, right-click, and select “Update driver.”
- Test the enclosure separately. Enclosure faults are a common and overlooked cause of failure. Remove the internal drive and connect it directly via a SATA-to-USB adapter. If the drive is detected outside the enclosure, the data is safe to copy immediately.
Pro Tip: Do not click “Format Disk” if Windows prompts you to format an unrecognized drive. That prompt appears when the file system is unreadable, not when the drive is empty. Formatting at this stage overwrites recoverable data structures.
| Check | Tool Needed | Risk to Data |
|---|---|---|
| Swap USB cable | Replacement cable | None |
| Test rear USB port | No tool required | None |
| Open Disk Management | Built-in Windows tool | None |
| Assign drive letter | Built-in Windows tool | None |
| Test drive outside enclosure | SATA-to-USB adapter | None |
| Update device driver | Device Manager | None |
How to recover data from a logically failed portable hard drive
Once you confirm the drive is physically intact and detected by your system, follow this sequence to recover data safely. The goal is to preserve the original drive state while extracting your files.
- Create a disk image first. Advanced users use imaging tools like ddrescue to clone the drive before running any recovery program. This preserves original data integrity and lets you run recovery attempts on the clone, not the original.
- Run Recuva for deleted files. Recuva scans the drive and recovers deleted files effectively on intact drives. Install it on a separate drive, not the one you are recovering from.
- Use TestDisk for partition and file system repair. TestDisk repairs partition tables and recovers drives stuck in RAW state. It is free, open-source, and handles NTFS, FAT32, exFAT, and APFS-adjacent structures.
- Run CHKDSK only when appropriate. CHKDSK is a Windows file system repair tool. Run it only after you have already copied critical files or created a disk image. The command is
chkdsk X: /f /rwhere X is your drive letter. Do not run CHKDSK on a RAW drive. Formatting a RAW drive or running CHKDSK prematurely can permanently overwrite recoverable structures. - Save recovered files to a separate drive. Never save recovered data back to the same drive you are recovering from. This risks overwriting the very files you are trying to retrieve.
- Verify recovered files before closing the session. Open a sample of recovered documents, photos, and videos to confirm they are intact before assuming the recovery is complete.
Pro Tip: If your drive makes any unusual sounds during this process, stop immediately. Software recovery on a physically failing drive worsens damage with every read attempt. Silence is a good sign; noise is not.
When should you call a professional for physical damage?
Physical damage requires a different response entirely. Continuing to power on a damaged drive with clicking or grinding noises reduces data survival. Each rotation of a damaged drive potentially increases permanent data loss. There is no undo button for hardware damage caused by continued use.
Call a professional immediately if you observe any of these:
- Clicking, grinding, or beeping sounds on spin-up
- Drive is not detected on multiple computers and cables
- The drive was dropped, submerged, or exposed to liquid
- The drive was connected during a power surge
- The drive spins up but is never recognized by any operating system
Do not open the drive outside a certified cleanroom. Home environments contain airborne particles that permanently contaminate platters. Do not attempt the “freezer trick” either. Freezing a drive causes condensation inside the casing, which accelerates corrosion and causes additional read/write head damage. Both methods are outdated and harmful.
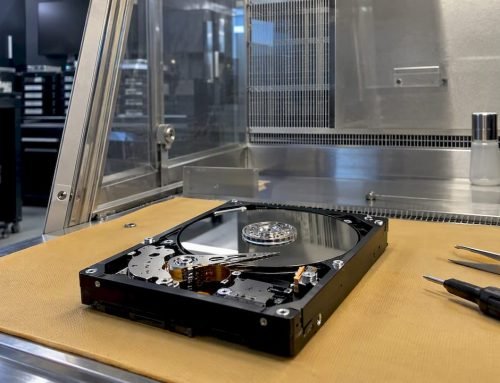
Professional cleanroom recovery involves technicians working in Class 100 environments, replacing donor components such as read/write heads, performing firmware transfers, and creating bit-for-bit images before any data extraction begins. Recovering data from physically damaged drives requires donor parts for head swaps and specialized firmware transfers that cannot be replicated outside a certified facility.
Most reputable recovery providers offer free diagnostics and a “No Data, No Fee” policy. You pay only if data is successfully recovered. Macwestlosangeles has operated on this principle since 2006, offering hard drive data recovery for Mac and external drives including APFS and NVMe formats.
How to prevent future portable hard drive failures
Prevention costs far less than recovery. These habits protect your drive and your data over the long term.
- Always eject safely. Use “Safely Remove Hardware” on Windows or drag to Trash on macOS before unplugging. Abrupt disconnection corrupts file system metadata.
- Avoid physical shocks. Portable drives with spinning platters are vulnerable to drops even when powered off. Solid-state external drives tolerate shocks better, but neither type is indestructible.
- Use a surge protector. Power surges destroy the PCB (printed circuit board) on external drives. A quality surge protector costs far less than a recovery service.
- Store drives in a protective case. Avoid leaving drives loose in bags where they can shift and impact other objects.
- Follow the 3-2-1 backup rule. Keep three copies of important data, on two different media types, with one copy stored off-site or in cloud storage.
Pro Tip: Use S.M.A.R.T. monitoring tools like CrystalDiskInfo on Windows or Disk Utility on macOS to check drive health regularly. A drive reporting reallocated sectors or pending sectors is warning you before it fails completely.
Review your data loss prevention practices at least once a year. Drives have a finite lifespan, and proactive monitoring catches problems before they become emergencies.
Key Takeaways
Fixing a portable hard drive depends entirely on correctly identifying the failure type before applying any repair or recovery method.
| Point | Details |
|---|---|
| Identify failure type first | Logical failures respond to software; physical failures require professional cleanroom recovery. |
| Never format a RAW drive | Formatting overwrites recoverable data structures and can cause permanent loss. |
| Test hardware before software | Check cables, USB ports, and the enclosure before running any recovery program. |
| Stop use on physical symptoms | Clicking or grinding sounds mean power off immediately to prevent further damage. |
| Back up with the 3-2-1 rule | Keep three copies on two media types with one off-site to prevent future loss. |
What I’ve learned from years of watching people make the same mistakes
The most common mistake I see is urgency applied in the wrong direction. People panic, plug the drive into every computer they own, run CHKDSK, click “Format,” and then call a professional after the damage is done. The irony is that the original failure, in many cases a simple partition table corruption or a failed enclosure, was entirely recoverable before those actions.
The second mistake is trusting the “freezer trick.” I have seen this advice circulate online for years. It does not work. It introduces condensation into the drive casing and causes corrosion that was not there before. The people who swear it worked once got lucky with a drive that had a thermal expansion issue, which is rare. For everyone else, it makes a bad situation worse.
What actually works is patience and sequence. Check the hardware first. If the drive is detected and the failure is logical, use a disk image before anything else. If the drive makes noise or is not detected at all, stop and call a professional. The signs of hard drive failure are usually present before the final failure. People just do not know what to look for.
The time window for physical recovery is real. Every additional power cycle on a damaged drive narrows your options. A drive that was 90% recoverable on day one can drop to 40% recoverable after a week of repeated attempts. That is not a scare tactic. That is the physics of a damaged read/write head dragging across a platter.
— Kaya
Macwestlosangeles: professional recovery for portable drives in Los Angeles
Macwestlosangeles has provided expert data recovery and Mac repair services from its location at 12041 Wilshire Blvd, Ste 26 in Los Angeles since 2006. The team handles external drives formatted in APFS, NVMe, RAID 0, RAID 1, RAID 5, and standard HDD configurations. Free diagnostics are available with no recovery, no charge on every case. Same-day appointments are available for urgent situations. Whether your drive suffered a logical failure or physical damage from a drop or liquid exposure, the Mac data recovery process at Macwestlosangeles is designed to maximize your chances of a full recovery. Call 310-866-0828 to speak with a technician directly.
FAQ
What should I do first when my portable hard drive stops working?
Stop using the drive immediately and check the USB cable and port before drawing any conclusions. Open Disk Management on Windows to see if the drive is detected but missing a drive letter or showing as unallocated.
Can I recover data from a portable hard drive myself?
Yes, if the failure is logical. Free tools like Recuva and TestDisk recover deleted files and repair partition tables on physically intact drives. Do not attempt software recovery on a drive making clicking or grinding sounds.
Why is my portable hard drive not working after I dropped it?
Dropping a drive can damage the read/write heads or cause them to contact the platters. Power the drive off immediately, avoid further connection attempts, and contact a professional recovery service with cleanroom facilities.
Is it safe to run CHKDSK on a failing drive?
Running CHKDSK on a RAW or corrupted drive before recovering your data risks permanent loss. Create a disk image first, then run CHKDSK on the clone or only after critical files are already copied to a separate drive.
How much does professional hard drive data recovery cost?
Pricing varies by damage type and data volume and is not publicly listed as a flat rate. Reputable providers, including Macwestlosangeles, offer free diagnostics and charge only when recovery is successful.