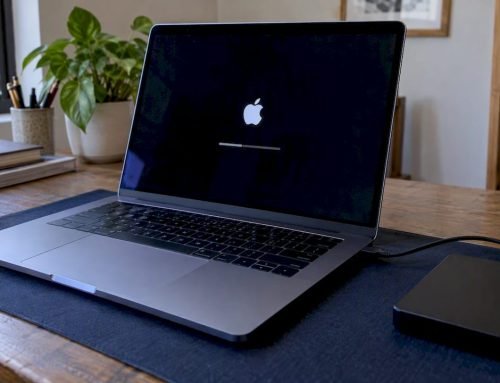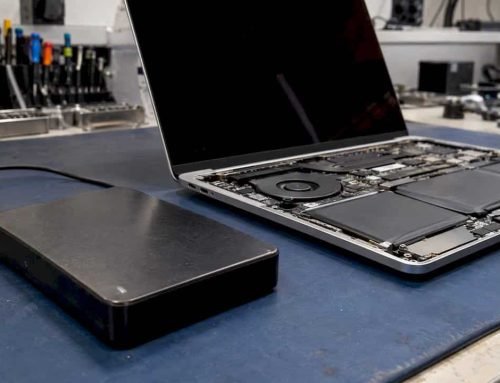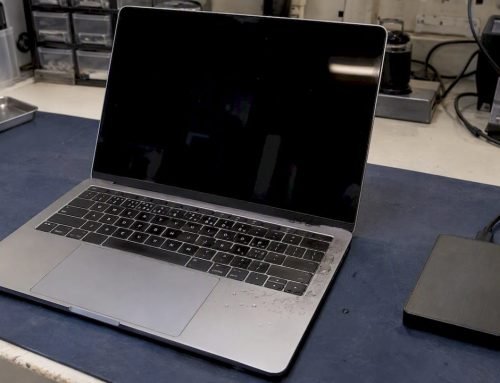
If your startup disk is full, empty the Trash and remove large Downloads first, then check About This Mac → Storage to confirm the space returned. If files seem to be missing or the drive is behaving strangely, stop all disk writes immediately. Small, safe frees often restore normal operation, but a hardware fault or data loss may call for a proper diagnostic.
TL;DR:
- Use Finder’s This Mac search with a size filter above 500 MB, and review Storage Management’s Large Files and Downloads tabs before deleting.
- Avoid deleting files in your Library unless you recognize them, and check iCloud optimization settings because originals may move online.
- Keep 5% to 10% of the startup disk free, back up important files first, and move seldom used archives to an external drive.
- If System or Other remains large, check local Time Machine snapshots with tmutil; do not remove them if they are your only recent backup.
- Stop all disk writes if the drive will not mount, files vanish, I/O errors recur, or unusual noises occur; seek a diagnostic before further cleanup.
Table of Contents
- Where to Check Storage and What Each Category Means
- Finding the Large Files and Folders Actually Using Space
- Safe Cleanup Checklist: Fast Wins First, Deeper Cleanup Next
- Why “System” or “Other” Looks So Large and How Snapshots Factor In
- When a Full Disk Signals a Bigger Hardware Problem
- Get a Free Diagnostic From Macwest Data Recovery
- FAQ
- Sources
Where to Check Storage and What Each Category Means
Before deleting anything, find out what is actually filling the disk. Open the Apple menu, choose About This Mac, select the Storage tab, then click Manage to open Storage Management. This view breaks space into categories that rarely match what you see in Finder.
Each bar represents a different kind of data, and AppleToolBox outlines several practical ways to work through them:
- Apps: installed software, including large, rarely used programs worth uninstalling.
- Documents: your files, downloads, and anything in iCloud Drive that is stored locally.
- System: caches, logs, and support files macOS needs to run.
- Purgeable: space macOS can reclaim automatically when it needs room.
Storage Management’s built-in recommendations, like “Store in iCloud” or “Optimize Storage,” can help, but they change behavior quietly. Turning on automatic optimization may move original photos or files to iCloud and keep only compressed copies locally, so review what each toggle does before switching it on.
Finding the Large Files and Folders Actually Using Space
Once you know which category is bloated, the next step is finding the specific files responsible. TechRadar’s cleanup checklist starts with the same basic move: locate the biggest offenders before deleting anything at random.
- Open Finder, press Command+F, set the search scope to This Mac, then add a Size filter set to “greater than” and a value like 500 MB.
- Sort the results by size and scan for old projects, video exports, or disk images you forgot about.
- Right-click any folder and choose Get Info to see its total size, since Finder’s default list view does not show folder sizes.
- In Storage Management, click Documents, then review the Large Files and Downloads tabs for items you can delete directly from that window.
If you are comfortable with Terminal, running a command like du -sh ~/Documents/* lists folder sizes line by line, which can surface space hogs that Finder’s search sometimes misses inside nested library folders.
Pro Tip: Avoid deleting anything inside ~/Library unless you know exactly what it does. Many files there are configuration data for apps you still use, and removing the wrong one can break them.
Safe Cleanup Checklist: Fast Wins First, Deeper Cleanup Next
Work through cleanup in order of risk, starting with the safest, quickest actions and moving toward changes that need more care.
- Empty the Trash, since deleted files sit there using full space until you clear it.
- Clear your Downloads folder of installers, old .dmg and .zip files, and duplicate setup files you already ran.
- Uninstall apps you no longer use by dragging them to the Trash, then emptying it.
- Clear app caches through Finder’s Library folder if you are confident identifying which cache belongs to which app.
- Remove outdated iOS backups stored through Finder, since old device backups can quietly consume tens of gigabytes.
- Move large Photos or Video libraries to an external drive or let iCloud Photos store full-resolution originals online.
- Delete large Mail attachments you no longer need directly from Mail’s downloads folder.
- Archive files you rarely open to an external SSD instead of deleting them outright.
- Keep at least 5 to 10 percent of your startup disk free to avoid slowdowns and app instability.
- Back up anything important before deleting large batches of files, especially photo or video libraries.
Pro Tip: Work through fast wins first and recheck About This Mac → Storage after each round. You will often see the gauge update within a minute, which tells you whether to keep going or move to deeper cleanup.
Why “System” or “Other” Looks So Large and How Snapshots Factor In
A startup disk that still looks nearly full after obvious cleanup is often holding APFS snapshots or local Time Machine snapshots rather than files you can see in Finder. Apple’s own community discussions confirm that “Other” and “System” storage frequently include caches, local snapshots, and app container files that never show up in a normal folder search.
Time Machine creates local snapshots automatically so you can restore recent versions of files even without an external backup drive connected. AppleToolBox notes that these snapshots are a common, often overlooked reason free space stays low even after deleting large files.
- Run
tmutil listlocalsnapshots /in Terminal to see which snapshots exist and when they were created. - Delete a specific snapshot with
sudo tmutil deletelocalsnapshots <date>, replacing the date with one from the list. - Avoid deleting snapshots if you rely on them as your only recent backup and have no external Time Machine drive.
Purgeable space is not a problem by itself. macOS reserves it and reclaims it automatically as needed, so it typically does not require manual action unless the disk is critically full.
When a Full Disk Signals a Bigger Hardware Problem
A full startup disk is usually a storage housekeeping issue, but a few warning signs point to something more serious. If you see repeated I/O errors, the drive fails to mount, files disappear after you delete something else, or the Mac makes unusual clicking or grinding noises, stop all disk writes immediately and avoid running more cleanup commands.
These symptoms can mean a failing SSD controller, a corrupted APFS volume, or a logic board issue rather than simple clutter. A proper diagnostic distinguishes a software storage problem from a hardware one before any further files are touched.
- Free diagnostics identify whether the issue is logical corruption, NAND wear, or a failing component.
- Forensic imaging captures the drive’s current state before any recovery attempt, protecting what data remains.
- Logic board and NVMe-level repair address soldered SSD failures that Finder-level troubleshooting cannot fix.
- RAID 0, RAID 1, and RAID 5 arrays need specialized handling since a single failed disk can affect the whole volume’s data.
Get a Free Diagnostic From Macwest Data Recovery
When cleanup alone does not resolve a full startup disk, or when you are seeing the warning signs above, we offer Mac Data Recovery and Mac repair services built around exactly this kind of problem. Since 2006, we have worked on failing SSDs, corrupted APFS volumes, and RAID arrays for Mac users across West LA, Santa Monica, and Beverly Hills, including Brentwood, Westwood, Venice, Hollywood, and Culver City.
Every job starts with a free diagnostic, and our no recovery, no charge policy means you pay only when we successfully retrieve your data. Call us at 3108660828 for same-day appointments, or bring your Mac to our lab at 12041 Wilshire Blvd, Ste 26, between the 405 and Santa Monica, near UCLA and the Getty Center. If the disk is simply cluttered, a phone call can help you decide whether cleanup is enough or whether it is time for a diagnostic visit.

FAQ
How do I clean up a startup disk on Mac?
Start by emptying the Trash and clearing Downloads, then open About This Mac → Storage → Manage to review large files, old iOS backups, and app caches. Work from the safest actions first, and recheck the Storage view after each step to confirm space is returning.
What does it mean when my Mac says my disk is almost full?
It means your available storage has dropped low enough that macOS can no longer guarantee smooth performance for tasks like app updates, virtual memory, and Time Machine snapshots. Much of that space is often caches, local snapshots, or old backups rather than files you actively use, according to AppleToolBox.
How do I reset the startup disk on a Mac?
There is no single “reset” button for a startup disk. Instead, free space through Storage Management, remove unnecessary local Time Machine snapshots with tmutil, and if problems persist, consider reinstalling macOS only after backing up your data, since that step erases local caches but not your files.
What files are taking up the most space on my Mac?
Large files are often old Downloads, outdated iOS device backups, bulky Photos or Video libraries, and local Time Machine snapshots, per Apple’s community discussions. Use Finder’s size-based search or Storage Management’s Large Files view to confirm what is largest on your specific Mac.
When should I stop cleaning up and call a professional?
Stop all disk writes immediately if you notice I/O errors, a drive that will not mount, files disappearing unexpectedly, or unusual noises from the Mac. These signs point to a possible hardware fault rather than ordinary clutter, and a free diagnostic can confirm what is actually wrong before you risk further data loss.
— Kaya
Sources
- Is your Mac startup disk full? Here’s how to fix it — TechRadar
- The startup disk is almost full on my Mac but I can’t delete … — AppleToolBox
- Startup disk full, but full of what? — Apple Discussions