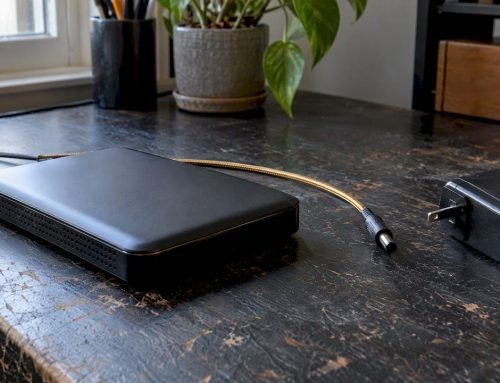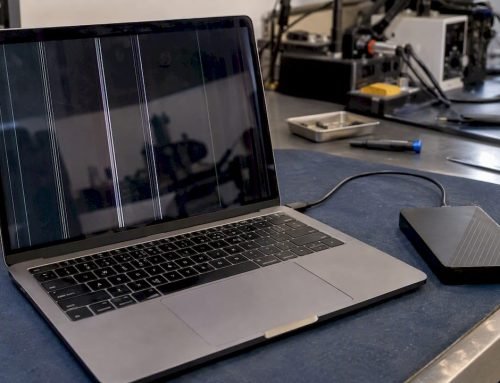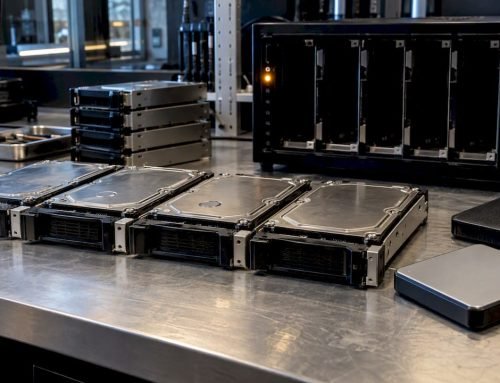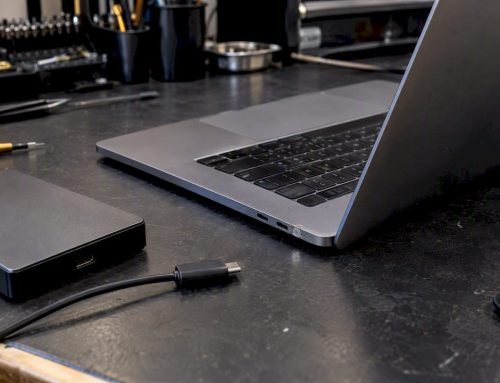
If your SSD isn’t showing up on your Mac, check Finder’s sidebar settings first, then connect the drive directly to a port with no hub, and open Disk Utility and select View → Show All Devices. If the drive still doesn’t appear in About This Mac → System Report, stop troubleshooting and treat it as a hardware issue.
Try these three things right now, in order:
- Open Finder → Settings → General and Sidebar, and confirm “External disks” is checked in both places.
- Unplug the drive, plug it into a different port with no hub or dock in between, and wait 10 seconds.
- Open Disk Utility, click View in the toolbar, and select “Show All Devices” to check for a grayed-out or unmounted volume.
Pro Tip: If you suspect the drive already has file corruption or was recently disconnected mid-write, stop all disk writes immediately. Don’t reformat, repair, or copy new files onto it until you’ve decided whether the data on it matters.
Key Takeaways
An SSD that fails to appear on a Mac is almost always resolved through direct connection, Finder settings, and Disk Utility’s Show All Devices view, unless System Information can’t detect it at all, in which case the fault is hardware.
| Point | Details |
|---|---|
| Start with connections | Bypass hubs and docks, connect directly, and test with a known-good cable before assuming drive failure. |
| Reveal hidden drives | Use Disk Utility’s View → Show All Devices to check for a physical drive hidden under an unmounted volume. |
| Confirm hardware detection | Check About This Mac → System Report for USB, NVMe, or Thunderbolt enumeration to isolate software issues from hardware faults. |
| Watch for the Tahoe 26.x bug | If a drive mounts in Recovery but not in normal startup, suspect the documented macOS Tahoe NVMe/enclosure regression. |
| Escalate when hardware’s involved | Macwest Data Recovery offers free diagnostics and a no recovery, no charge policy for drives that won’t mount after basic troubleshooting. |
Table of Contents
- Fastest Fixes for an SSD Not Showing Up on Mac
- How Do You Reveal a Hidden SSD in Disk Utility?
- What Does System Information Tell You About a Missing SSD?
- Could a Bad Cable or Enclosure Be the Real Problem?
- Why Won’t Older MacBooks Recognize a New NVMe SSD?
- When Should You Stop Troubleshooting and Call a Professional?
- How Do You Prevent This From Happening Again?
- Need Same-Day SSD Diagnostics in West LA?
- Sources
- FAQ
Fastest Fixes for an SSD Not Showing Up on Mac
Most cases of an SSD not showing up on Mac resolve within five minutes if you work through these steps in order rather than jumping straight to Disk Utility or Terminal. Physical connection problems cause the majority of external SSD detection failures, according to troubleshooting discussions among Mac users, so start there before assuming the drive itself has failed.
- Reconnect directly. Unplug the SSD from any hub, dock, or extension cable and connect it straight into a Mac port. Bus-powered enclosures often can’t pull enough current through a hub, especially with power-hungry NVMe drives.
- Check Finder visibility settings. Go to Finder → Settings → General and check “External disks.” Then go to the Sidebar tab and check it again there. Mounted drives sometimes hide simply because Finder isn’t set to display them.
- Try a different Mac or PC. If you have access to another computer, plug the SSD in there. If it mounts normally, the fault lies with your Mac, not the drive. If it doesn’t appear anywhere, the drive, cable, or enclosure is the likely culprit.
- Restart and reconnect cold. Shut the Mac down completely, disconnect the drive, wait 30 seconds, then power the Mac back on and reconnect the SSD once the desktop loads. This clears out any stuck USB or Thunderbolt controller state.
- Reset NVRAM and SMC where applicable. On Apple silicon Macs, a simple restart handles most of what NVRAM reset used to fix. On Intel Macs, shut down, then hold Option, Command, P, and R for about 20 seconds during startup to reset NVRAM. For persistent power-delivery issues on Intel MacBook Pros, an SMC reset (shut down, hold Shift, Control, Option, and the power button for 10 seconds) can restore proper port power negotiation.
Bus power problems deserve special attention. Some external SSD enclosures, particularly compact NVMe enclosures, draw more power than a single USB port reliably delivers, especially on older MacBooks or when multiple accessories share one port. If your enclosure isn’t self-powered, unplug it for a full 30 seconds to let it discharge completely, then reconnect it directly to the Mac with nothing else attached to that same port or hub.
Pro Tip: The single best way to isolate whether the SSD or the Mac is at fault is to test the drive with a different enclosure or adapter cable on the same Mac, and separately test the original enclosure with a different drive. If the SSD mounts in a new enclosure, the enclosure’s controller board has likely failed. If nothing mounts in any enclosure, suspect the drive.
Here’s the decision matrix once you’ve run through these steps:
- Drive appears on another Mac or PC: the fault is with your primary Mac. Move to the Disk Utility and System Information diagnostics below.
- Drive never appears on any computer, in any enclosure: the SSD or its internal components have likely failed, and Terminal commands won’t help. Skip ahead to the professional escalation section.
- Drive appears intermittently, mounting and unmounting on its own: suspect a cable, port, or enclosure power issue rather than the SSD itself.
How Do You Reveal a Hidden SSD in Disk Utility?
Open Disk Utility, click View in the toolbar, and select Show All Devices. This setting reveals the raw physical drive beneath any logical volumes, which matters because a Mac SSD not detected under normal view can still show up as a physical device with no readable partition, according to Apple’s own Disk Utility documentation. If you only see volumes and no drive at all, even in this expanded view, you’re likely looking at a hardware or connection issue rather than a formatting problem, and Disk Utility alone won’t fix it.
If the physical drive does appear, even grayed out, select it and click First Aid. First Aid checks the disk’s directory structure and file system for errors and attempts repairs automatically. Apple’s support documentation is direct about the possible outcomes: if First Aid reports that the disk appears to be failing, the recommended move is to back up whatever you can and replace the drive, not to keep running repairs. A “repaired successfully” result usually means a mountable, usable disk. A “failing” or “cannot be repaired” result means the underlying media has physical problems that First Aid isn’t built to fix.
Using Terminal to List and Mount Drives
Terminal gives you a more granular view than Disk Utility’s window, and it’s often faster for confirming exactly what your Mac sees. Open Terminal and run:
diskutil list
This prints every disk and partition your Mac recognizes, identified as disk0, disk1, disk2, and so on, along with each disk’s partition scheme and size. If your SSD shows up here with an identifier like disk4 but no partitions listed underneath it, the drive is present but unformatted or has a damaged partition table. If it doesn’t appear at all in this list, the issue is at the connection or hardware level, not the file system.
Once you’ve found the correct disk identifier, try mounting it directly:
diskutil mount /dev/disk4s1
Or, to mount every volume on a disk at once:
diskutil mountDisk /dev/disk4
If either command returns an error referencing I/O failure or “no such file or directory,” write down the exact wording. That error text is exactly what a data recovery technician needs to diagnose the fault quickly if you end up escalating.
When Erasing Is the Right Move (and When It Isn’t)
Erasing should only happen once you’re certain you either have a full backup or don’t need whatever is currently on the drive. Data-recovery specialists generally advise prioritizing recovery over repair any time Disk Utility can still see the device, because reformatting destroys the existing directory structure and makes recovery more difficult, if not impossible in some cases.
If you’ve confirmed there’s nothing to lose, select the physical drive in Disk Utility, click Erase, and choose a partition map and format:
- GUID Partition Map + APFS for a drive that will only ever connect to Macs running modern macOS.
- GUID Partition Map + exFAT if the drive needs to work with both Mac and Windows systems.
Curious what your options look like after an accidental erase? Our guide on recovering data after a Disk Utility erase walks through what’s still recoverable and what typically isn’t.
Pro Tip: Boot into macOS Recovery (hold Command and R during startup, or hold the power button on Apple silicon) and open Disk Utility from there. If the SSD mounts successfully in Recovery but not during a normal boot, that strongly points to an operating system bug rather than a hardware fault, since Recovery runs a minimal, separate copy of macOS.
What Does System Information Tell You About a Missing SSD?
Open the Apple menu, select About This Mac, then click System Report, and look under USB, NVMe, or Thunderbolt/USB4 in the left sidebar, depending on how the SSD connects. If your drive shows up here with a model name and serial number but never appears in Disk Utility or Finder, your Mac has successfully detected the hardware at the electrical level, and the failure is happening somewhere in the software mounting process, not the connection itself. That distinction changes your entire troubleshooting path.
For more detail than the graphical System Report window provides, Terminal offers two commands worth running:
system_profiler SPUSBDataTypedumps verbose information about everything connected to USB, including vendor ID, product ID, and current power draw for each device. This is useful for confirming an enclosure is drawing adequate power.system_profiler SPNVMeDataTypeshows detail specific to NVMe drives, including the exact model and firmware revision, which matters when you’re checking compatibility with a third-party SSD upgrade.- Open Console.app and filter by “disk” to watch for IOService or kernel messages logged the moment you plug the drive in. Repeated mount/unmount cycles or timeout errors here often confirm a handshake problem between the drive and macOS.
If you do end up calling a professional, having this information ready saves real diagnostic time. Before you call, capture: the full text output of diskutil list, a screenshot or exported report from System Information showing the drive’s enumeration, and a written note of exactly what happens each time you connect and disconnect the drive, including any error text.
Could a Bad Cable or Enclosure Be the Real Problem?
Connect the SSD directly to your Mac using a cable you know works, with no hub, dock, or extension in the path, and confirm the enclosure has its own power source if the drive is rated for more current than standard bus power provides. Physical connection failures, not drive failures, explain the majority of SSD not appearing in Finder complaints that circulate in Mac user forums, and they’re also the cheapest problems to rule out.
The most common physical culprits, roughly in order of frequency, are:
- A worn or marginal USB-C or Thunderbolt cable that works for charging but fails under sustained data transfer.
- A USB hub or dock that can’t deliver enough power for a bus-powered SSD enclosure, particularly with NVMe drives that draw more current than SATA SSDs.
- A damaged or debris-filled port on the Mac itself, especially on machines that have seen years of daily cable insertion.
- A failing enclosure controller board, which is the chip that translates between the raw NAND storage and the USB or Thunderbolt interface. These fail independently of the SSD inside them.
Work through isolation methodically rather than swapping multiple variables at once. Test the same drive with a different cable. Test it in a different port on the same Mac. Test it, if you can, on an entirely different Mac or PC. If you have access to a second enclosure or adapter, move the bare drive into it and test again. Each swap that resolves the issue tells you exactly which component was at fault.
Pro Tip: If you’re troubleshooting a third-party internal SSD upgrade, remove the drive and connect it externally through a USB-to-SATA or NVMe-to-USB enclosure before reinstalling it internally. This isolates whether the SSD itself is faulty or whether the problem lies in an internal ribbon cable, adapter bracket, or the logic board’s own storage interface, a distinction that matters a lot for MacBook SSD failure diagnosis on older unibody models.
Why Won’t Older MacBooks Recognize a New NVMe SSD?
Older Macs need to have run macOS 10.13 High Sierra or later at some point in their history to receive the firmware update that enables third-party NVMe support, so a machine that’s never seen that update can leave a properly installed NVMe drive completely invisible. This firmware requirement catches a lot of people upgrading older MacBook Pro and MacBook Air models with aftermarket SSDs, according to reports in Apple’s own user community, because the drive is mechanically installed correctly but the Mac simply lacks the driver support to enumerate it.
A newer and separate issue has surfaced with macOS Tahoe 26.x. Satechi’s support team documented cases where drives enumerate correctly in System Information but never appear in Finder or Disk Utility, an OS-level handshake timeout rather than a hardware fault.
Satechi’s guidance confirms the drive is being detected by the system but fails to complete the mounting handshake under certain Tahoe 26.x builds, and recommends testing in Recovery mode to confirm the pattern before assuming hardware failure.
The vendor notes this issue tends to appear or worsen after multiple reconnect cycles, and that Apple is expected to address the timeout in a future Tahoe patch.
To test for this specific bug, boot into Recovery and try mounting the drive there. If it mounts successfully in Recovery but not during a normal startup, you’re very likely looking at this OS regression rather than a failing drive.
Pro Tip: Note your exact macOS build number (Apple menu → About This Mac → click the version number to reveal it) before you contact support or a repair shop. Build-specific bugs get fixed build by build, and that detail speeds up diagnosis considerably.
When Should You Stop Troubleshooting and Call a Professional?
Stop DIY troubleshooting and call a professional if the drive never appears in System Information at all, if Disk Utility’s First Aid reports the disk can’t be repaired, or if repeated mount attempts trigger new errors each time. At that point, further attempts, especially repeated erase or repair cycles, risk making any recoverable data harder to retrieve.
Watch for these specific red flags:
- The drive doesn’t show up anywhere in System Information, on any port, cable, or Mac you test it on.
- It enumerates but mounts and unmounts unpredictably, or the Mac freezes briefly each time it’s connected.
- You hear clicking, grinding, or repetitive spin-up sounds (a sign specific to spinning hard drives, not SSDs, but worth ruling out if you’re not sure which type of drive you have).
- Disk Utility First Aid returns an “unrepairable” or “failing” result, per Apple’s own repair documentation.
A professional data recovery shop approaches a non-mounting SSD differently than home troubleshooting does. The process typically starts with non-destructive imaging, creating a sector-by-sector copy of whatever data remains accessible before attempting any repair, so no additional attempts risk overwriting recoverable material. From there, technicians move into sector-level recovery for corrupted file systems, controller diagnostics for enclosures and internal boards, or, for drives with physical component failure, logic board level repair work.
Community-reported cases where a drive fails to show up even after Show All Devices and Recovery testing tend to point toward hardware failure requiring professional diagnostics rather than anything fixable through Terminal commands.
Macwest Data Recovery has handled these cases since 2006, and every diagnostic starts with a free assessment under a no recovery, no charge policy: you don’t pay unless we successfully retrieve your data.
Pro Tip: Bring your diskutil list output and any error text you’ve recorded to your appointment. It shortens the diagnostic phase and gets your drive into imaging faster.
How Do You Prevent This From Happening Again?
Adopt a 3-2-1 backup approach now, meaning three copies of your data, on two different types of media, with one copy stored offsite or in the cloud, and stop writing to any drive the moment you suspect it’s failing. Run Time Machine to a dedicated drive plus at least one cloud backup, always eject drives properly through Finder before disconnecting them, avoid cheap unpowered hubs for anything holding data you can’t lose, and keep macOS updated to catch driver and firmware fixes as they ship.
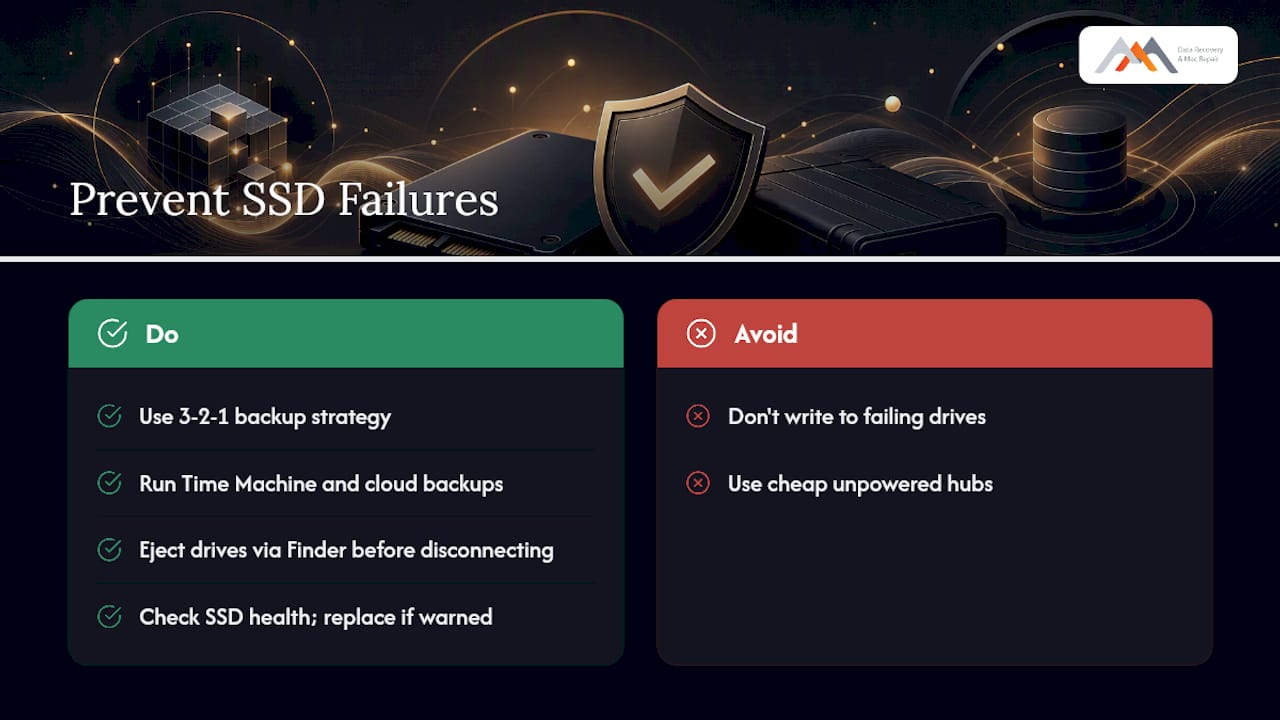
Pro Tip: Check your SSD’s health periodically using a monitoring tool like smartctl-based SSD health checks that read SMART data, and replace any drive showing early warning signs before it fails outright rather than after.
What I See Most Often in the Shop
Cable and hub problems, failing enclosure controllers, third-party NVMe compatibility gaps on older Macs, and degraded internal ribbon cables on aging MacBook Pro models account for most of the “SSD not showing up” cases that reach us after home troubleshooting stalls. The pattern repeats often enough that it’s rarely a mystery once we open the diagnostic. Every case starts with free, non-destructive diagnostics, and our no recovery, no charge policy means you’re never paying for an attempt that doesn’t bring your data back.
Need Same-Day SSD Diagnostics in West LA?
Macwest Data Recovery gives you what a shipped-in mail-order recovery service can’t: a same-day, in-person diagnosis in West Los Angeles, with no shipping delays and no waiting a week to find out if your data is recoverable. If your SSD isn’t mounting and you’ve already tried the Finder, Disk Utility, and cable checks above, calling 310-866-0828 gets you a same-day appointment for free diagnostics under our no recovery, no charge policy, whether the issue turns out to be a failing enclosure, a firmware mismatch, or a logic board problem.
Before you come in, gather your diskutil list output, a screenshot of your System Information report, your device’s approximate purchase date, and a quick note on what happens each time you connect the drive. We handle SSD and HDD recovery, RAID arrays, logic board repair, and enclosure troubleshooting daily, and we’ve done it since 2006 from our location at 12041 Wilshire Blvd, Ste 26, between the 405 and Santa Monica Boulevard, close to UCLA and the Getty Center. We serve Santa Monica, Beverly Hills, Brentwood, Westwood, Venice, Hollywood, and Culver City. Start with our hard drive and SSD data recovery service page or call directly to book your same-day diagnostic.
Sources
These sources back the diagnostic steps covered above:
- View all devices or only volumes in Disk Utility on Mac – Apple Support
- Troubleshooting macOS Tahoe 26.x – SSD Drive Compatibility Issue – Satechi Support
- How to Fix Your External Hard Drive Not Mounting on a Mac – CleverFiles
FAQ
How Do I Fix an Undetected SSD on My Mac?
Connect it directly with no hub, check Finder’s sidebar settings, and open Disk Utility’s Show All Devices view. If it still doesn’t appear in System Information, the drive or enclosure likely has a hardware fault requiring professional diagnostics.
Why Isn’t My External SSD Being Detected by My Mac?
The most common causes are a faulty cable, an underpowered hub, or a failing enclosure controller, all of which you can rule out by connecting the bare drive directly to a Mac port with a known-good cable.
Why Is My Internal Hard Drive Not Showing Up on My Mac?
Internal drives that don’t appear often point to a degraded ribbon cable, a firmware issue on older Macs, or a failing drive; testing the drive externally through a USB enclosure helps isolate whether the drive itself or the Mac’s internal hardware is at fault.
Could Not Mount Macintosh HD: What Does That Mean?
A “could not mount Macintosh HD” error usually signals a corrupted file system or a failing startup disk, and the first step is running Disk Utility’s First Aid from macOS Recovery to attempt an automatic repair.
When Should I Call a Data Recovery Professional Instead of Troubleshooting Further?
Call a professional the moment Disk Utility reports the disk as unrepairable, or if the drive never enumerates in System Information at all; Macwest Data Recovery offers free diagnostics and same-day appointments with a no recovery, no charge policy.