Stop all disk writes immediately. If your Thunderbolt drive shows signs of physical failure such as clicking or grinding, power it down. If the volume still mounts read-only, copy the files you cannot afford to lose to another healthy drive right now, and if the drive is noisy, undetected, or a RAID array reports controller corruption, stop attempting repairs yourself and contact a data recovery lab.
TL;DR:
- Mechanical failures, such as clicking or grinding sounds, require immediate power down and imaging in a clean room before any repair attempts.
- Controller or RAID failures often manifest as missing volumes, degraded arrays, or inconsistent detection, and copying accessible files promptly is crucial.
- Connecting the drive via USB-C instead of Thunderbolt can restore detection on LaCie RAID enclosures that are invisible in macOS Recovery Mode.
- Avoid repeated power cycling or formatting the drive if data is still accessible, as these actions can turn recoverable situations into permanent losses.
- Professional help should be sought for drives making physical noises, completely undetected drives, or RAID metadata loss, with labs offering free diagnostics and no-data-no-fee policies.
Table of Contents
- Quick Triage: What to Try Now and What to Avoid
- How to Recognize Mechanical, Controller, and RAID Failures
- Low-Risk DIY Methods That Won’t Make Things Worse
- When to Call a Professional and What to Expect
- What a Local Lab Sees in Thunderbolt and RAID Cases
- Failure Symptoms and What They Mean for Recovery
- What Most Recovery Advice Gets Wrong
- Getting Thunderbolt Drive Recovery Help From MacWest
- Sources
- FAQ
Quick Triage: What to Try Now and What to Avoid
The first few minutes after you notice a problem determine how much of your data survives. Move carefully, document what you see, and resist the urge to keep clicking through repair prompts.
- Stop writing to the drive and unplug it safely rather than force-ejecting it repeatedly.
- Note every symptom: clicking or grinding sounds, blinking or absent activity lights, and any exact error message macOS shows.
- Try a different Thunderbolt cable and port, and if your enclosure supports it, connect via USB-C instead as an alternative path, a workaround documented for certain LaCie RAID enclosures.
- Check whether the drive appears in Finder and Disk Utility, and if it does, run First Aid only once.
- If the volume mounts and is readable, copy your most critical files to a separate healthy drive before doing anything else.
Avoid power-cycling a noisy drive more than once, avoid clicking through repeated rebuild or initialize prompts, and never format the volume while data still matters to you. Each of these actions can turn a recoverable situation into a permanent loss.
Pro Tip: Keep a written or photographed log of every error message and sound as it happens. A lab can often narrow down the failure type in minutes when you arrive with clear documentation instead of a vague description.
How to Recognize Mechanical, Controller, and RAID Failures
Thunderbolt enclosures fail in a handful of recognizable patterns, and matching your symptoms to the right category helps you decide how much risk you can safely take on your own.
- Mechanical failure: clicking, grinding, or a drive that mounts intermittently points to a failing platter or read/write head, and repeated power cycling accelerates the damage.
- Controller or bridge board failure: a drive that spins normally but whose array is missing, or whose volumes disappear inconsistently, often points to a fault in the enclosure’s bridge chip or PCB rather than the storage media itself.
- RAID-specific failure: an array reporting “degraded,” missing members, or volumes that mount inconsistently means the RAID metadata is unstable, and copying whatever files remain accessible before attempting any repair is critical.
- Apple Silicon complication: Seagate and LaCie warn that RAID rebuilds on certain LaCie devices connected through Thunderbolt 3 can cause the host Mac to crash on Apple Silicon systems, which risks compounding the original data loss.
LaCie 6big and 12big units connected via Thunderbolt 3 may not appear in macOS Recovery Mode at all, a detection gap documented by Seagate that has led owners to attempt risky workarounds before realizing the fix is simply a different physical connection.
If your enclosure falls into that last category and macOS Recovery does not see it over Thunderbolt, connecting the drive’s USB-C port directly, rather than through the Thunderbolt chain, can restore detection for a Time Machine restore without touching the array’s internal structure.
Low-Risk DIY Methods That Won’t Make Things Worse
If your drive still mounts, even partially, there is a conservative path that gets your files off without adding new risk. The goal at every step is to touch the failing hardware as little as possible.
- Boot from a different Mac than the one that crashed or threw the original error, since a host with driver or firmware issues can misread an otherwise stable drive.
- Connect through a direct port rather than a chain of hubs, and try more than one cable if the first connection seems unstable.
- If the volume mounts read-only, copy your highest-value files first: financial records, irreplaceable photos, active project files, in that order.
- Treat imaging as the safer alternative to direct repair. Creating a full bit-for-bit copy of the drive onto separate healthy storage before running any file system repair preserves the original data even if the repair attempt fails, a practice the Library of Congress recommends for exactly this reason.
- Limit yourself to one attempt with Disk Utility’s First Aid. If it fails or reports the disk cannot be repaired, stop, image what you can, and move to professional help rather than trying again.
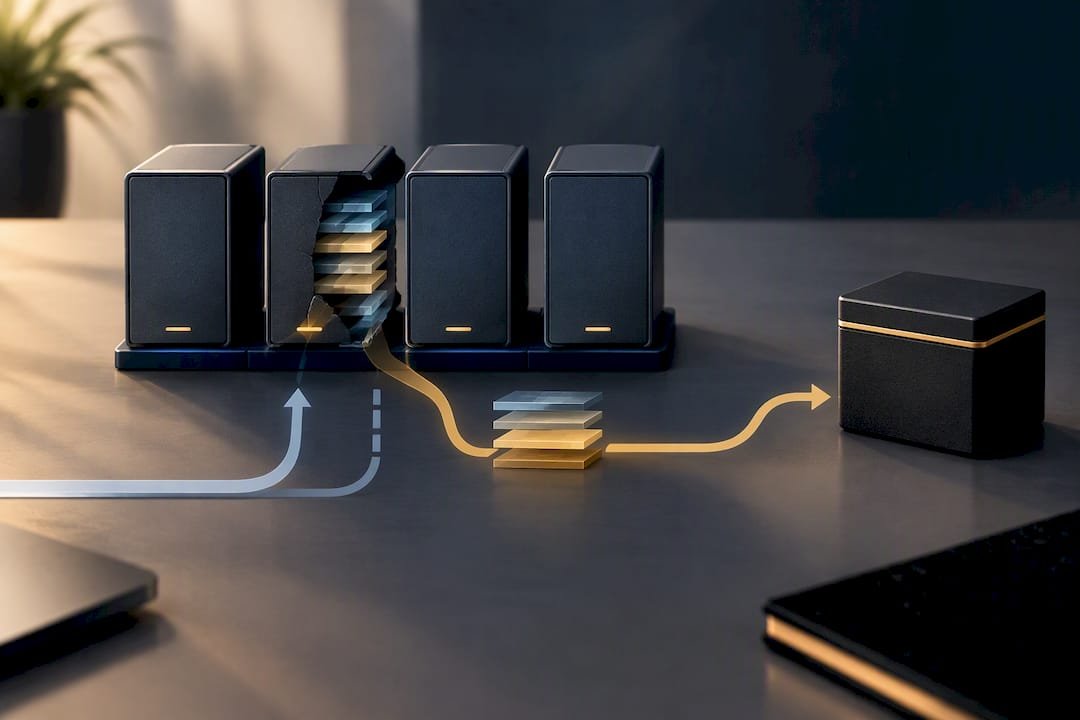
Do not run any RAID initialization or rebuild option if data recovery, not restored functionality, is your actual goal. These operations write new metadata over the old, and once the original member order and parity structure are overwritten, a lab has far less to work with even if every disk is otherwise intact.
Pro Tip: If a rebuild prompt appears on a RAID array with data you still need, decline it. Rebuilding restores a working array, not your missing files, and it can erase the very structure a recovery lab would need to reconstruct.
When to Call a Professional and What to Expect
Some symptoms simply are not safe to work through at home, and recognizing them early preserves options that DIY attempts would otherwise close off.
- Call a lab when the drive makes clicking, grinding, or other mechanical noise, since every additional spin-up risks further head or platter damage.
- Call a lab when the drive is not detected at all, when a RAID controller reports errors, or when array metadata appears lost but the files on it still matter.
- Expect a competent lab to start with a free diagnostic, move to forensic imaging of the failing media, and only then attempt file system repair, array reconstruction, or component-level board work, verifying recovered files before returning them.
- Ask any provider you’re considering: do you offer free diagnostics, is there a written no-data-no-fee policy, what is the expected turnaround, and how will recovered data be returned to me?
Costs and timelines vary with complexity. Easier cases with logical corruption may be diagnosed and imaged quickly, while complex multi-member RAID arrays with mechanical faults usually require more time, as each member typically needs imaging before reconstruction. A “no recovery, no charge” policy matters here specifically because it shifts the financial risk of a difficult case onto the lab rather than the customer.
What a Local Lab Sees in Thunderbolt and RAID Cases
Working on Thunderbolt and RAID cases day to day surfaces patterns that are hard to see from a single drive failure at home. APFS volumes on NVMe-based Thunderbolt SSDs tend to fail differently than older HFS+ spinning disks, showing directory corruption rather than physical clicking, while RAID 0 arrays fail completely the moment one member drops, and RAID 1 or 5 arrays can often be reconstructed from the surviving members if no one has attempted an initialize or rebuild first.
- A local data recovery lab in Los Angeles has experience with APFS, NVMe, and RAID 0, 1, 3, and 5 arrays.
- Typically, cases start with a free diagnostic and forensic imaging before any repair attempt touches the original media.
- No recovery, no charge applies across the intake process, and same-day appointments are available for time-sensitive cases.
- Local, in-lab diagnostics can avoid shipping delays and handling risk compared to mailing a failing drive elsewhere.
Bring whatever RAID controller screenshots or error messages you have, and call before you power the drive on again. The information you preserve in those first minutes often shapes what a lab can still recover.
Failure Symptoms and What They Mean for Recovery
| Symptom | Immediate action | What to avoid | Likely professional outcome |
|---|---|---|---|
| Clicking or no spin-up | Power down, do not reconnect | Repeated power cycling | Depends on platter condition; imaging in a clean room is the first step |
| Intermittent mounting | Copy accessible files immediately | Repeated ejects and reconnects | Often recoverable once imaged |
| Degraded RAID array | Copy accessible files, avoid rebuild prompts | Initializing or rebuilding the array | Often reconstructable if no member has been overwritten |
| Logical corruption only | Run First Aid once, then image | Repeated repair attempts | Frequently recoverable through file system repair |
What Most Recovery Advice Gets Wrong
Most guides treat Thunderbolt drive failure as a single problem with a single fix, when in practice a clicking hard drive, a corrupted RAID array, and a logically damaged APFS volume call for almost opposite responses. The advice to “just run Disk Utility” gets repeated everywhere, but on a RAID array with unstable metadata, that single click can be the action that turns a reconstructable case into a lost one.
The Apple Silicon warning around certain LaCie rebuilds deserves more attention than it gets. Owners see a rebuild prompt, assume it is the normal path back to a working drive, and only discover afterward that the rebuild was the step that erased what a lab needed to reconstruct the array. If there is one thing worth prioritizing above all else here, it is patience: copy what you can reach, image what you cannot fully trust, and let a professional make the first move on anything mechanical or RAID-related. Speed matters far less than sequence.
— Kaya
Getting Thunderbolt Drive Recovery Help From MacWest
MacWest Data Recovery has served Los Angeles since 2006, with a lab centrally located at 12041 Wilshire Blvd, Ste 26, between the 405 and Santa Monica, near UCLA and the Getty Center. We work directly with clients across West LA, Santa Monica, Beverly Hills, Brentwood, Westwood, Venice, Hollywood, and Culver City, and our local location means your drive stays in one lab’s hands instead of moving through a shipping chain.
- RAID & NAS Data Recovery for degraded or multi-member array failures.
- External & Internal Hard Drive Recovery for mechanical and logical drive issues.
- Mac Repair Service for logic board and component-level repair when a Thunderbolt enclosure or its host Mac needs hardware work.
Every case starts with a free diagnostic, and our no recovery, no charge policy means you only pay when we successfully retrieve your data. Same-day appointments are available for urgent cases.
If your Thunderbolt drive is showing any of the symptoms above, stop using it, call 3108660828, and bring or ship the drive to our lab so we can begin diagnostic imaging right away.
Sources
- Repair a storage device using Disk Utility on Mac – Apple Support
- Managing external media and digital content – Library of Congress
- The LaCie 6big or 12big RAID Storage drives will not be detected in macOS Recovery Mode when connected as Thunderbolt 3 | Seagate US
FAQ
Can Geek Squad recover data from a hard drive?
General electronics retailers can attempt basic logical recovery on simple cases, but complex failures involving RAID arrays, mechanical damage, or Thunderbolt enclosures typically require a lab with forensic imaging and component-level repair capability. For Thunderbolt and RAID-specific cases, a specialized data recovery lab is generally better equipped to handle the array reconstruction and controller-level work involved.
How much does it cost to recover data from a 1TB hard disk?
Cost depends on the failure type rather than the drive’s capacity alone: a logical issue with no physical damage costs far less to resolve than a mechanical failure requiring clean-room work. MacWest’s diagnostic is free, and pricing for the recovery itself is available on request once the specific failure has been assessed.
How much does it cost to recover an external hard drive?
Pricing varies with whether the drive has a logical issue, a mechanical failure, or, in the case of RAID enclosures, a controller or metadata problem affecting multiple disks. A free diagnostic is the standard first step at MacWest, and an exact quote follows once the drive has been examined.
Can an external hard drive be recovered?
Most external hard drives, including Thunderbolt and RAID enclosures, can be recovered when the platters and read/write mechanism are intact enough to image, even after a logical or controller-level failure. Success depends heavily on what happens before the drive reaches a lab, which is why avoiding repeated power cycles and rebuild prompts matters so much.
What should I do first if my Thunderbolt RAID drive shows a degraded array?
Stop all disk writes immediately and copy any files you can still access to a separate healthy drive before attempting any rebuild. Rebuild and initialize operations can overwrite the RAID metadata a lab would otherwise use to reconstruct the array, so on Apple Silicon hosts in particular, it’s safer to avoid rebuilding LaCie RAID arrays and call a professional instead.