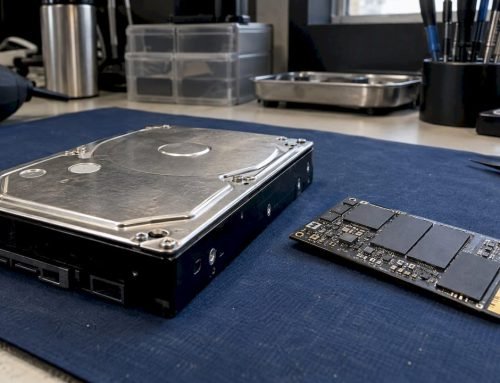
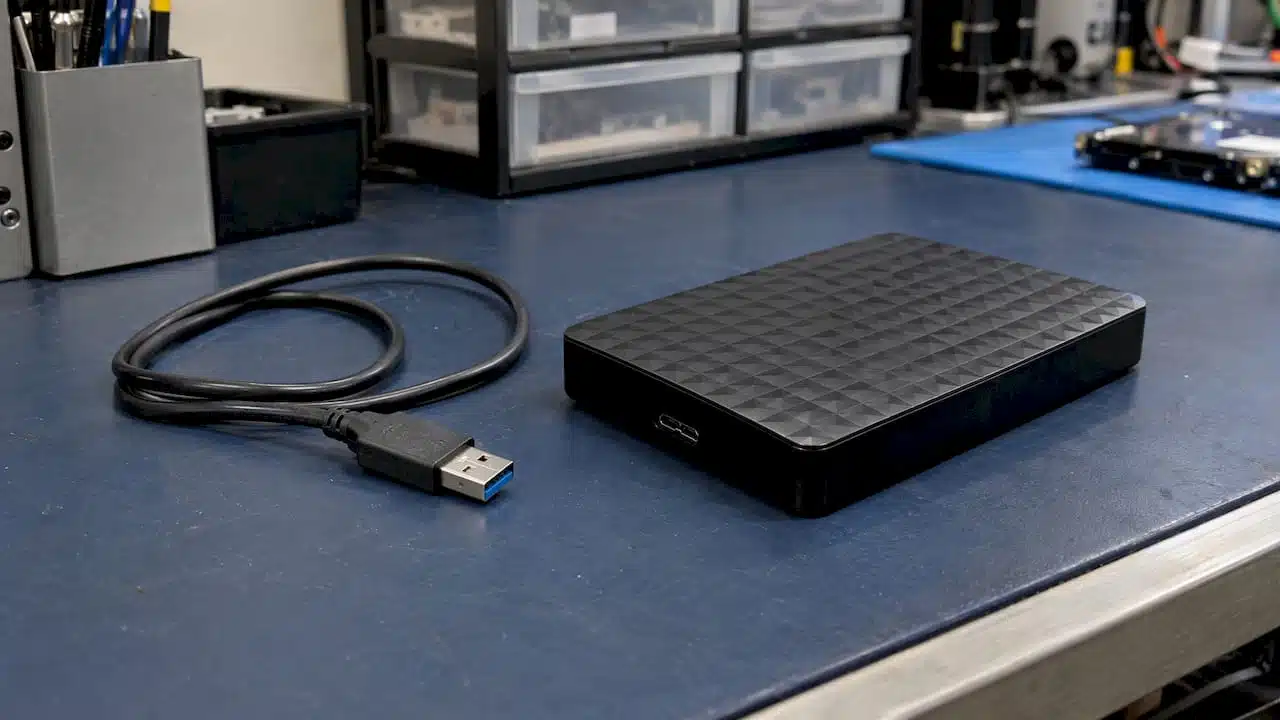
Stop all disk writes immediately if the Seagate drive holds files you cannot replace: do not run First Aid, do not reformat, and do not keep reconnecting it. Most “not recognized” cases come down to a port, a cable, power, a file system Mac cannot write to, or a locked drive, and a handful of read-only checks will tell you which one you have. If the drive is missing from both Disk Utility and System Information, clicks, or beeps, the problem is in the drive’s hardware or firmware, and that is a job for a lab. At Macwest Data Recovery in West Los Angeles, we have worked on Mac storage since 2006, and you can call (310) 866-0828 to book a same-day appointment.
TL;DR
- Stop writing to the drive, then check the port, cable, power and whether the drive appears in Disk Utility or System Information.
- If it appears but will not mount, the file system is damaged, and Seagate itself says to think about data recovery before running Repair Disk when the drive holds the only copy of your files.
- If it does not appear at all, clicks, or beeps, power it down and bring it in: we offer Free Diagnostics, same-day appointments, and a “no recovery, no charge” policy.
Table of Contents
- Why a Seagate drive stops showing up on a Mac
- Before anything else: protect the data
- Step-by-step checks, from simplest to most telling
- Why the light is on but the Mac cannot see the drive
- Read-only or “write protected” on a Mac
- Password-protected Seagate drives
- When to stop and bring the drive in
- What happens at the lab
- What other storage looks like when it fails
- Our perspective
- Book a same-day appointment
- FAQ
- Sources
Why a Seagate drive stops showing up on a Mac
Seagate states that its external drives normally need no drivers, software or firmware updates to work with a Mac, so a drive that does not show up is rarely a software installation problem. Seagate’s troubleshooter lists the usual suspects: the port, the cable, the computer, the power supply and any adapter in the chain. It also says that if the drive does not mount in Disk Utility, some level of file system corruption is indicated.
In practice, the symptom you see points to a different layer of the problem. The table below sorts the common ones.
| What you see | Most likely layer | What it usually means |
|---|---|---|
| No light, no sound | Power or cable | Bad cable, weak port, or a failed power supply or enclosure board |
| Light on, drive spins, nothing in Finder | Software or file system | Finder is hiding external disks, or the volume will not mount |
| Appears in Disk Utility but is grayed out | File system | Volume exists but will not mount; possible corruption |
| Appears in System Information but not Disk Utility | Interface or firmware | The Mac sees the device but cannot read the disk |
| Absent from both | Hardware | Port, cable, enclosure bridge board or the drive itself |
| Clicking, beeping or repeated spin-up | Drive mechanics | Heads, motor or platters; stop powering it on |
| Mounts as read-only or “write protected” | Format | Often NTFS, which macOS cannot write to natively |
| Shows as Uninitialized with no files | Encryption or damage | Locked Seagate Secure drive, or damaged partition map |
Before anything else: protect the data
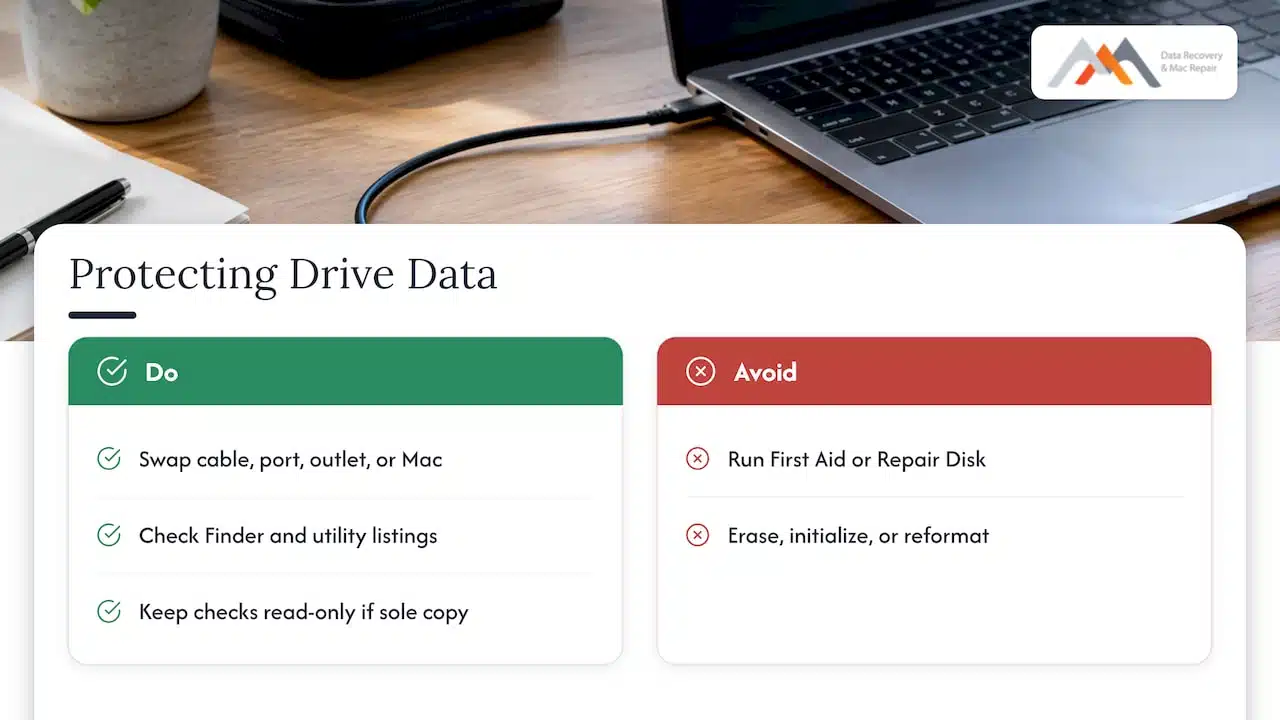
Every attempt to mount, repair or reformat a failing drive risks writing to it. A drive with a damaged directory or weak heads can lose more with each cycle. So split your checks into two groups.
Safe, read-only checks: swapping the cable, port, outlet or Mac; looking at Finder settings; opening Disk Utility and System Information to see what is listed.
Checks that write or change the disk: First Aid, Repair Disk, Erase, Initialize, and any reformat. Seagate says that Repair Disk should be attempted only when the drive is not the only copy of important data, and that formatting erases everything. If the drive is the only copy, skip that second group.
Step-by-step checks, from simplest to most telling
1. Check the connection and power
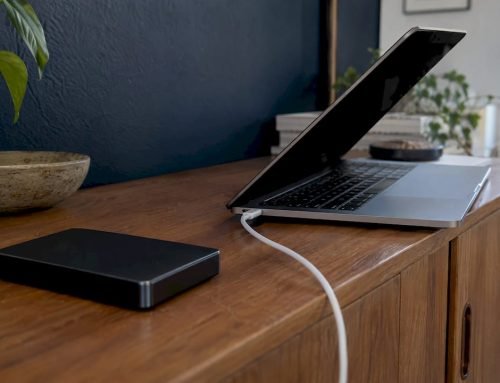
Seagate’s troubleshooter says to try a different port, a different cable and, if you can, a different computer. Confirm the drive’s light is on, use another wall outlet for desktop drives, and bypass surge protectors, power strips and USB adapters. A dongle or hub is one of the most common culprits on newer MacBooks that only have USB-C ports.
Power matters more than most people expect. Macworld reports that insufficient power over a USB-A cable is one of the main reasons drives fail to mount. A bus-powered portable drive plugged into a crowded hub may spin up, light up and still never be read.
2. Use the right power sequence
Seagate’s power-sequence guidance is to turn the external drive on and give it 10 seconds to spin up before powering on the Mac, or before plugging in the cable if the Mac is already running. It also says to eject by dragging the drive to the Trash before unplugging. Skipping the eject step is a common way a volume ends up flagged as unclean.
3. Make sure Finder is set to show external disks
A drive can be mounted and still invisible. Seagate’s Innov8 FAQ says to check that Hard Disks is selected in Finder’s General preferences, and then open Disk Utility to confirm the drive is mounting. Macworld describes the same step as ticking External disks under Finder > Settings > General. This is a read-only setting change and carries no risk to your files.
4. Look in Disk Utility
Per Seagate’s guide, open Disk Utility from Finder > Applications > Utilities. On macOS 10.13 and later, choose View > Show All Devices. The entry with no indent is the physical disk, and the indented entries beneath it are volumes.
- The physical disk is listed and the volume is listed: select the indented volume and click Mount. If it mounts, copy your files off to a different drive right away.
- The volume is listed but will not mount: Seagate says this indicates file system corruption. This is the point to stop if the files matter.
- The disk is listed as Uninitialized: do not click Initialize. That command erases the disk.
5. Look in System Information
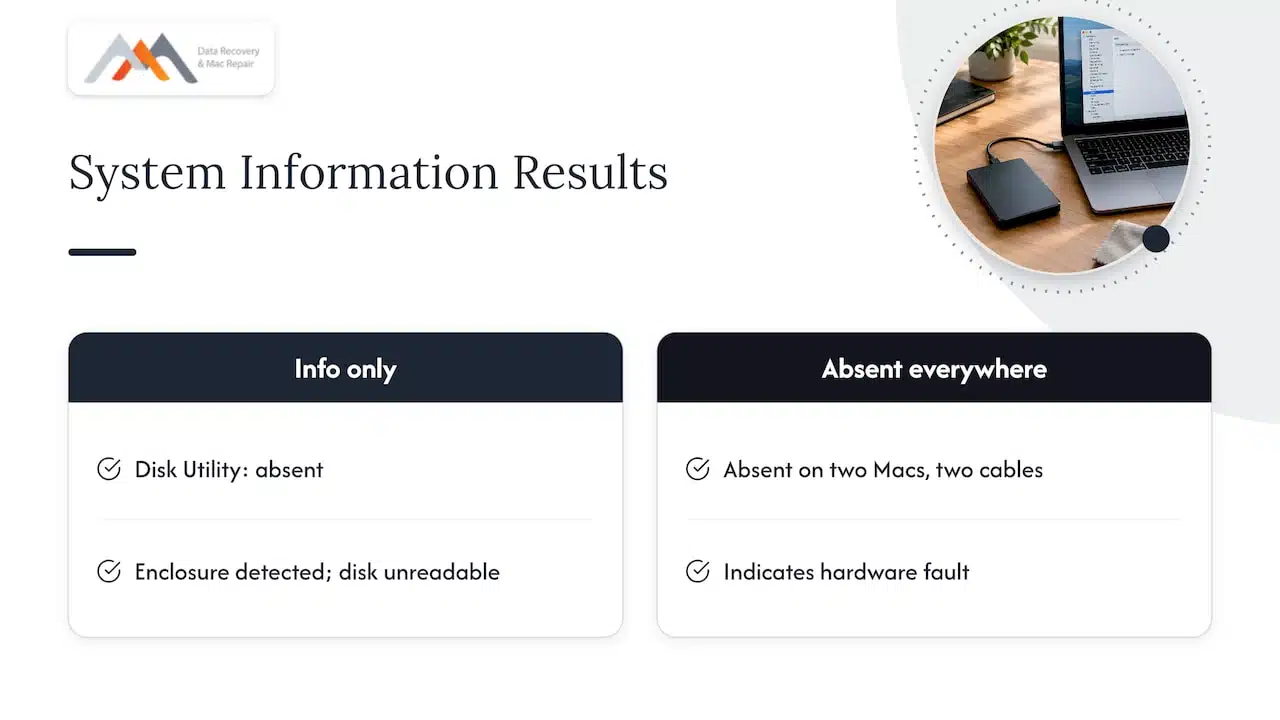
If Disk Utility shows nothing, hold Option, click the Apple menu and choose System Information. Under Hardware, open the interface the drive uses (USB, Thunderbolt and so on). Seagate’s guide says the drive’s model or serial number should be listed there. If it is absent from both places, try another Mac before drawing conclusions.
The pattern matters. A drive that appears in System Information but not in Disk Utility means the Mac detects the enclosure but cannot read the disk inside. A drive that appears nowhere, on two different Macs, with two different cables, has a hardware fault.
Why the light is on but the Mac cannot see the drive
A lit indicator only proves that the enclosure is receiving power. It says nothing about whether the platters are spinning, the heads can read the servo information, or the USB bridge board is passing data. In cases where the light is on, these are the realistic causes:
- A cable that carries power but not data cleanly. Swap it first.
- A damaged USB port on the drive or the Mac. Try a second Mac.
- A failing bridge board in the enclosure. The disk inside may be fine, which is why the drive should be opened by a technician and not by trial and error.
- A damaged firmware area or unreadable sectors. The drive spins but never completes its start-up routine.
- Mechanical damage. A drop is the classic cause: the drive powers up, spins, may click, and never mounts.
We have not found a Seagate source that explains the light-on case in one line, so treat the list above as the logical sequence of what could stop a powered drive from being read, and let the System Information result guide you.
Read-only or “write protected” on a Mac
If the drive mounts but you cannot save to it or delete from it, the cause is often the format. Seagate explains that a drive reporting write protected or read only on a Mac typically uses NTFS, which macOS cannot write to natively. Reformatting would fix the symptom but erase every file, so first copy off what you need. A locked Seagate Secure drive also reports write protected until it is unlocked.
Password-protected Seagate drives
If the drive has Seagate Secure encryption, a locked drive can look exactly like a dead one. Per Seagate’s Toolkit manual, you unlock it by opening Seagate Secure in Toolkit, clicking Unlock and entering the case-sensitive password, or by running Unlock Drive for Mac from the DriveLocked volume. A few specifics worth knowing:
- On macOS 13 or later, a driver must be enabled for Toolkit.
- The 8-character case-sensitive SID is on the packaging insert or the drive label.
- Too many failed password attempts temporarily disables the drive until you disconnect it, reconnect it and enter the correct password.
- The Unlocker app is not available for One Touch with Hub drives of 12TB or higher.
For those large One Touch with Hub drives, Seagate says a locked drive will not appear in Finder and shows as Uninitialized in Disk Utility. The fix is to click Ignore, not Initialize, install Toolkit from seagate.com/toolkit and enter the password. If Unlock Drive for Mac refuses to open on macOS 15, Seagate notes that Apple resolved the issue in macOS 15.4 or higher, and Toolkit works as an alternative.
The key point: an encrypted drive without its password cannot be read by anyone, so keep the password and SID safe.
When to stop and bring the drive in
Power the drive down and stop troubleshooting when any of these is true:
- The drive clicks, beeps, grinds or repeatedly spins up and down.
- It is missing from both Disk Utility and System Information on more than one Mac.
- It was dropped, knocked while running, or exposed to liquid.
- It appears but will not mount, and the files are the only copy.
- Disk Utility shows it as Uninitialized and you have no password to unlock.
Here is why continuing costs you. A drive with a failing head will keep trying to read the same weak area, and each spin cycle can scratch the platter. A drive with directory damage can be overwritten by repair tools that rebuild structures from incomplete data. Neither is visible from the Finder.
What happens at the lab
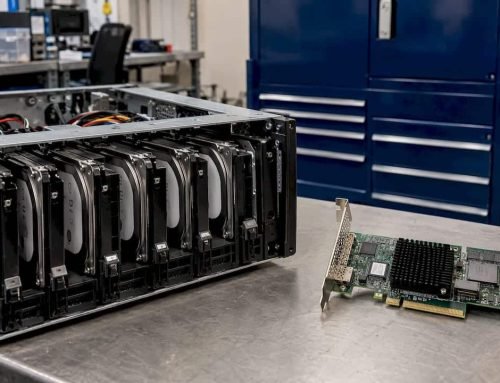
We diagnose and recover data from external and internal hard drives, SSDs, RAID systems, NAS units and memory cards. For a Seagate that no longer mounts, the process runs along these lines:
- Free Diagnostics. We assess what the drive is doing and what has failed. You then know the situation before you decide anything.
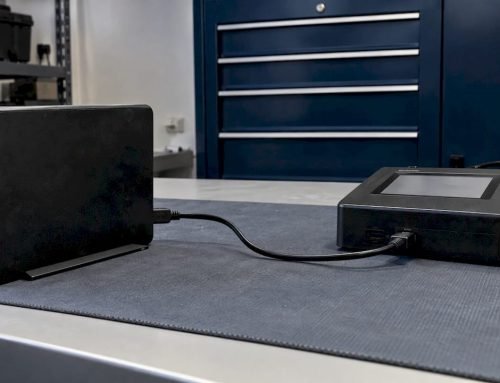
- Imaging first. We use forensic imaging, so that the work happens on a copy and the original is not stressed repeatedly.
- File system work. APFS and HFS+ volumes from a Mac, and NTFS or exFAT volumes from shared drives, are rebuilt from the image.
- Delivery. The recovered files are returned to you.
Our policy is no recovery, no charge. Pricing is quoted after diagnostics, since it depends on what the drive needs. For details on our drive work, see our page on external hard drive recovery for Mac.
Is it the drive or the Mac?
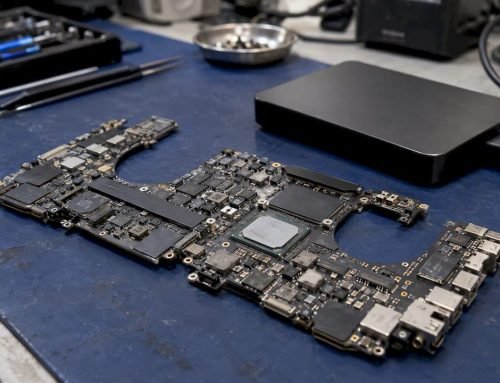
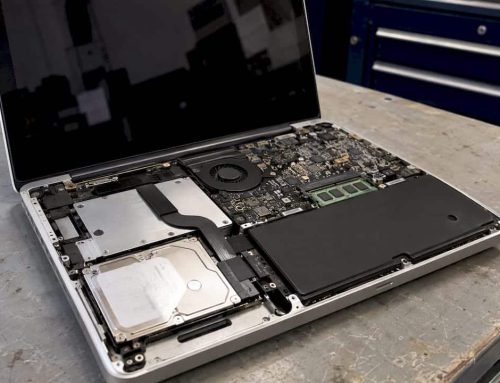
Sometimes the Seagate is perfectly healthy and the Mac is the problem. If the drive appears on a second Mac but not yours, the port or logic board’s USB or Thunderbolt circuitry may be at fault. That is where component-level logic board repair comes in: we perform precision micro-soldering on Apple Silicon and Intel Macs, which Apple Stores often treat as a board replacement. Read about our Mac repair service in Los Angeles if the drive works everywhere except your own computer.
What other storage looks like when it fails
The same logic applies to the other storage readers bring us. The symptoms differ by technology.
| Device | Typical failure symptom | Why it matters |
|---|---|---|
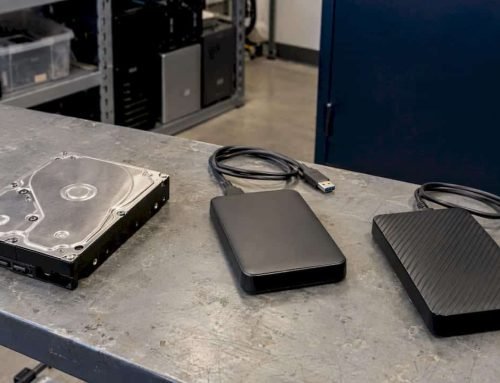
| Spinning external HDD (Seagate Expansion, Backup Plus, One Touch) | Clicking, not in System Information, or mounts slowly | Mechanical wear; each power-on adds risk |
| Portable SSD | Disappears intermittently, reads as 0 bytes | Controller or NAND trouble; see our note on SSD data recovery |
| Internal NVMe SSD in a Mac | Mac will not boot, folder with a question mark | Soldered storage on many Macs; data access needs board-level work |
| RAID 0, 1, 3 or 5 array | Degraded or offline volume | Multiple drives; the order and parity matter, and rebuilds can overwrite data |
| Memory card | Card not read, or asks to be formatted | Corrupt file table; formatting makes it harder |
For arrays, never rebuild or reinitialize on your own. Our guide to RAID data recovery in Los Angeles explains how RAID 0, 1, 3 and 5 differ in what survives a drive failure.
Our perspective
Most people who call us about a Seagate that “won’t show up” have already tried a few things, and the ones that matter most are the ones they did not do: stopping early, and keeping the drive off until someone looks at it.
We built our lab around that moment. Our engineers work in-house, with precision micro-soldering, forensic imaging and component-level logic board repair, so a drive and the Mac it connects to can be assessed in the same place. We are on Wilshire Boulevard, between the 405 and Santa Monica, near UCLA and the Getty Center, which means a same-day appointment is realistic for Westwood, Brentwood, Santa Monica, Beverly Hills, Hollywood, Culver City and Venice.
Free Diagnostics and our no recovery, no charge policy exist so that the decision to bring a drive in does not carry a financial gamble. The files are the point, and we have been working on getting them back since 2006.
Kaya
Book a same-day appointment
If your Seagate is not recognized and the files matter, bring it to 12041 Wilshire Blvd, Ste 26, Los Angeles, or call (310) 866-0828. We start with Free Diagnostics and work under a no recovery, no charge policy. Businesses and IT providers can also bring us RAID, NAS and server volumes. See the full range of data recovery services we offer, or the Mac Pro data recovery page for workstation and Mac Pro cases.
FAQ
Why won’t my Seagate work with my Mac?
The usual causes are a bad cable or port, insufficient power, hidden external disks in Finder, an NTFS format macOS cannot write to, or a locked Seagate Secure drive. Seagate says external drives normally need no drivers. If Disk Utility lists the drive but it will not mount, the file system is damaged, and a lab visit is safer than Repair Disk when it holds the only copy.
Why is the light on but the drive not detected?
The light only shows the enclosure has power. The data path can still fail through a faulty cable, a bridge board, damaged firmware or mechanical damage. Check System Information: if the drive is missing there on two Macs with two cables, the fault is in the drive hardware.
How do I unlock a Seagate drive on a Mac?
Open Seagate Toolkit, choose Seagate Secure, click Unlock and enter the case-sensitive password, or run Unlock Drive for Mac from the DriveLocked volume. Too many wrong attempts disables the drive until you disconnect and reconnect it. Do not click Initialize on a locked drive, because that erases it.
Should I run First Aid on a Seagate drive with important files?
Not if it is the only copy. Seagate says to run First Aid first for a non-mounting drive but to attempt Repair Disk only when the data is backed up elsewhere. When the files are irreplaceable, stop and have the drive assessed.
Can you recover files from a Seagate that clicks or is not in Disk Utility?
Yes, that is exactly the work we do, using forensic imaging in our West LA lab. We offer Free Diagnostics and a no recovery, no charge policy, and same-day appointments are available. Call (310) 866-0828 and keep the drive powered off until you arrive.
Sources
- USB External Troubleshooter, Seagate US
- How to turn on or turn off the FireWire or USB external storage unit, Seagate US
- Seagate Innov8 User Manual, frequently asked questions
- Why your Mac won’t recognize an external drive, Macworld
- Drive reports write protected or read only, Seagate US
- Toolkit User Manual, Seagate Secure
- One Touch with Hub is not listed in Explorer or Finder, Seagate US
- The application Unlock Drive for Mac can’t be opened, Seagate US