Stop all disk writes immediately. Most files on a dead or non-booting Mac are still recoverable, unless the storage itself is physically destroyed or the FileVault encryption key is unreachable. Do not reinstall macOS or run disk repair tools. If your Mac shows any sign of life, your fastest path is usually Target Disk Mode or Share Disk; if it’s completely unresponsive, skip ahead to the sections on model identification and professional recovery.
TL;DR:
- If your Mac shows any sign of partial power, you can often recover files using Target Disk Mode or Share Disk, depending on the model, provided the logic board is still responsive.
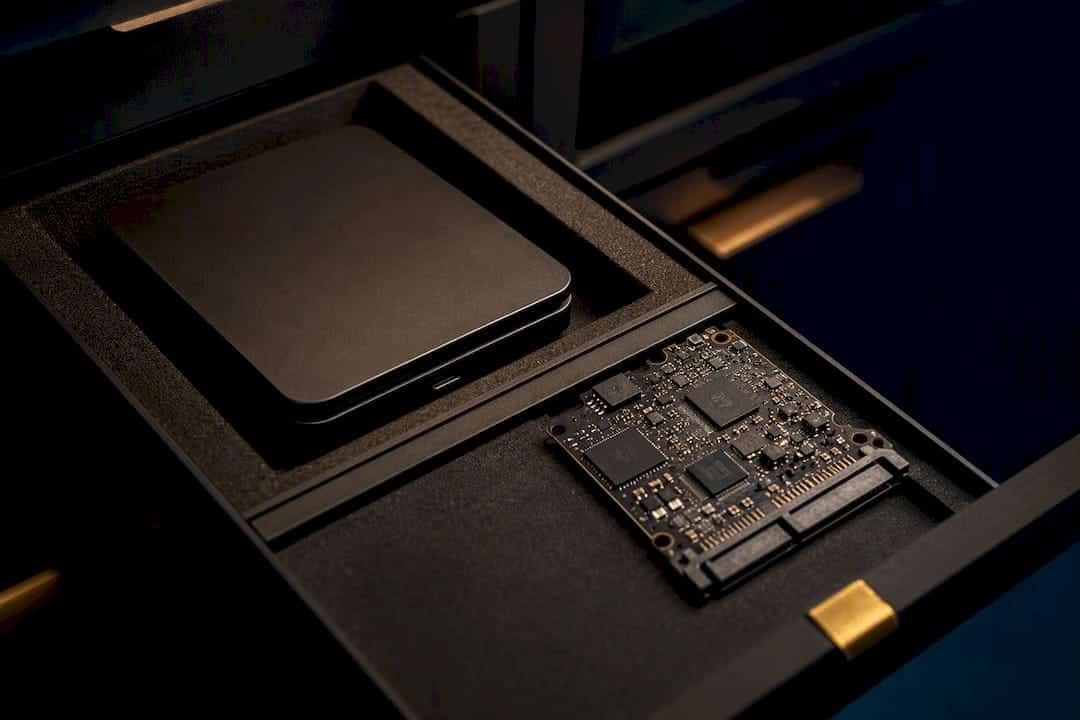
- For Intel Macs built before 2018, removal of the removable SSD allows direct access to files; newer models with T2 or Apple silicon typically have soldered NAND that cannot be physically extracted without the security chip.
- A completely dead Mac usually requires professional board-level diagnostics, such as DFU or micro-soldering, because storage encryption keys are fused to the logic board and cannot be accessed otherwise.
- Initiate recovery only after verifying power, unplugging accessories, and avoiding any repair that writes to the disk, as these actions risk destroying recoverable data.
- A professional data recovery lab can safely perform complex diagnosis, micro-soldering, and NAND extraction, with many offering free diagnostics and no recovery no charge guarantees.
Table of Contents
- Quick Triage: Basic Checks You Can Safely Try Now
- Identify Your Mac Generation and Storage Type
- Target Disk Mode, Share Disk, and Time Machine: Step by Step
- When the Mac Shows No Power or Storage Is Soldered
- How to Prepare for Recovery: Checklist and Things to Bring
- When to Call a Professional: What to Expect
- Why Specialist Labs Matter for Recovery Success
- Practitioner Perspective: Balancing Speed, Risk, and Cost
- How Macwest Can Help: Same-Day Diagnostics
- Sources
- FAQ
Quick Triage: Basic Checks You Can Safely Try Now
Before assuming the worst, rule out the boring causes. A dead-looking Mac is often just a power problem wearing a data-loss costume, and Apple’s own troubleshooting sequence catches a surprising number of “won’t turn on” cases before they ever need a lab.
Run through these checks in order, and stop the moment you see any sign of life:
- Swap the power adapter and cable for a known-good spare, and try a different wall outlet entirely.
- Unplug every accessory, external drive, and dock, then attempt to power on with nothing else connected.
- Hold the power button for 10 seconds to force a restart, then release and try a normal power-on.
- Watch closely for partial life: a spinning fan, a brief chime, keyboard backlighting, or the “Loading startup options” screen on Apple silicon Macs.
- If you’re on an older Intel model, try resetting the SMC, since a stuck power-management chip mimics total failure.
Apple’s own guidance confirms that simple power, cable, and accessory checks resolve a meaningful share of these reports without ever touching the drive. That matters because every troubleshooting step that doesn’t involve booting into macOS keeps you safely away from writing new data to the disk.
Pro Tip: If you see even a flicker of the Apple logo or hear the startup chime, stop trying random fixes. That flicker means the logic board is at least partially alive, which opens the door to Target Disk Mode or Share Disk instead of a full lab intake.
Here’s where the checks should stop: if the Mac shows zero response after a charged battery, a verified outlet, and a force restart, further DIY attempts (reseating RAM, opening the case, “just trying one more cable”) risk turning a recoverable board into an unrecoverable one. At that point, the goal shifts from troubleshooting to preservation. Don’t charge a MacBook with a swollen battery, and don’t attempt to open the case yourself if you smell burning or see corrosion. That’s a job for someone who repairs logic boards for a living, not a kitchen-table fix.
Identify Your Mac Generation and Storage Type
The single biggest factor in whether you can pull files yourself is what generation of Mac you’re holding, because Apple has redesigned how storage connects and encrypts three times since 2016.
If your Mac powers on at all, check Apple menu > About This Mac on a working session, or look up the serial number (on the bottom case, original box, or receipt) at Apple’s support site to confirm the model and year. If it’s completely dark, your purchase records or Apple ID device list are your best source.
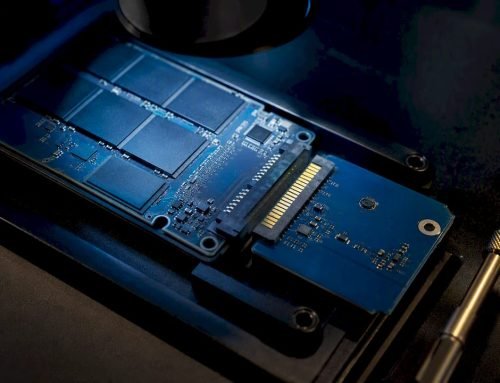
Why does this matter so much? Intel Macs built before 2018 generally used a removable SSD on a standard connector, meaning a data recovery lab (or a technically confident owner) could pull the drive and read it on another machine. Starting with the T2 security chip, and continuing through every Apple silicon Mac since, storage became soldered NAND with encryption keys tied directly to the chip itself. Removing that chip doesn’t help; without the chip alive and unlocked, the NAND is unreadable static.
FileVault complicates this further. Target Disk Mode and Share Disk will prompt for your FileVault password or recovery key whenever the volume is encrypted, and there’s no workaround if you don’t have either one. If you’ve never written down your recovery key, now is the time to check your Apple ID account page and iCloud Keychain before you need it in a panic.
| Mac Generation | Storage Type | DIY Removal Possible? | Best First Recovery Path |
|---|---|---|---|
| Intel (pre-2018, no T2) | Removable SSD | Yes, drive can be pulled and read externally | Target Disk Mode or SSD removal |
| Intel with T2 chip (2018 to 2019) | Soldered, T2-encrypted | No, encryption tied to chip | Target Disk Mode (needs FileVault credentials) |
| Apple silicon (M1 and later) | Soldered NAND | No, key fused to chip | Share Disk via Recovery, or DFU/Revive |
Target Disk Mode, Share Disk, and Time Machine: Step by Step
If your Mac can reach a startup chime, a login screen flicker, or Recovery Mode, you’re in the best possible position short of a full boot. This is the moment to move fast but carefully, because these methods only work while the logic board still has some life in it.
Target Disk Mode (Intel Macs)
- Connect the dead Intel Mac to a working Mac using a Thunderbolt, USB-C, or FireWire cable, depending on the ports available on both machines.
- On the dead Mac, hold down the T key while pressing the power button, and keep holding until you see a Thunderbolt or FireWire icon appear on screen.
- On the working Mac, the dead Mac’s internal drive should mount as an external volume in Finder.
- If FileVault is enabled, Finder will prompt for the account password or recovery key before the volume becomes readable.
- Drag the files you need onto your destination drive, then safely eject the volume before disconnecting the cable.
This method depends on the logic board and storage controller both being functional. According to Apple’s own documentation on Target Disk Mode and Share Disk, neither approach works if the board is completely non-responsive, which is why the quick triage checks above matter so much before you invest time here.
Share Disk (Apple Silicon Macs)
Apple silicon Macs replaced Target Disk Mode with Share Disk, accessed through Recovery Mode instead of a keyboard shortcut at boot.
- Press and hold the power button until you see “Loading startup options,” then release.
- Choose Options, then Continue to enter macOS Recovery.
- From the menu bar, select Utilities > Share Disk.
- Pick the internal volume you want to expose, then connect the dead Mac to a working Mac using a USB-C or Thunderbolt cable.
- On the working Mac, the shared volume appears in Finder’s sidebar under Network, accessible over an SMB-style connection.
- Enter the FileVault password when prompted, then copy the files you need to your destination drive.
Pro Tip: Share Disk connections run over SMB, and copying thousands of small files (photos, project files, cache folders) can crawl even though the underlying connection supports multi-gigabyte-per-second speeds. Copy your largest, most important folders first, and expect the file count to matter more than total size.
Back-to-Back Thunderbolt Networking
For Macs that boot into Recovery but don’t show a friendly desktop, a direct Thunderbolt cable between two Macs can create a point-to-point network faster than Wi-Fi or standard Ethernet. This isn’t a separate recovery method so much as the physical layer that Share Disk rides on top of. The practical tradeoff is the one described above: bulk transfers of large video or design files move efficiently, while a Downloads folder stuffed with 40,000 small files will test your patience regardless of the cable’s rated speed.
Time Machine and Migration Assistant
If the dead Mac has an existing Time Machine backup on an external drive or Time Capsule, you may not need to touch the failed unit at all. Set up a replacement Mac (or a loaner), open Migration Assistant, and point it at the Time Machine backup to restore your entire system, accounts, and files in one pass. Methods like Target Disk Mode, Share Disk, and Time Machine restoration all assume the drive itself is intact; if your Mac is truly dead with no backup, they simply don’t apply, and you move to the professional options below.
When the Mac Shows No Power or Storage Is Soldered
Here’s where a lot of DIY guides quietly stop being useful, because the internet is still full of “just pull the SSD” advice written for Macs that stopped shipping years ago.
On any Mac with a T2 chip or Apple silicon, storage is soldered NAND with encryption keys fused to the chip itself. Even if a technician physically desolders the memory chips, the data reads back as unreadable noise without the paired security chip alive and unlocked. This is the single most common misunderstanding we hear from customers who watched a YouTube video about a much older MacBook.
What actually works for a truly dead modern Mac:
- DFU (Device Firmware Update) and Revive via Apple Configurator can sometimes bring a Mac’s chip to a minimal operational state without wiping user data, which then allows safe extraction. It’s a “revive,” not a factory restore, and the distinction matters enormously to whether your files survive.
- Logic-board component repair targets the specific failed part (a power-management chip, a damaged capacitor, a corroded connector) rather than replacing the whole board, which is what lets data-bearing chips stay untouched.
- Micro-soldering replaces individual failed components under magnification, a skill that takes years to develop and can ruin the board permanently if attempted by someone inexperienced.
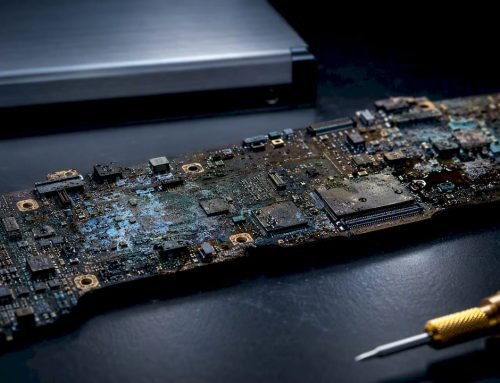
- Ultrasonic cleaning removes corrosion after liquid damage before any board-level work begins, since corrosion actively continues damaging traces the longer it sits.
For SSDs specifically, understanding how TRIM commands and controller behavior affect a failing drive helps explain why some recovery attempts succeed cleanly while others recover only partial files.
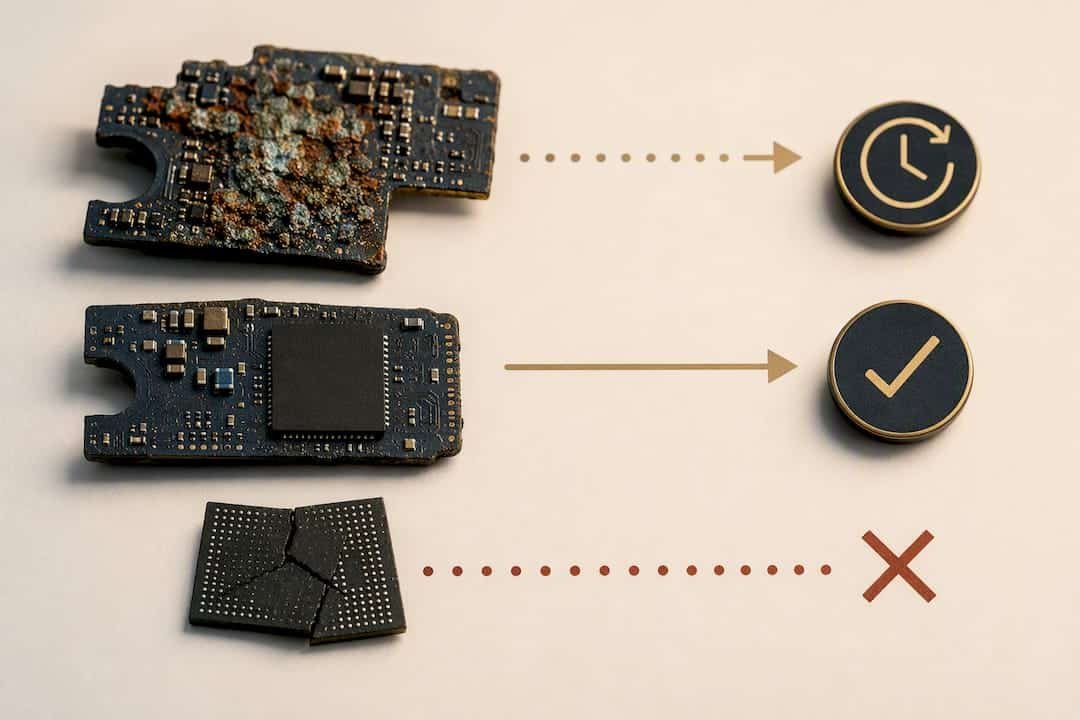
A realistic look at outcomes: liquid-damaged logic boards with visible corrosion often need days, not hours, because ultrasonic cleaning and component-level diagnosis take time to do safely. Boards with clean physical damage (a single failed chip, no corrosion) tend to have better odds and faster turnaround than boards that show burn marks or multiple failure points. Recovery becomes unlikely, though never automatically impossible, when NAND chips themselves show physical fracture damage or when the encryption key material has been physically destroyed alongside the chip that held it.
How to Prepare for Recovery: Checklist and Things to Bring
Whether you’re attempting a DIY transfer tonight or dropping the Mac off tomorrow, a few minutes of preparation now saves hours of frustration later.
- Stop all disk writes: don’t reinstall macOS, don’t run Disk Utility’s First Aid, and don’t let the Mac attempt any automatic repair.
- Gather your Apple ID credentials, FileVault password or recovery key, and the Mac’s serial number and proof of purchase.
- Take photos of any physical damage (drops, liquid exposure, unusual smells) before handing the machine to anyone.
- Prepare a destination drive with enough free space for your data, formatted as APFS or exFAT depending on what you’ll use it with next.
- Back up any other devices that share accounts or files with the dead Mac, since a recovery process shouldn’t be your only backup point going forward.
- If shipping to a lab, use anti-static packaging and padded protection; if dropping off in person, confirm whether the location takes walk-ins or requires a scheduled appointment.
When to Call a Professional: What to Expect
Certain symptoms mean DIY attempts stop making sense: no power response after basic checks, any liquid immersion, visible burn marks, or a Mac silicon model with soldered storage that never shows a glimmer of life.
When you call a lab, ask direct questions before committing:
- Do you perform board-level component repair, or only whole-board swaps?
- Do you offer free diagnostics, and is there a “no recovery, no charge” policy?
- What’s your typical turnaround for RAID or NVMe recovery versus a single-drive job?
- Can same-day appointments happen, or does everything queue behind a multi-day backlog?
Pro Tip: A shop that immediately recommends erasing and reinstalling macOS on a dead-drive symptom, without asking about board-level diagnostics first, is a red flag. That’s a fix for a different problem, not for lost data.
A good intake starts with a technician asking what happened (drop, liquid, sudden shutdown) before touching the machine, because the failure story often points straight at the likely cause.
Why Specialist Labs Matter for Recovery Success
A specialized Mac data recovery and hardware repair service has experience since 2006, covering multiple storage generations from removable SSDs to Apple silicon’s soldered NAND. Intakes typically start with diagnostics offered at no cost, and some shops operate on a ‘no recovery, no charge’ basis to avoid fees if recovery is unsuccessful.
Relevant technical services for dead Mac data recovery generally include APFS volume analysis and repair, NVMe and SSD-level recovery including TRIM-influenced cases, RAID recovery for common configurations, and logic-board component repair and micro-soldering for non-functional boards.
| What Determines Outcome | Realistic Expectation |
|---|---|
| Mac shows partial power, no FileVault key | Recoverable once credentials are provided |
| Mac completely dead, board damage only | Often recoverable via board repair or DFU/Revive |
| Liquid damage with heavy corrosion | Recoverable in many cases, but requires more time |
| NAND chip physically fractured | Recovery unlikely regardless of technique |
Practitioner Perspective: Balancing Speed, Risk, and Cost
Attempting a DIY transfer makes sense when the Mac shows partial life, you know your FileVault credentials, and you have a spare Mac for Target Disk Mode or Share Disk. It stops making sense the moment the machine is fully dark, shows physical damage, or you’re not certain about your recovery key. Every hour spent guessing on a truly dead board is an hour the data sits at risk. Stop all disk writes immediately, and if the files matter for work, finances, or memories you can’t replace, same-day diagnostics beats a weekend of trial and error every time.
— Kaya
How Macwest Can Help: Same-Day Diagnostics
If your Mac won’t respond to any of the steps above, Some repair shops offer free diagnostics, a no recovery, no charge guarantee, and same-day appointments to address urgent data recovery cases. Rather than guessing at board-level damage yourself or shipping a machine across the country and waiting weeks, you can bring the Mac to a lab centrally located at 12041 Wilshire Blvd, Ste 26, between the 405 and Santa Monica, near UCLA and the Getty Center, serving West LA, Santa Monica, Beverly Hills, Brentwood, Westwood, Venice, Hollywood, and Culver City.
Bring your FileVault recovery key or password if you have it, the Mac’s serial number, and a destination drive if you already know how much space you’ll need. Technicians may perform logic-board component repair, micro-soldering, NVMe and RAID recovery, and APFS-level diagnostics onsite, allowing for accurate pricing and turnaround estimates during intake. Call 310-866-0828 to schedule a same-day diagnostic, or start with the hard drive and SSD recovery page to see what the intake process looks like before you arrive.
Sources
- If your Mac doesn’t turn on – Apple Support
- Recover files from a sick Mac – Eclectic Light Company
- How Do You Recover Data From a Damaged MacBook? Ultimate Recovery Guide (Stellar)
FAQ
Can I transfer data from a Mac that won’t turn on?
Often, yes, if the Mac reaches Recovery Mode or a partial power state, using Target Disk Mode on Intel models or Share Disk on Apple silicon models. If the Mac is completely unresponsive, transfer requires professional board-level intervention first.
Can you recover data from a MacBook that won’t turn on?
Recovery is frequently possible even when a MacBook won’t power on, since the storage itself is often intact and the problem lies in the logic board’s power circuitry. A lab can perform board-level diagnostics and repair to restore enough function for safe data extraction.
How can I transfer data from my broken Mac to a new Mac?
If the broken Mac has a Time Machine backup, use Migration Assistant on the new Mac to restore everything at once. Without a backup, connect the two Macs directly using Target Disk Mode or Share Disk and copy files manually through Finder.
Is it possible to retrieve data from a dead hard drive?
Yes, in most cases, unless the drive’s physical platters or NAND chips suffer fracture-level damage or the encryption key is permanently lost. Professional labs use techniques including NAND extraction, micro-soldering, and controller-level repair to recover data that DIY methods can’t reach.
What’s the first thing I should do if my Mac won’t start?
Stop all disk writes immediately, check the power adapter and cable, unplug all accessories, and try a force restart. If none of that produces any sign of life, preserve the machine as is and consult a professional data recovery lab rather than attempting further fixes.