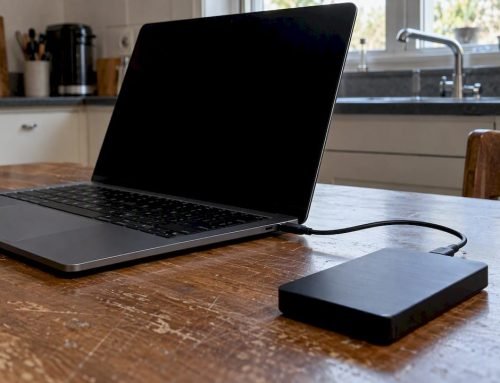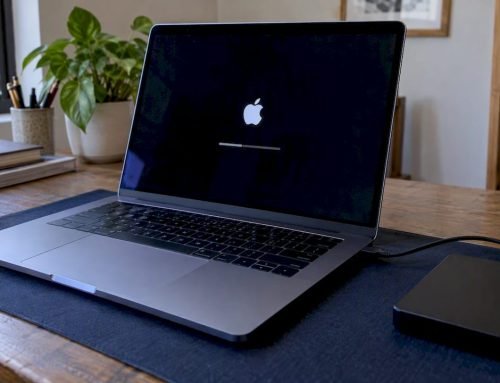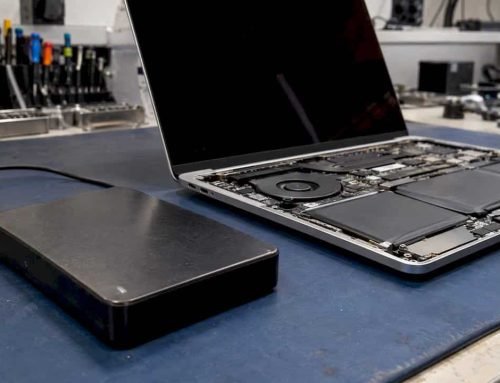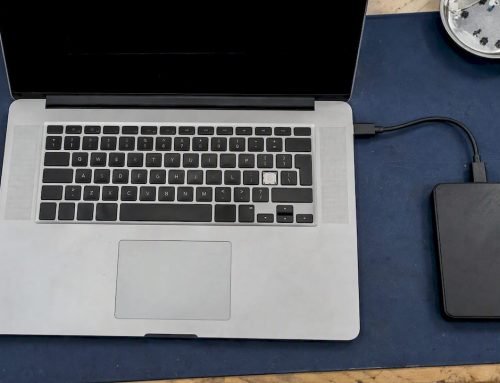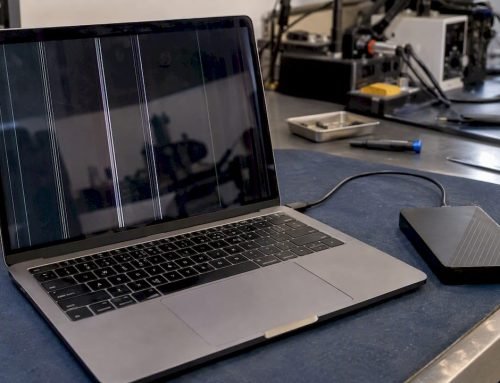
Stop all disk writes immediately: recoverability depends on whether the file sits in Trash, whether an APFS snapshot predates the deletion, and whether the drive uses encryption or has already run TRIM. Check Trash first, then Time Machine or iCloud backups. If the file lived on an internal SSD and real time has passed, or the drive shows signs of failure, contact a data recovery lab before attempting further steps yourself.
TL;DR:
- If the file remains in Trash, use Put Back to restore it to its original folder; this relies on Trash metadata, not memory.
- Search Time Machine backups and local APFS snapshots near the deletion time, then restore from the relevant copy; Spotlight can search backup contents.
- Read only recovery software is most suitable for external hard drives; save recovered files elsewhere, and image the source first when data matters.
- Call a recovery lab for clicking or unmountable drives, RAID or NVMe failures, or internal SSD deletions after hours, when TRIM may have cleared blocks.
Table of Contents
- Immediate Triage: Stop Writes and Check Trash First
- Check Backups and Cloud Storage Before Anything Else
- What Recovery Software Actually Does on SSD vs HDD
- Advanced Steps: Disk Imaging and Terminal Commands
- Recoverability by Scenario: A Quick Reference
- When to Call a Professional Data Recovery Service
- Why Speed Matters More Than Any Tool
- Start a Recovery Case With Our Lab
- FAQ
- Sources
Immediate Triage: Stop Writes and Check Trash First
Every minute counts on a modern Mac, so the first move is the one most people skip: stop using the disk. Writing new data, even opening an app, can overwrite the very blocks that hold your deleted file.
- Stop all disk writes immediately. Do not save new files, install software, or let automatic backups run.
- Open Trash and look for the file. If it is there, select it and use Put Back, or drag it to its original folder.
- If Trash is empty, do not log out, restart, or install anything on the affected drive.
- Disconnect external drives that may hold the deleted file so nothing else touches them.
- Avoid downloading recovery software onto the affected drive. Use a different Mac or an external drive to download any tools you need later.
Put Back works by reading the metadata Trash stores about a file’s original location, so it restores the file exactly where it came from rather than depending on you to remember the folder.
Pro Tip: If you’re not sure whether the drive is internal or external, check System Information under Storage before doing anything else. That single detail changes every step that follows.
Check Backups and Cloud Storage Before Anything Else
Backups and snapshots offer the highest odds of a clean recovery, and checking them costs you nothing. Before you touch software or Terminal, rule these out.
- Open Time Machine from the menu bar and browse backup points around the time the file existed, then restore it directly to its original location, following Apple’s own restore steps.
- Check for local APFS snapshots, since a snapshot that predates the deletion effectively still contains the file’s block map, letting you restore it intact.
- Look in iCloud Drive’s “Recently Deleted” folder, and check any other cloud sync service you use for a similar trash or version history feature.
- Before restoring anything, connect your backup drive, confirm you have admin credentials, and note the approximate date and time you last saw the file.
Time Machine also integrates with Spotlight, so searching for the file’s name while browsing a backup can save you from scrolling through dozens of snapshots by hand.
What Recovery Software Actually Does on SSD vs HDD
Most consumer recovery tools work one of two ways: catalog recovery, which reads whatever file system records remain, or signature-based file carving, which scans raw disk blocks for known file headers like JPEG, PDF, or ZIP and reassembles the data that follows. Carving succeeds when the underlying blocks are still intact and readable.
That is exactly where modern Macs complicate things. Deleting a file on APFS removes its directory entry and releases the blocks, and what happens next depends entirely on snapshots, TRIM, and encryption. On an internal SSD, the drive’s own controller can run garbage collection and TRIM shortly after deletion, permanently clearing those blocks before any software ever gets a chance to read them. TRIM and controller-driven garbage collection on internal SSDs can make recovery a genuine race against time, and acting immediately matters more than which tool you choose. FileVault adds another layer: recovered raw blocks are unreadable without the encryption key, so a lost key can make a technically “recoverable” file useless anyway.
- Run any scan in read-only mode and never write recovered files back to the source drive.
- Recover files to a separate, healthy drive, never to the one you are scanning.
- Create a full disk image first when the data matters, so you have a safe copy to work from if the first attempt fails.
- Software is worth trying on an external HDD, on a drive with no TRIM support, or when a snapshot already confirms the file exists.
Advanced Steps: Disk Imaging and Terminal Commands
Before running any commands, image the drive. Disk imaging, often done with the standard Unix dd utility, copies the drive bit for bit onto another disk or file, preserving the original state so a failed attempt does not cost you your only shot, a step treated as standard procedure in forensic recovery work.
- Open Terminal and run
cd ~/.Trashto see if the file is still physically present but hidden from Finder. - Use
mv filename ~/Desktopto move a recovered item out of Trash into a safe location. - Never run
rmor any command you do not fully understand on a drive you are trying to recover from. - Stop immediately and call a professional if the drive is clicking, failing to mount, or showing other signs of hardware trouble.
Recoverability by Scenario: A Quick Reference
Recoverability varies enormously by situation, and knowing which bucket you fall into tells you what to do next.
| Scenario | Recoverability | Immediate action | Notes |
|---|---|---|---|
| Still in Trash | High | Use Put Back | No TRIM or snapshot issue applies |
| Snapshot predates deletion | High | Restore from snapshot or Time Machine | Essentially copying an existing file |
| Internal SSD, minutes elapsed | Medium | Stop writes, call a lab | TRIM may not have run yet |
| Internal SSD, hours or days elapsed | Low | Stop writes, consult a pro | TRIM has likely cleared the blocks |
| External HDD | Medium to high | Try read-only recovery software | No TRIM; blocks often remain intact |
| External SSD in enclosure | Medium | Stop writes, scan read-only | TRIM support varies by enclosure |
| Encrypted volume, lost key | None | Contact the service that issued the key | FileVault makes raw blocks unreadable |
When to Call a Professional Data Recovery Service
Some situations move past safe DIY territory the moment they happen. Physical damage, a volume that will not mount, RAID or NVMe failures, or an internal SSD where real time has already passed are all signs that further attempts at home risk making things worse.
- A drive that clicks, grinds, or is not recognized by any Mac needs a lab, not another download.
- RAID 0, 1, 3, or 5 arrays and NVMe drives often require specialized rebuilding tools that consumer software cannot replicate.
- Forensic imaging and component-level logic board repair are standard capabilities at a dedicated recovery lab, used when DIY software has nothing left to work with.
Pro Tip: If your Mac holds the only copy of something irreplaceable, stop troubleshooting and call before you try one more “quick fix.”
Why Speed Matters More Than Any Tool
Stopping disk writes immediately remains the single most reliable thing you control, especially on an internal SSD where the recovery window can close within hours, not days. A Mac-focused data recovery lab has operated since 2006, offering free diagnostics and a no recovery, no charge policy, with same-day appointments for exactly these situations. When you are unsure what you are dealing with, it costs nothing to ask before you act.
— Kaya
Start a Recovery Case With Our Lab
When a deleted file matters enough that you do not want to gamble on a download, we handle Mac data recovery, SSD and NVMe recovery, RAID rebuilds, and logic board repair in-house, with same-day emergency service and free diagnostics. Our no recovery, no charge policy means you only pay when we actually get your files back. Call us at 310-866-0828 for a same-day appointment, or visit our data recovery services page to see the full range of recovery work we handle for Mac, RAID, and external drives.
FAQ
Is it possible to recover permanently deleted files?
It depends on whether the underlying blocks have been overwritten or cleared by TRIM. A file deleted on APFS can often be recovered if a snapshot predates the deletion or if TRIM has not yet run, but once the blocks are reused or wiped, the data is gone for good.
How can I recover accidentally deleted files on my Mac for free?
Check Trash first and use Put Back if the file is there, then check Time Machine backups and any local APFS snapshots, since both let you restore a file at no cost. iCloud Drive’s “Recently Deleted” folder is also worth checking if the file was stored there.
Where can I find the deleted files on a Mac?
Start with Trash, since most deleted files sit there until the Trash is emptied. If Trash is empty, look in Time Machine backups, APFS snapshots, or your cloud storage’s own deleted-items folder before assuming the file is unrecoverable.
Can I recover deleted files from the recycle bin if it’s empty?
Mac does not use a recycle bin, but once Trash is emptied the file’s directory entry is removed and its blocks are released for reuse, so recovery depends on backups, snapshots, or file-carving software before those blocks get overwritten. An internal SSD running TRIM can clear those blocks within hours, which makes stopping disk writes immediately the most important step.