Stop all disk writes immediately and power off your Synology NAS using the physical power button. Every additional minute of operation on a degraded or crashed volume risks overwriting the exact metadata a recovery attempt depends on. Do not click Repair, do not run Online Assemble, and do not reinitialize the volume until you understand what caused the failure.
- Disconnect the network cable so no scheduled task or remote client writes to the array.
- Skip the DSM repair prompts and any “initialize volume” screens.
- Photograph the drive bays before removing anything, and label each bay’s slot order.
- If drives are clicking, spinning up and down, or more than one bay shows a fault, call a professional lab now rather than experimenting further.
Key Takeaways
Powering off a failing Synology NAS immediately and avoiding DSM’s Repair or Online Assemble prompts preserves the metadata that both DIY and professional recovery depend on.
| Point | Details |
|---|---|
| Stop writes first | Power off with the physical button and disconnect the network before anything else. |
| Label drive order | Photograph and label each bay; disk order matters for offline array reconstruction. |
| Avoid rebuild temptation | Rebuilding a degraded array with a suspect drive can trigger a cascading second failure. |
| DIY has real limits | mdadm and LVM extraction works only on healthy, cloned drives, never on originals or crashed volumes. |
| Macwestlosangeles offers a lab-first path | Free diagnostics, no recovery no charge, and same-day West LA appointments for degraded or failed Synology arrays. |
Table of Contents
- Synology Data Recovery Triage: What to Do in the First Hour
- Is It Safe to Run DSM Storage Manager Checks?
- Can You Recover Synology Data Yourself With Linux Tools?
- When Do You Need a Professional Synology Recovery Lab?
- Inside a Professional Synology Recovery Lab Workflow
- Why Macwest Handles Synology Recovery With a Lab-First Mindset
- Get Your Synology Drives Assessed Today
- Sources
- FAQ
Synology Data Recovery Triage: What to Do in the First Hour
The first hour after a Synology NAS fails determines whether recovery is straightforward or expensive. Most failed recoveries trace back to actions taken after the initial fault, not the fault itself.
- Stop all writes. Pause backup jobs, Surveillance Station recording, and any active file transfers.
- Power off safely. Use the DSM shutdown menu if the system responds, or hold the physical power button if it doesn’t.
- Disconnect the network cable. This blocks scheduled tasks and, in ransomware cases, prevents further encryption.
- Photograph the bays. Shoot each drive in place before you touch anything, capturing serial numbers and bay numbers.
- Leave drives seated unless told otherwise. Pulling drives unnecessarily can disturb connections and complicate reassembly.
Each step protects something specific. Powering down preserves btrfs snapshots that a live, degraded system might otherwise overwrite. Disconnecting the network stops ransomware from spreading to mapped drives or Hyper Backup targets. Labeling slot order matters more than most owners realize, since a professional lab’s offline reconstruction has to test the exact original disk order and stripe offset to rebuild the array from clones.
Pro Tip: Before you call anyone, export the DSM system logs (Log Center) if the interface still loads, and jot down the model number, DSM version, and RAID type printed on the box or visible in Storage Manager. A lab can triage faster with that information in hand.
Is It Safe to Run DSM Storage Manager Checks?
Checking Storage Manager is safe. Clicking Repair or Online Assemble without understanding what caused the fault is not.
Open Storage Manager > Overview to see which volume and pool show a warning state, then check HDD/SSD > Health Info for each drive. Running a SMART test from this screen is non-destructive and worth doing while you decide next steps.
- Note whether the pool status reads “Degraded” (one drive down, no redundancy left) or “Crashed” (too many drives down to rebuild).
- Record any SMART attributes flagged as failing, especially reallocated sectors or pending sectors.
- Screenshot the pool and drive status pages before doing anything else.
DSM’s behavior here depends heavily on version. On DSM 7 and later, Storage Manager offers “Online Assemble,” which syncs the system partition across drives without touching the data volume, a relatively low-risk action. Older DSM 6 systems present a “Repair” button instead, which can strip some system settings and, in the wrong scenario, starts a rebuild you can’t easily cancel. A “Degraded” pool has zero redundancy left; a second failure turns it into “Crashed,” so treat any degraded warning as urgent rather than routine.
Can You Recover Synology Data Yourself With Linux Tools?
DIY extraction works only when the drives themselves are mechanically healthy and you’re comfortable in a Linux command line. It is not a path for a volume that’s crashed, clicking, or partially rebuilt.
The workflow mirrors what a lab does, minus the forensic imaging step, and it should always run against clones rather than the original drives:
- Boot a Linux environment (Ubuntu live USB or similar) and connect the drives or disk images.
- Run
mdadm --examineon each device to confirm RAID metadata and disk order. - Assemble the array with
mdadm --assemble --force, referencing the labeled slot order you recorded earlier. - Activate the logical volume with
vgchange -ay. - Mount the filesystem, ext4 with a standard mount command, btrfs often via
btrfs restorewhen the filesystem tree is damaged.
Community resources help here. The Synology_Recover_Data script on GitHub documents this process step by step, including encrypted-volume handling, though it explicitly requires an available encryption key. Without that key, an encrypted volume stays unrecoverable no matter how clean the underlying disks are. Stop the DIY path the moment you see mdadm superblock errors, repeated assembly failures, or any drive that won’t spin up consistently. That’s the line between a weekend project and a job for a lab.
When Do You Need a Professional Synology Recovery Lab?
Call a lab immediately if any of these apply:
- More than one drive in the array has failed or is showing SMART errors.
- You hear clicking, grinding, or repeated spin-up/spin-down cycles.
- A rebuild was attempted and it stalled, failed, or reported errors.
- There’s visible physical damage to a drive’s circuit board or connector.
- The volume is encrypted with FileVault-style keys and you no longer have the key.
Every additional rebuild attempt on a suspect array raises the odds of a second failure. Rebuilding stresses every surviving drive at full duty cycle, and a drive with latent errors that seemed fine under normal load can fail mid-rebuild, sometimes corrupting the mdadm superblock in the process. If you’re in any of the scenarios above, the right move is to power off, document what you have, and get the drives to a lab before trying anything else.
Inside a Professional Synology Recovery Lab Workflow
A competent lab never works on your original drives. The first step is always forensic sector-level cloning with hardware imagers like DeepSpar or PC-3000, which read damaged sectors more aggressively than a standard disk copy and stop the clock on further degradation.
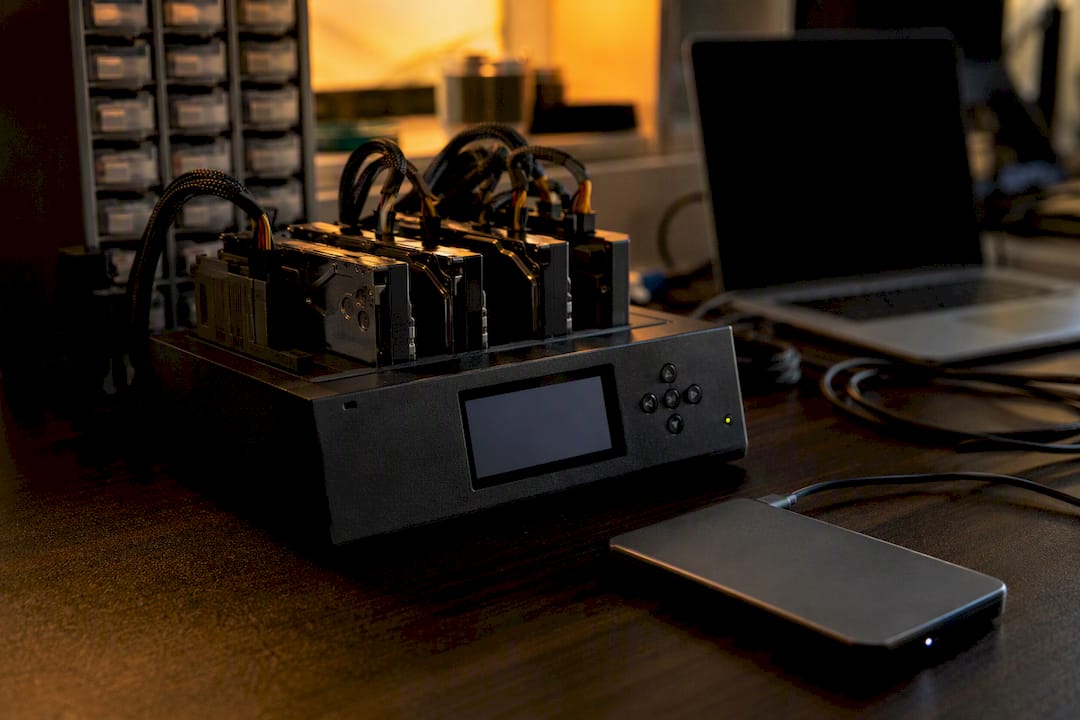
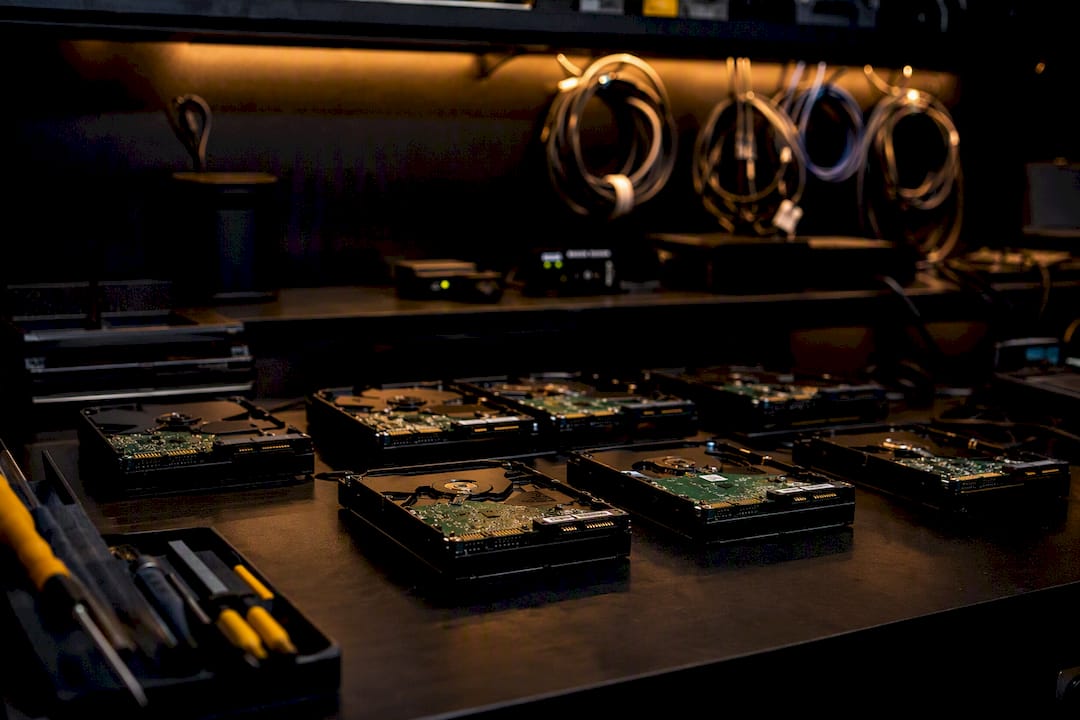
From there, technicians reconstruct the array offline: testing disk order permutations with mdadm, activating the LVM2 layer, then mounting the btrfs or ext4 filesystem on top. Where available, btrfs snapshots get pulled separately, since they sometimes survive corruption that took out the live volume. Drives with physical damage go through cleanroom mechanical repair before imaging. If the volume was encrypted and you still have the key, the lab applies it during reconstruction rather than guessing.
| Failure Type | Typical Cause | Recovery Approach |
|---|---|---|
| Single drive degraded | Bad sectors, SMART failure | Clone healthy drives, rebuild offline |
| Multiple drive failure | Simultaneous aging, power surge | Sector cloning of all drives, virtual array reconstruction |
| Failed/stalled rebuild | Rebuild stress on marginal drives | Reassemble from clones, bypass corrupted superblock |
| Physical/mechanical damage | Head crash, PCB failure | Cleanroom repair, then imaging |
Pro Tip: Ask any lab you’re considering three questions before you drop off drives: do they clone before touching originals, do they offer free diagnostics, and do they work on a no recovery, no charge basis. Those three answers tell you more than any marketing page.
Why Macwest Handles Synology Recovery With a Lab-First Mindset
Macwestlosangeles has handled RAID, SSD, and Apple Mac recovery cases since 2006, and that includes plenty of Synology arrays that arrived after a failed DIY rebuild. Every case starts with free diagnostics, and the shop works on a no recovery, no charge basis. West LA clients can usually get a same-day appointment. If your NAS is degraded or clicking right now, call 3108660828 for an urgent assessment before you attempt anything else.
Get Your Synology Drives Assessed Today
DIY tools and DSM’s own repair options solve some Synology failures, but a degraded array with clicking drives or a failed rebuild is past the point where community scripts help. Macwestlosangeles runs free diagnostics on every case and charges nothing if the drives can’t be recovered, which removes the guessing game of paying upfront for an unknown outcome. Bring your drives labeled in their original slot order, along with the photos you took of the bays, any exported DSM logs, and your encryption key if the volume was encrypted. The West LA lab at 12041 Wilshire Blvd, Ste 26, between the 405 and Santa Monica near UCLA and the Getty Center, offers same-day appointments for Brentwood, Westwood, Venice, Santa Monica, Beverly Hills, Hollywood, and Culver City clients. For hard drive and RAID recovery, call 3108660828 or request a quote online to get your drives assessed before further attempts make things worse.
Sources
- Data Recovery from Synology NAS – Restoring Data from NAS, SHR, DSM, and btrfs
- Synology_Recover_Data — GitHub
FAQ
How Can I Recover Data From My Synology NAS?
Power off the NAS immediately, avoid DSM Repair or Online Assemble until you understand the cause, and either extract files through a Linux mdadm/LVM workflow on healthy cloned drives or send the drives to a professional lab if multiple drives failed.
Is It Possible to Recover Data From a Dead Hard Drive?
Often yes, especially if the failure is logical rather than mechanical, but a drive with clicking noises or physical damage needs forensic sector-level cloning in a lab before any data extraction can happen safely.
What Is the Synology Controversy Regarding Third-Party Drives?
Synology has restricted certain features, such as full SMART data and some volume functions, on non-Synology-branded drives in newer DSM releases, which has drawn criticism from NAS owners who prefer third-party hard drives.
Is Synology Active Backup Free?
Active Backup for Business is included at no extra software cost on compatible Synology NAS units, though it still requires the NAS hardware itself and adequate storage capacity for backup jobs.
Should I Try to Recover a Degraded Synology Array Myself?
Only if a single drive is affected, SMART data looks clean on the others, and you’re comfortable with mdadm and LVM commands on cloned disks. Multiple failed drives, clicking noises, or a failed rebuild call for a professional lab like Macwestlosangeles instead.