Stop all disk writes immediately if the missing files matter to you. The fastest path back to a working drive is three checks, in order: confirm power and cable, plug into a different computer or port, then look at Disk Management on Windows or Disk Utility on Mac to see if the drive shows up but isn’t mounted. A drive that appears in Disk Management as “unallocated” or in Disk Utility as grayed out is usually alive and fixable. One that never shows up anywhere, or one making clicking or grinding sounds, points toward hardware failure and needs a lab, not more troubleshooting.
- Swap the cable and port first. Loose connections and worn USB cables cause more “not recognized” errors than actual drive failure.
- Try a second computer. If the drive mounts elsewhere, the problem is your original machine’s port, driver, or BIOS/UEFI settings, not the disk.
- Check Disk Management or Disk Utility before anything else. If the disk shows an unformatted or unallocated status, do not initialize or format it if you need the data back.
Pro Tip: If the drive is visible but unmounted and contains data you can’t lose, stop right there and call Macwest Data Recovery at 310-866-0828 before running any repair tool. Free diagnostics cost you nothing, and a five-minute mistake with a formatting wizard can turn a simple fix into a real recovery job.
Key Takeaways
A disk not recognized problem is fixable in most cases through cable, port, and OS-level checks, but clicking, grinding, or BIOS-level invisibility means stop immediately and call a professional.
| Point | Details |
|---|---|
| Try the fast checks first | Swap the cable, change ports, and test the drive on a second computer before touching any software. |
| Check Disk Management or Disk Utility | A drive showing as unallocated or grayed out is usually alive; never initialize or format it if you need the data. |
| Image before you repair | Clone the drive with a tool like ddrescue before running TestDisk, chkdsk, or First Aid on data you can’t lose. |
| Clicking means stop now | Mechanical noises call for powering the drive off immediately rather than continuing to test it. |
| Macwest offers a safe path forward | Macwest Data Recovery provides free diagnostics, a no recovery no charge policy, and same-day appointments in West LA since 2006. |
Table of Contents
- Non-Invasive Quick Fixes to Try Before Anything Else
- How Do You Check Disk Management and Disk Utility?
- Is the Problem Your Hardware, Firmware, or the Drive Itself?
- What if the Drive Shows Up but Has No Files?
- When Should You Call a Data Recovery Professional?
- Preventing the Next Disk Not Recognized Scare
- What We See After Twenty Years of Recovery Calls
- Get Your Drive Diagnosed Today in West LA
- Sources
- FAQ
Non-Invasive Quick Fixes to Try Before Anything Else
Most “disk not recognized” cases resolve with basic checks, no software required. Before opening Disk Management, Device Manager, or Terminal, work through this sequence. It costs you nothing and can’t make things worse.
- Swap the USB or SATA cable. Cables fail more often than people expect, especially with heavy daily use or cheap third-party cords. A damaged data line inside the cable can still deliver power while blocking the data channel entirely, which produces exactly the symptom you’re seeing.
- Try a different port, and skip the hub. Move the connection straight to a rear USB port on a desktop or a direct port on a laptop. Unpowered USB hubs frequently can’t supply enough current for spinning hard drives, and that shortfall shows up as intermittent detection or a drive that spins up then disappears.
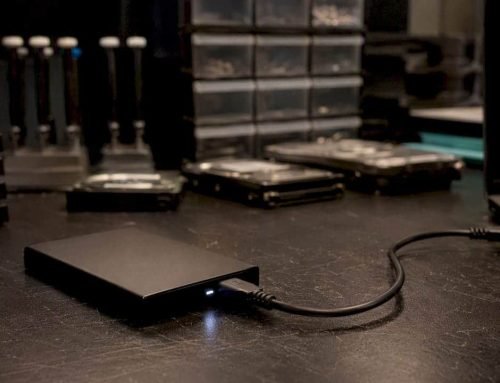
- Check for a drive LED or spin-up sound. If the enclosure has an activity light, look for it. Silence usually means a power problem rather than a data problem, which changes your next move.
- Test the drive on a second computer. If it mounts there, the fault sits with your original machine’s port, driver stack, or BIOS/UEFI configuration. If it doesn’t mount anywhere, the drive itself is the likely culprit.
- For 3.5-inch external drives, confirm the power adapter is seated. These drives draw more current than USB bus power alone can reliably provide, particularly through hubs or long cables.
Run this as a simple decision tree: if step one fixes it, stop. If not, move to the next step. Most readers solve the problem by step three, according to standard vendor troubleshooting flows that put connection and power tests ahead of any diagnostic software.
Pro Tip: Always connect external drives directly to a known-powered USB port on the computer itself. For any 3.5-inch desktop drive, use a Y-cable or a powered enclosure. Bus power alone is often the difference between a drive that mounts reliably and one that vanishes under load.
How Do You Check Disk Management and Disk Utility?
A drive that’s spinning but invisible in Finder or File Explorer usually isn’t gone. It’s unmounted, unformatted, or missing its drive letter. Windows and macOS each give you a built-in tool that surfaces the drive even when it won’t show up on its own.
On Windows:
- Open Disk Management (right-click the Start button, select it from the list). Look for your drive in the lower panel. If it shows as “unallocated,” the partition table is missing or damaged. If it shows a filesystem but no letter, right-click and choose Change Drive Letter and Paths.
- If Windows displays a prompt to initialize the disk, decline it if you need existing data back. Initializing rewrites the partition table and can make recovery significantly harder.
- Open Device Manager and check under Disk Drives and Universal Serial Bus Controllers for a yellow warning icon. Right-click the drive or controller entry, uninstall it, then unplug and reconnect the drive so Windows reloads a fresh driver. Microsoft’s own troubleshooting guidance lists this as a primary fix for the “USB Device not recognized” error, alongside installing pending Windows updates and disabling USB selective suspend in power settings.
- For advanced users, DiskPart (
diskpartin an elevated command prompt, thenlist disk) can confirm whether Windows sees the drive at all, even when Explorer doesn’t. Avoid runningchkdskon a drive you suspect has a failing file system until you’ve imaged it. Chkdsk can rewrite metadata and permanently overwrite the very structures a recovery tool needs.
On macOS:
- Open Disk Utility, then click View → Show All Devices. This reveals drives that are powered and detected at the hardware level but not mounted at the volume level, which is common with damaged APFS containers.
- If the drive appears grayed out, select it and try Mount. If mounting fails, run First Aid, Apple’s front end for the Unix
fsckutility, which checks and repairs file system structures without touching user data in most cases. - Advanced users can drop into Terminal and run
diskutil listto see every disk and partition the Mac recognizes, even ones invisible in Finder.diskutil repairVolumefollows the same logic as First Aid but from the command line.
Before running any repair tool on either platform, if the data matters, clone the drive first with a bit-for-bit imaging tool. Repairs that fail partway through can leave a drive worse off than before you started, and an image preserves your one shot at recovery even if the repair attempt doesn’t go well.
Is the Problem Your Hardware, Firmware, or the Drive Itself?
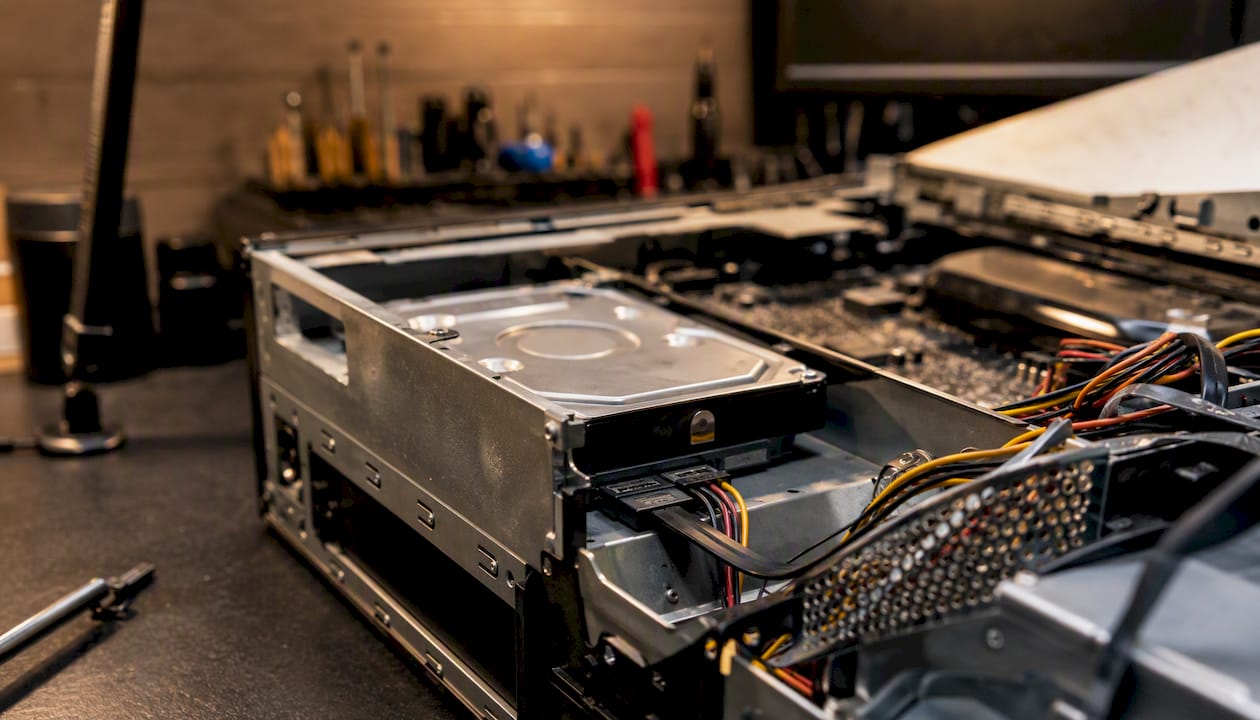
An internal drive that never appears anywhere, not in Windows, not in Disk Management, not in macOS, often hasn’t reached the operating system at all. That points to BIOS/UEFI or a physical connection problem rather than a software one.
Enter your system’s BIOS/UEFI setup (usually Del, F2, or F10 at boot) and check whether the drive lists under storage devices. If it’s absent there too, the fault sits below the OS, most likely a loose SATA or power cable, a failed connector, or in rare cases outdated firmware. Reseat both cables on the drive and the motherboard before assuming the worst.
One caution: if the system currently boots fine, don’t experiment with switching SATA mode between AHCI, RAID, and Legacy/UEFI to “see what helps.” That change can make an already-booting Windows installation unbootable, turning a simple detection issue into a much bigger one.
For external drives, the checks are simpler:
- Confirm the enclosure is powered, not just connected. Bus-powered drives pulling from an unpowered hub are a frequent cause of drives that mount briefly, then drop.
- Try a direct connection or a different enclosure if you suspect the bridge board inside the case, not the drive itself, has failed.
- Listen carefully. A steady, repetitive click means a stuck read/write head or failed actuator. A grinding or buzzing sound often signals a failed spindle motor or bearing. Either one is a mechanical failure, not something a cable swap or software fix resolves.
Pro Tip: If a drive is clicking or grinding, power it off now and stop trying enclosures or cables. Continued spin-up attempts on a mechanically damaged drive reduce your recovery odds with every power cycle. Only try a different enclosure if the drive is completely silent and shows no abnormal sound.
What if the Drive Shows Up but Has No Files?
Sometimes Disk Management or Disk Utility does see the drive, but the partition table is missing, the volume shows as “RAW” instead of NTFS or APFS, or the capacity looks wrong. That’s a logical problem, not a mechanical one, and it’s usually more recoverable than people assume, provided you don’t make it worse first.
The safe sequence: image before you repair. Clone the entire drive sector-by-sector with a tool built for damaged media, such as ddrescue, before running any fix. If a repair attempt stalls or corrupts something further, you still have the original image to fall back on.
- TestDisk can rebuild a damaged partition table without touching the underlying data, making it a solid first move on a drive showing as unallocated.
- chkdsk (Windows) and fsck/First Aid (macOS) repair file system metadata, but only after you’ve secured an image if the data is irreplaceable.
- Never initialize, format, or quick-format a drive you need data from. Formatting rewrites the file system’s master structures. A quick format looks harmless but destroys the index that tells the OS where your files actually live, even though the raw data often survives underneath.
- Third-party recovery software can pull files off a drive that’s logically damaged but mechanically healthy. These tools generally can’t help with clicking or grinding drives, where the problem is physical, not logical.
When Should You Call a Data Recovery Professional?
Call a lab immediately if the drive clicks, grinds, or fails to spin at all, if it’s invisible even in BIOS/UEFI, or if a SMART scan shows a high reallocated sector count. Software fixes don’t repair physical damage, and repeated attempts on a failing drive often shrink your recovery window.
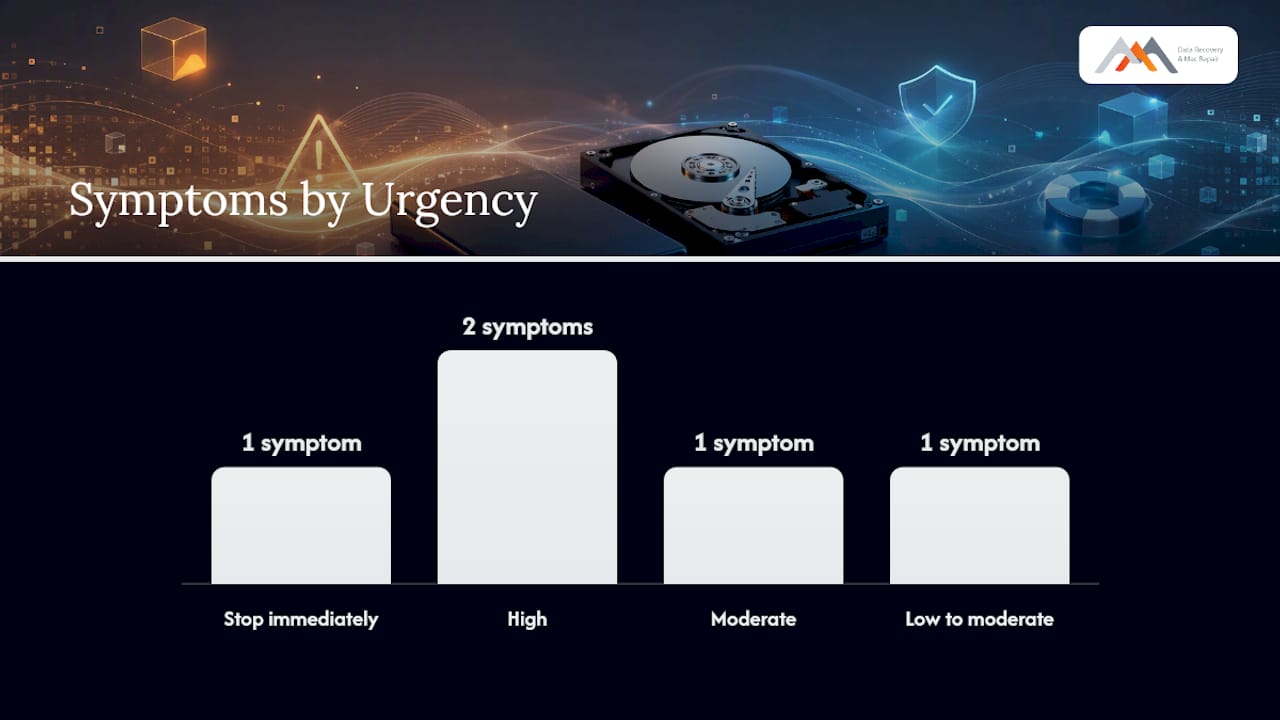
Here’s how common symptoms map to urgency and the likely fix:
| Symptom | Urgency | Likely Approach |
|---|---|---|
| Clicking or grinding noise | Stop immediately | Cleanroom head or actuator repair |
| Not detected in BIOS/UEFI | High | Check connections; if unresolved, PCB or firmware diagnosis |
| SMART shows many reallocated sectors | High | Image first, then logical or lab-level recovery |
| Intermittent disconnects | Moderate | Image the drive, then attempt logical repair |
| Visible but unmounted (RAW/unallocated) | Low to moderate | TestDisk or First Aid/chkdsk after imaging |
Recovery labs handle what home tools can’t: cleanroom head swaps, donor part matching for discontinued drive models, logic board component repair, and RAID reconstruction across RAID 0, 1, 3, and 5 arrays where a single drive failure can otherwise take down the entire array’s data. Macwest Data Recovery has run this exact workflow, free diagnostics followed by a no recovery, no charge policy, since 2006.
If your drive matches any row above marked “Stop immediately” or “High,” leave it powered off and call 310-866-0828 for a same-day appointment rather than continuing to troubleshoot.
Preventing the Next Disk Not Recognized Scare
Follow the 3-2-1 rule: three copies of critical data, on two different media types, with one copy off-site. Verify backups periodically rather than assuming they ran correctly.
- Use quality cables and powered enclosures for any 3.5-inch drive.
- Keep firmware and OS updates current, since outdated USB and storage drivers cause a fair share of detection failures.
- Replace drives once they pass four or five years of regular use, before they fail on you.
Pro Tip: Run a monthly SMART check on drives holding anything irreplaceable, and lean toward SSDs or a parity-protected RAID for your most critical data. A third-party SMART monitoring guide can help you read the warning signs before a drive stops responding altogether.
What We See After Twenty Years of Recovery Calls
We’ve run this shop since 2006, and the pattern rarely changes: the drives that come back fully recoverable are the ones people stopped touching the moment something sounded or looked wrong. The ones that come back partial, or not at all, are usually the ones someone tried “just one more thing” on first. Free diagnostics exist so you don’t have to guess which category your drive falls into before spending money.
Bring the drive itself, its power adapter or enclosure if it’s external, and a quick note on what you were doing when it stopped showing up. Between APFS volumes, NVMe drives, RAID 0/1/3/5 arrays, and logic board level repairs, most West LA cases we see fall into patterns our bench has handled hundreds of times. Same-day appointments are available for anyone who needs an answer today, not next week.
Get Your Drive Diagnosed Today in West LA
A DIY forum thread or a downloaded repair tool can’t tell you whether your drive needs a five-minute logical fix or a cleanroom head swap, and guessing wrong on a mechanically failing drive can turn a recoverable job into a lost one. Macwest Data Recovery has been the go-to shop for West LA, Santa Monica, and Beverly Hills since 2006, serving Brentwood, Westwood, Venice, Hollywood, and Culver City from our location at 12041 Wilshire Blvd, Ste 26, right between the 405 and Santa Monica, near UCLA and the Getty Center.
Call 310-866-0828 for a free diagnostic, and if we can’t recover your data, you don’t pay. Before you come in, leave the drive powered off, jot down the symptoms (clicking, not spinning, showing unallocated), and bring any enclosure or cable it normally uses. Same-day appointments are open for hard drive recovery, including RAID arrays and drives tied to a MacBook, iMac, or Mac Pro that also needs hardware attention.
Sources
- “USB Device not recognized” error – Windows Server | Microsoft Learn
- Crucial
- Hard drive clicking: data recovery and diagnosis (2026) – Save My Disk
FAQ
How Do I Fix a Disk Not Detected Error?
Start by swapping the cable and port, then check Disk Management on Windows or Disk Utility on Mac to see if the drive appears but isn’t mounted. If it’s invisible everywhere, including BIOS/UEFI, the drive itself likely has a hardware fault.
What Should I Do if My Hard Disk Isn’t Recognized at All?
Stop writing to it and check whether it appears in BIOS/UEFI on a desktop or in Disk Management/Disk Utility. If it’s absent from all three, treat it as a hardware issue and avoid repeated power cycles, especially if it’s making noise.
How Do I Force My Computer to Recognize an External Hard Drive?
Reconnect through a direct, powered USB port rather than a hub, then uninstall the drive entry in Device Manager and reconnect it so Windows reloads the driver. On Mac, check Disk Utility under View → Show All Devices to see if it’s detected but unmounted.
How Do I Fix a Disk That Won’t Read?
If the drive spins and connects but shows corrupted files or a RAW format, image it first with a tool like ddrescue, then attempt repair with TestDisk, chkdsk, or First Aid. If it clicks, grinds, or won’t spin, stop immediately and contact a data recovery lab rather than attempting further reads.
When Should I Call Macwest Data Recovery Instead of Troubleshooting Further?
Call 310-866-0828 the moment you hear clicking or grinding, the drive stays invisible in BIOS/UEFI, or a SMART scan shows a high reallocated sector count. Macwest offers free diagnostics and a no recovery, no charge policy with same-day appointments for West LA, Santa Monica, and Beverly Hills.