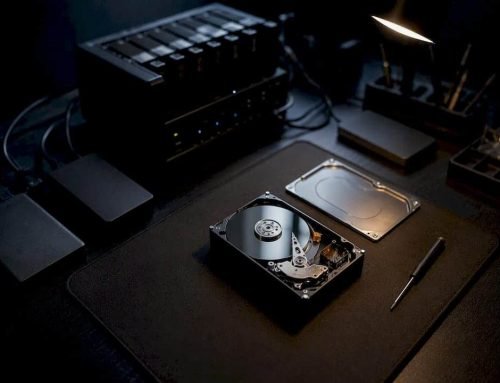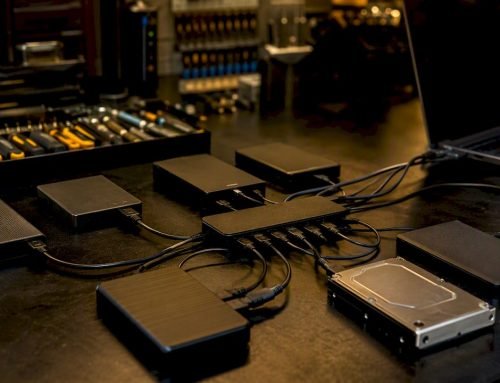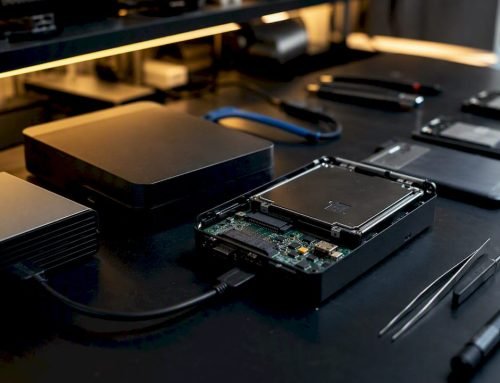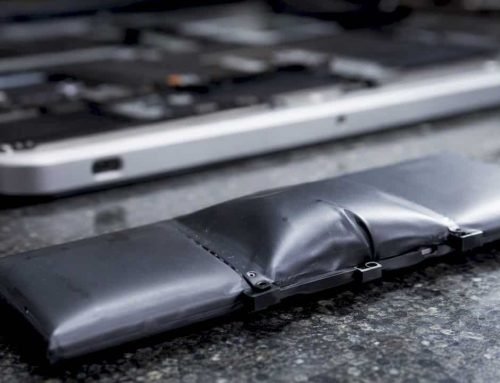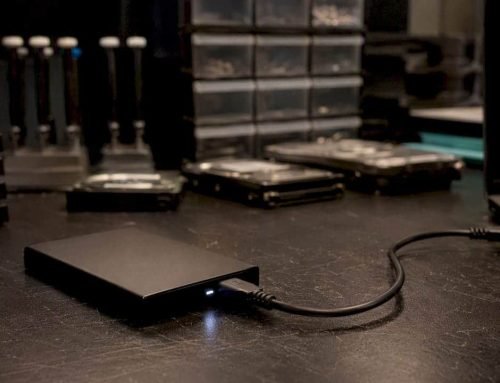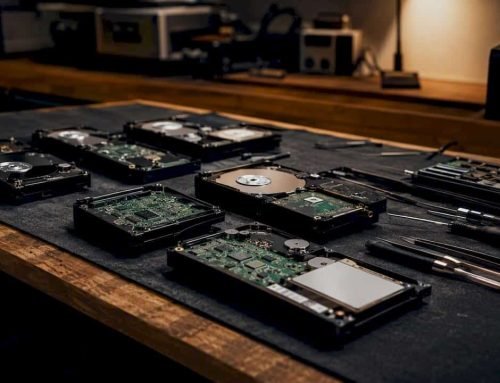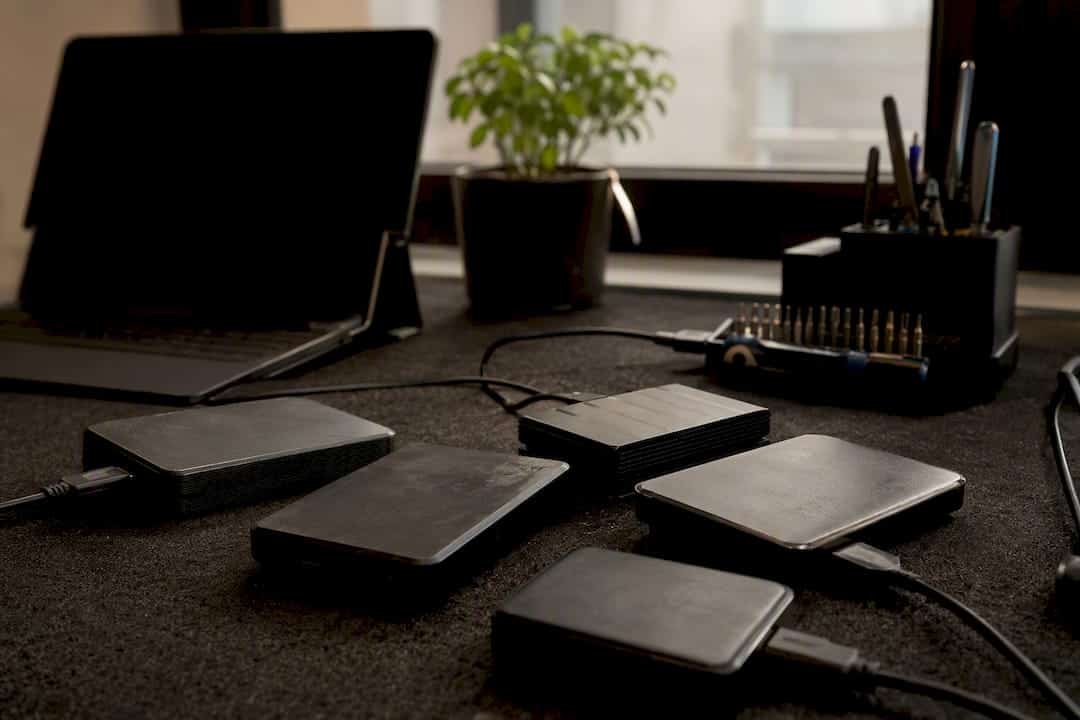
Stop all disk writes immediately if you suspect drive failure. That’s the first rule. If your external drive not mounting on your Mac situation involves data you can’t afford to lose, every extra mount attempt or repair click carries risk. Most cases, though, resolve with a few quick checks: swap the cable, confirm Finder is set to display external disks, and open Disk Utility to see if the Mac even detects the hardware.
Here’s the fast path:
- Unplug and reconnect using a different cable, directly into a Mac port (skip hubs and docks for now).
- Check Finder preferences to make sure external disks are allowed to show on the desktop and sidebar.
- Open Disk Utility and look at the left panel. If the drive shows up grayed out or as an unmounted volume, you’re in far better shape than if it doesn’t appear at all.
If Disk Utility does see the drive, mount it read-only and copy your highest-value files before attempting any MacBook & iMac Repair in Orlando service or other repair. Pro Tip: When data matters, image the drive or mount it read-only before running First Aid or any fix. Repairs can succeed at fixing the file system while making file-level recovery harder. Beyond Finder, Disk Utility, and Terminal’s diskutil, if physical symptoms show up (clicking, no spin, repeated disconnects), stop and call Macwest Data Recovery at 310-866-0828 for free diagnostics and same-day evaluations.
Key Takeaways
An external drive not mounting on a Mac is almost always solvable if you stop writing to it immediately and follow hardware checks before software repairs.
| Point | Details |
|---|---|
| Stop writes first | Any drive showing physical symptoms should be disconnected and left untouched until imaged. |
| Check hardware before software | Cable, port, and power issues cause far more mounting failures than corruption does. |
| Use Disk Utility carefully | Run First Aid once, record the exact message, and avoid Erase unless data isn’t needed. |
| Image before repairing | Read-only mounts and disk images protect data before TestDisk, Disk Drill, or Stellar attempt fixes. |
| Call Macwest for physical failures | Free diagnostics and a no recovery, no charge policy make professional evaluation risk-free to start. |
Table of Contents
- Why Is My External Drive Not Showing Up on My Mac?
- How Do You Use Disk Utility to Fix a Drive That Won’t Mount?
- Can Terminal Force a Drive to Mount When Disk Utility Can’t?
- Why Won’t My exFAT or NTFS Drive Mount on macOS?
- What Hardware Problems Cause a Drive Not to Mount?
- What’s the Safest Way to Recover Data From a Drive That Won’t Mount?
- When Should You Stop Troubleshooting and Call a Professional?
- Get Your Drive Diagnosed Today in West LA
- Where to Learn More About Mac Drive Recovery
- Sources
- FAQ
Why Is My External Drive Not Showing Up on My Mac?
Before touching Disk Utility or Terminal, rule out the boring stuff. A surprising number of “external ssd not showing up mac” cases trace back to a bad cable or an underpowered port, not a failing drive.
Run through this sequence:
- Swap the cable. USB and Thunderbolt cables fail more often than people expect, especially braided or third-party ones.
- Try a different port, and skip any hub, dock, or adapter while you troubleshoot. Hubs introduce a second point of failure and can starve bus-powered drives of current.
- Test the drive on another computer, ideally a different Mac, or even a Windows PC. If it mounts elsewhere, the problem sits with this specific Mac, not the drive.
- Check power. Some older USB-A portable drives may require additional power sources like a powered hub to function properly. Desktop drives need their power adapter fully seated.
Next, check Finder itself. Go to Finder > Settings > General and confirm “External disks” is checked, then do the same under the Sidebar tab. It sounds trivial, but a mac external hard drive not mounting complaint is sometimes just a visibility setting, not a mounting failure at all.
If the drive still doesn’t appear, open System Information (under the Apple menu, hold Option) and check the USB or Thunderbolt section. If the device isn’t listed there electrically, this is a hardware or connection issue, full stop. No amount of Disk Utility or Terminal work will fix a drive the Mac’s controller can’t see.
If the drive shows up fine on another computer but not this Mac, suspect macOS settings, drivers, or security permissions rather than the drive itself. Follow a simple decision path: hardware checks first, then Finder settings, then System Information, then move on to Disk Utility. And if you hear clicking or the drive won’t spin up at all, stop attempting repeated connections. Physical symptoms call for a diagnostic, not more troubleshooting.
How Do You Use Disk Utility to Fix a Drive That Won’t Mount?
Disk Utility is almost always the right next step once basic hardware checks are done, and a 2025 Mac Observer guide backs this exact order: cables and ports first, then Finder, then Disk Utility, then Terminal, with reformatting reserved for last resort.
Open Disk Utility and click View > Show All Devices in the toolbar. This matters more than most people realize. Without it, Disk Utility only shows mountable volumes, hiding the physical device and container layer where the actual problem often lives. With it enabled, you’ll see the drive’s hardware entry, its APFS container (if applicable), and any volumes underneath, even the ones that failed to mount.
Here’s the sequence to follow:
- Select the physical device (not a volume) in the sidebar and click First Aid.
- Read the result carefully. “The volume was repaired successfully” means the file system had recoverable errors that are now fixed. “Errors were fixed” is similar and generally good news.
- If you see “The volume could not be repaired,” that’s a signal the file system damage exceeds what First Aid can handle, or there’s underlying hardware trouble. Don’t run First Aid repeatedly hoping for a different outcome.
- Try Mount on the volume directly if it appears grayed out. If the Mount button stays disabled, it usually means Disk Utility doesn’t see a usable, recognized volume structure to attach.
Pro Tip: Never click Erase as a troubleshooting step unless you already have a verified backup or you’ve written off the data as unrecoverable. Reformatting destroys the existing file system and any chance of a straightforward file-level recovery.
If First Aid fails or reports errors it can’t fix, write down the exact message, word for word, or take a photo of the screen. That detail is exactly what a data recovery technician needs to diagnose whether you’re dealing with corruption, a failing controller, or a genuinely damaged storage medium. This is also the point where checking a file system corruption guide can help you understand what APFS or HFS+ specific errors actually mean before you decide on next steps.
Can Terminal Force a Drive to Mount When Disk Utility Can’t?
Yes, in many cases. Terminal’s diskutil command gives you visibility and control that the graphical Disk Utility app doesn’t expose, and it’s often the difference between a mac not recognizing external drive situation staying unsolved and getting real diagnostic data.
Start with the safest, most informative command:
diskutil listshows every disk identifier and partition on the system, even ones that failed to mount. Look for your drive by size and note its identifier (something like/dev/disk4).diskutil info /dev/disk4(using your actual identifier) reveals the file system type, whether it’s mounted, and whether it’s marked as internal or external.diskutil mount /dev/disk4s1attempts to mount a specific volume directly, sometimes succeeding where Disk Utility’s graphical Mount button failed or stayed grayed out.diskutil mountDisk readOnly /dev/disk4mounts the entire disk in read-only mode, which is the safer option whenever data preservation matters more than convenience.
Pro Tip: Copy the full Terminal output into a text file before you do anything else. If you end up needing professional recovery, exact error text (things like “I/O error” or “Resource busy”) tells a technician far more than a verbal description ever could.
Pay attention to what the errors mean. An “Input/output error” during a mount attempt usually points to a hardware problem: a failing bridge chip, a dying sector, or a connection dropping mid-transfer. A message about an unrecognized file system, by contrast, often points to corruption or an unsupported format rather than physical failure. If you’re dealing with an encrypted APFS container, diskutil may show the container present but locked, requiring a password prompt you might have missed. If diskutil reports repeated I/O errors or the disk disconnects mid-command, stop. That’s your cue to image the drive or hand it to a professional rather than keep issuing commands against failing hardware.
Why Won’t My exFAT or NTFS Drive Mount on macOS?
File system format explains a huge share of “external ssd not mounting mac” complaints, especially with drives that traveled between a Mac and a Windows PC. Macworld’s troubleshooting guide lists incorrect formatting alongside faulty cables and corruption as the three most common root causes.
| File System | macOS Support | Notes |
|---|---|---|
| APFS | Full read/write | Native format for SSDs and modern macOS installs |
| HFS+ | Full read/write | Older native format, still common on legacy drives |
| exFAT | Full read/write | Cross-platform choice for Mac and Windows |
| NTFS | Read-only | macOS reads NTFS but can’t write without third-party drivers |
An exFAT drive not recognized on Mac issue is less about the format itself, which macOS fully supports, and more often about a corrupted exFAT table or a drive that was improperly ejected. NTFS causes different confusion: the drive mounts, but write attempts silently fail or macOS treats it as read-only, which some users misread as a mounting failure.
Encrypted APFS volumes add another layer entirely. A locked APFS container can appear in diskutil list without ever prompting for its password, especially if Keychain access has an issue or the volume didn’t unlock automatically at login. Reports on Apple’s own community forums describe drives getting stuck in a partially decrypted, mixed state, which is far harder to recover from than a drive that was never touched after the initial failure.
Never decrypt, erase, or write to a drive when your actual goal is getting the data off it. Every one of those actions moves you further from a clean recovery, not closer.
What Hardware Problems Cause a Drive Not to Mount?
Not every mounting failure is a software problem. Enclosures fail. Bridge chips (the small circuit that translates between the drive’s internal interface and USB or Thunderbolt) burn out. Power delivery falls short. All of these produce symptoms that look identical to file system corruption until you dig deeper.
Common culprits include:
- A failing USB or Thunderbolt bridge chip inside the enclosure, separate from the drive mechanism itself.
- Insufficient power, particularly with older bus-powered USB-A portable drives running off a single port.
- A failing drive motor or, in the worst case, a head crash on a mechanical hard drive.
- Physical connector damage from repeated plugging or a bent pin.
| Sign | Likely Cause | Suggested Action |
|---|---|---|
| No power light, no spin, silence | Motor or controller failure | Stop all writes, seek professional imaging |
| Repeated clicking sound | Mechanical head or motor failure | Power off immediately, do not keep retrying |
| Intermittent mount and disconnect | Cable, port, or bridge chip issue | Try a different cable and port before anything else |
| Mounts but disappears under load | Insufficient power delivery | Use the original power adapter or a powered hub |
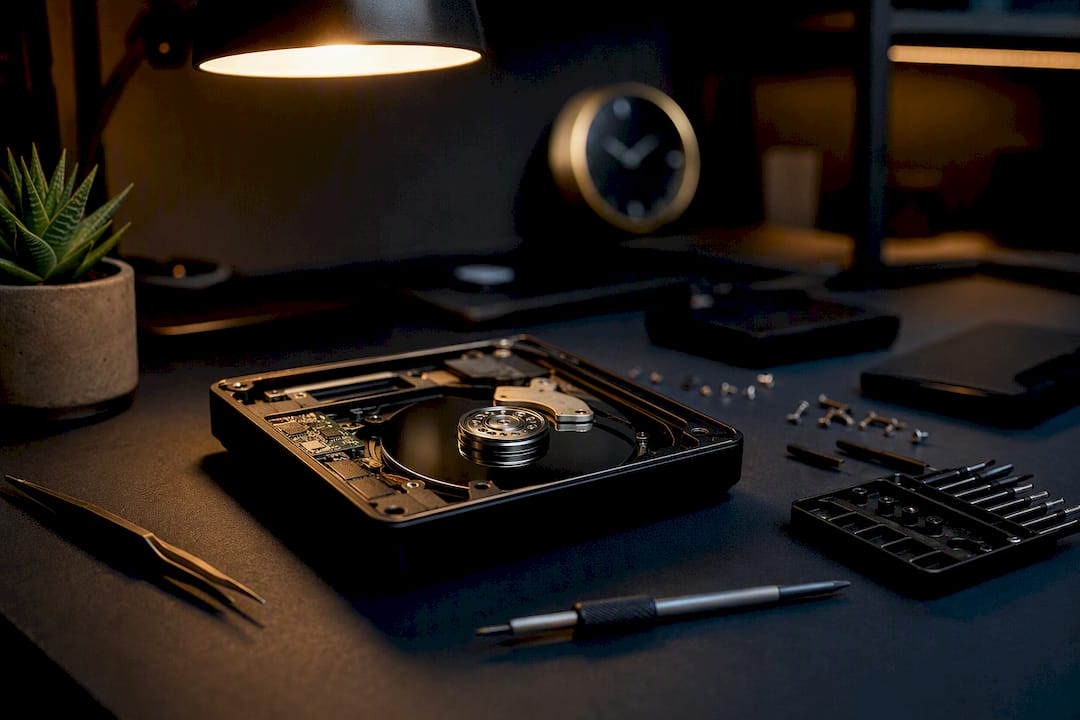
If a drive won’t power up or spin at all, resist the urge to open the enclosure yourself. That risks both warranty and mechanical damage, since some drives use press-fit connectors that don’t tolerate repeated handling. A drive that’s stopped spinning needs specialized handling, not more troubleshooting attempts.
Before assuming the drive is dead, check whether the Mac’s own port is the culprit. System Information’s USB and Thunderbolt panel will confirm whether the Mac even sees anything connected. If nothing shows up regardless of which drive you plug in, an SMC or NVRAM reset is worth trying since it’s low-risk and resolves a surprising number of port and power-delivery quirks. If you suspect the enclosure specifically, testing the drive in a known-good enclosure can isolate the fault, though this carries some risk if you’re unfamiliar with the drive type.
What’s the Safest Way to Recover Data From a Drive That Won’t Mount?
Software can absolutely help here, but only if you use it in the right order. The rule that matters most: image the drive, or at minimum scan it read-only, before you let any tool attempt repairs.
Recovery software falls into two broad categories. File-system repair tools fix the metadata structures (the “table of contents” telling the OS where files live) so the drive mounts normally again. File carving tools ignore the file system entirely and scan raw sectors for recognizable file signatures, which works even when the file system itself is a lost cause.
- TestDisk (Cgsecurity) is a free, open-source tool built specifically for partition table and metadata repair. It’s a strong first move for a drive that shows as unallocated or unrecognized rather than genuinely corrupted at the file level.
- Disk Drill handles both file-system scanning and raw file carving, aimed at users who want a graphical interface rather than command-line tools.
- Stellar Data Recovery covers similar ground, with format-specific scanning aimed at recovering documents, photos, and video from damaged or reformatted volumes.
Whichever tool you choose, run the scan in read-only mode and, if the software supports it, create a full disk image first. That image becomes your safety net. If a repair attempt goes wrong, you still have the original data captured before anything changed.
Software fixes what software can see. Once a drive shows physical symptoms, no recovery application, free or paid, can substitute for hardware-level intervention.
Set your expectations accordingly. Logical problems (accidental deletion, a corrupted partition table, a botched reformat) recover well with software, often at low or no cost. Physical media failures are a different story entirely: success rates vary widely, and professional fees reflect the specialized equipment involved. Only download recovery tools from official sources; pirated or cracked recovery software is a common vector for malware, which is the last thing you want running against a drive holding your only copy of something important.
When Should You Stop Troubleshooting and Call a Professional?
Some signs mean it’s time to put the keyboard down. Repeated I/O errors in Terminal, clicking or grinding sounds, a mac external hard drive not recognized situation that persists after imaging attempts, or an encrypted APFS volume stuck in a mixed decrypted state all point toward professional recovery rather than continued DIY work.
Stop and call a professional when you see:
- Repeated I/O errors that don’t clear after reconnecting.
- Any clicking, grinding, or failure to spin up.
- An encrypted APFS container that partially decrypted and now won’t mount cleanly.
- Data that’s genuinely unique or irreplaceable, where any DIY misstep is too costly.
- Software recovery attempts that failed even after proper imaging.
A qualified recovery lab does work that home tools simply can’t touch: clean-room mechanical service for physical media, imaging with specialized hardware capable of handling failing drives sector by sector, logic-board component-level repair, and RAID reconstruction across RAID 0, 1, 3, and 5 configurations, plus NVMe and PCIe-specific recovery work.
Macwest Data Recovery has offered free diagnostics and a no recovery, no charge policy since 2006, which means you pay nothing to find out whether recovery is realistic, and nothing at all if we can’t get your data back. When you call 310-866-0828, expect a same-day appointment, a clear explanation of what we found, and a written quote before any billable work starts. Look for those same standards (documented chain of custody, non-destructive imaging first, an honest turnaround estimate) whichever lab you choose.
A Technician’s View on What Actually Goes Wrong
Most failed recoveries I’ve seen didn’t start as unrecoverable. They started as fixable problems that got worse through repeated mount attempts, multiple write operations, or an interrupted decryption. The flow that actually works is triage, then image, then attempt non-destructive repair, then escalate to hardware recovery only if needed. One client brought in a drive after three failed reformats “just to see if it would fix itself.” It didn’t, and by then, we were rebuilding partition metadata from raw sectors instead of a clean file table. The single best habit any Mac user can adopt is this: the moment a drive misbehaves, mount it read-only or image it before doing anything else. Everything downstream gets easier.
Get Your Drive Diagnosed Today in West LA
A software fix either works in the first hour or it doesn’t, and every attempt after that carries more risk than the last. Macwest Data Recovery gives West LA, Santa Monica, and Beverly Hills residents a faster, lower-risk alternative to trial-and-error: free diagnostics, a no recovery, no charge policy, and same-day appointments, backed by experience recovering data since 2006. We handle everything from logical corruption to physical media failure, RAID 0/1/3/5 reconstruction, and NVMe recovery, along with full Mac repair for logic boards, screens, and batteries.
If your drive shows any physical symptoms, stop connecting it and call 310-866-0828 now. We’re centrally located at 12041 Wilshire Blvd, Ste 26, between the 405 and Santa Monica, close to UCLA and the Getty Center, serving Brentwood, Westwood, Venice, Hollywood, and Culver City as well. Bring the drive, its original power cable, and a note of any exact error messages or a photo if there’s visible damage. Start with our hard drive data recovery service page to see what a same-day evaluation includes before you book.
Where to Learn More About Mac Drive Recovery
- Mac Observer’s repair guide covers the full cable-to-Terminal troubleshooting sequence.
- TestDisk documentation explains open-source partition recovery in technical detail.
- WD’s support guidance covers vendor-specific power and connection troubleshooting.
Download recovery software only from official vendor sites to avoid malware risks tied to cracked or pirated tools.
Sources
- Repair an External Hard Drive on Mac | Full Guide
- Why your Mac won’t recognize an external drive and the fastest fixes that actually work | Macworld
- TestDisk — CGSecurity
- How to use an external hard drive on Mac
- System Management Controller — Wikipedia
FAQ
Why isn’t my external SSD mounting on my Mac?
The most common causes are a faulty cable, an unsupported or corrupted file system, or insufficient power delivery to the drive. Check Disk Utility first with View > Show All Devices enabled to see whether the Mac detects the hardware at all.
How do I force mount an external drive on my Mac?
Open Terminal and run diskutil list to find the disk identifier, then try diskutil mount /dev/disk# or, for safer read-only access, diskutil mountDisk readOnly /dev/disk#. If both commands return I/O errors, that points to a hardware fault rather than something Terminal can fix.
How do I force my Mac to recognize an external hard drive?
Start by testing a different cable and port, avoiding hubs, and confirming the drive shows up under System Information’s USB or Thunderbolt section. If the Mac’s own SMC or NVRAM settings are the issue, resetting them often restores port and power recognition without touching the drive itself.
Why does my external hard drive say not mounted?
“Not mounted” usually means macOS sees the physical device but can’t read a usable file system on it, often due to corruption, an incompatible format, or a locked encrypted APFS container. Run Disk Utility’s First Aid to check, but stop and image the drive first if the data matters, since repeated repair attempts can complicate recovery. If First Aid fails or you hear physical symptoms, Macwest Data Recovery offers free diagnostics and same-day appointments at 310-866-0828 to evaluate what’s actually happening.