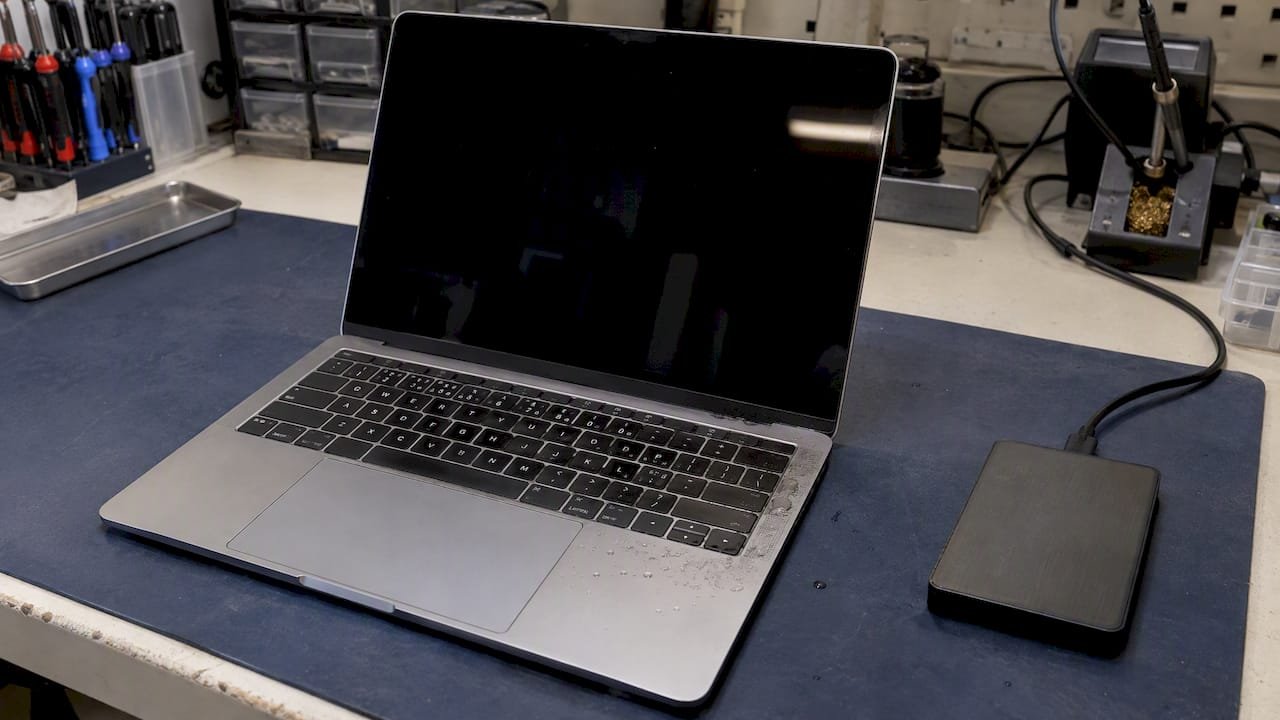
Shut down your MacBook immediately by holding the power button, unplug the charger, and disconnect any accessories. Tilt the laptop keyboard-down to let liquid drain away from the logic board, then blot visible moisture with a soft, lint-free cloth. If the spill was large, sugary, salty, or the Mac won’t power back on after drying, stop and call a repair shop instead of risking it yourself.
TL;DR:
- Wait at least 24 hours after a minor splash, but allow 48 to 72 hours for sugary drinks, larger spills, or liquid alerts.
- Never use rice, heat, or compressed air; blot only accessible moisture, keep the MacBook powered off, and avoid testing it while drying.
- Smoke, a burning smell, swelling, unusual heat, boot failure, erratic controls, or recurring liquid alerts call for professional inspection, not more home troubleshooting.
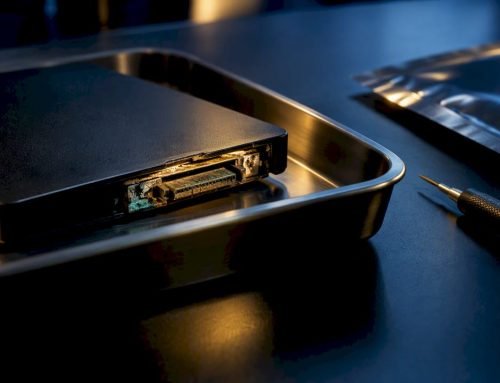
- If files matter, stop repeated power attempts; modern MacBook SSDs are often soldered to the board, so recovery requires lab imaging.
- Repair costs vary by component, from $150 to $1,200 or more; Apple’s standard warranty excludes liquid damage, while AppleCare may still involve fees.
Table of Contents
- Immediate actions to limit shorting and corrosion in the first hour
- What not to do after a spill (common myths and mistakes)
- How to tell how bad the damage really is
- DIY cleanup versus professional repair: knowing where the line is
- How long drying takes, and what repairs typically cost
- Protecting your data when the Mac won’t boot
- Why speed matters more than the instinct to fix it yourself
- Getting your MacBook assessed quickly after a spill
- FAQ
- Sources
Immediate actions to limit shorting and corrosion in the first hour
The first sixty minutes after a spill decide how much damage you’re dealing with. Electricity moving through a wet logic board accelerates corrosion, so cutting power fast matters more than almost anything else you do.
- Press and hold the power button for about five seconds to force a shutdown, then unplug the charger at the wall, not just at the MacBook.
- Disconnect every peripheral: external drives, USB-C hubs, headphones, anything plugged into a port.
- Blot (don’t wipe) visible liquid pooling on the keyboard or trackpad using a soft, lint-free cloth. Aggressive wiping can push moisture further into the keys and toward the logic board.
- Tilt the MacBook into an upside-down “tent” position, hinge up, keyboard facing down, so gravity pulls liquid away from sensitive components rather than deeper inside.
- Set it on a dry towel in a room with normal, low-humidity air and let it sit undisturbed. Passive airflow is doing the work here, not you.
Pro Tip: Resist the urge to check if it still works. Every time you press the power button to “test” it, you risk running current through liquid that hasn’t fully evaporated yet.
Favor a cool, dry room over a humid bathroom or kitchen. Skip the heat sources entirely: no hair dryers, no space heaters, no direct sunlight, and no compressed air, since forced air can drive moisture past the keyboard and into the logic board rather than out of the machine. According to Macworld’s guidance on spill response, passive drying with patience beats any shortcut involving heat or forced air.
A few signs mean you should stop troubleshooting and get help immediately: visible smoke, a burning smell, a swollen battery, or a case that feels unusually hot. Any of those is an electrical or thermal hazard, not a drying problem, and calling a repair lab right away is the safer move than continuing to wait it out at home.
What not to do after a spill (common myths and mistakes)
Some of the most common “fixes” people reach for actually make things worse.
- Skip the rice. It’s not a real desiccant for electronics, and grains can lodge in the keyboard or speaker grilles, leaving sticky residue behind.
- Avoid hair dryers, heaters, and direct sun. Heat can warp internal components and, worse, can push moisture deeper into the board instead of out.
- Never use compressed air on an open port. The force can drive liquid further into the chassis rather than expelling it.
- Don’t insert cotton swabs, toothpicks, or anything else into ports or speaker holes. You risk shorting a connection that’s still wet or scratching a sensor.
- Don’t repeatedly power the MacBook on to “see if it works.” Each attempt sends current through components that may still be damp.
- Steer clear of household solvents or cleaning sprays. Alcohol-based cleaners used incorrectly, or any ammonia-based product, can damage coatings and seals that aren’t designed for them.
iFixit’s water-damage guide specifically warns against rice, heat, and inserted objects, noting that a soft, lint-free cloth on accessible exterior surfaces is the only hands-on step worth taking without professional tools.
How to tell how bad the damage really is
You don’t need to open the case to get a reasonable read on severity. Start with what you can see and feel from the outside.
- Check for moisture trapped under the display glass, a sticky or unresponsive feel to specific keys, or visible liquid pooling near the ports or speaker grilles.
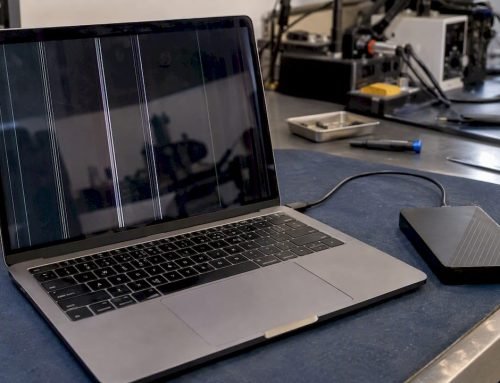
- Watch for functional red flags: the Mac won’t boot, it shuts down unexpectedly, the trackpad behaves erratically, or it won’t hold a charge.
- On newer MacBook Air and MacBook Pro models, macOS can show a liquid-detection alert when moisture is sensed in a port. Apple’s support guidance on these alerts recommends leaving the Mac unplugged and powered down, and waiting longer if the warning reappears after you try charging again.
- Do a careful visual check of the port openings and keyboard edges, but don’t probe inside with anything. Looking is safe; poking is not.
If any of these signs show up, especially a repeated liquid-detection alert or a Mac that won’t boot after a full day of drying, that’s your cue to stop self-diagnosing and get an actual inspection. Our guide on spotting practical signs of water damage walks through what each symptom tends to indicate.
DIY cleanup versus professional repair: knowing where the line is
There’s a real limit to what’s safe to handle yourself, and it sits right at the case seam.
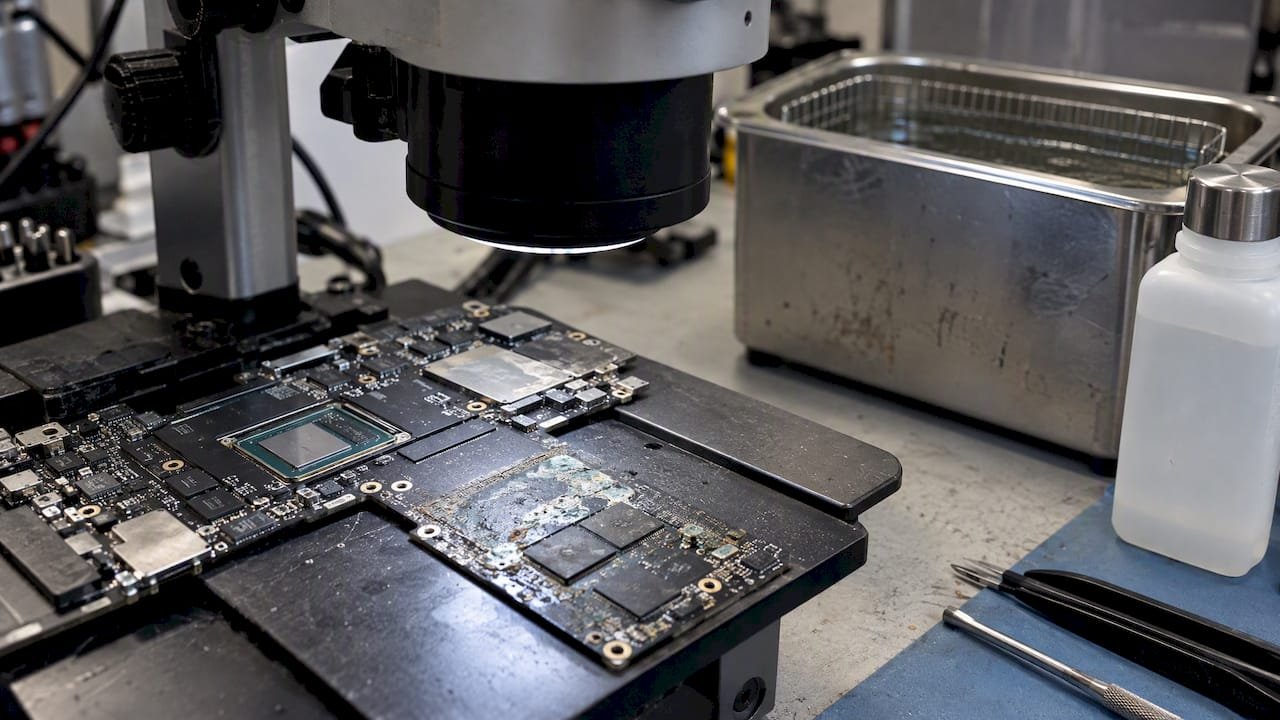
Blotting visible exterior moisture and letting the machine air-dry passively are the only steps we’d call genuinely safe for an owner to do alone. Everything past that, opening the case, inspecting the logic board, cleaning corrosion, needs lab conditions. Corrosion isn’t a single event; it’s a process that keeps progressing even after the exterior feels dry, which is why a board that boots fine today can fail weeks later. Professional inspection typically happens under a microscope, and when corrosion is present, technicians use ultrasonic cleaning baths and isopropyl alcohol rinses before attempting component-level repairs or micro-soldering work on the logic board, none of which is practical or safe with household tools.
We’ve built our process around that reality since 2006, with free diagnostics and a no recovery, no charge policy on data recovery jobs, so you’re not paying to find out whether something is fixable.
Pro Tip: When calling around for quotes, ask specifically whether the shop inspects boards under a microscope and whether they do component-level logic-board repair in-house, rather than mailing boards out.
A few questions worth asking any shop before you commit:
- Do you inspect the logic board under a microscope before quoting a repair?
- Can you clean corrosion and perform component-level soldering in-house, or do you outsource it?
- Do you offer data imaging separately from repair, in case the board itself isn’t salvageable?
- What’s your diagnostic process, and is it free before I authorize any work?
How long drying takes, and what repairs typically cost
Patience matters more than most people expect. For a minor splash, 24 hours of passive drying in a dry room is often enough before attempting a power-on. For anything beyond a light splash, sugary drinks, large spills, or a Mac that showed a liquid-detection alert, waiting 48 to 72 hours is the safer call, and even longer if humidity is high. Macworld’s spill guidance and Apple both point to extended passive drying over any shortcut.
Once a Mac comes in for diagnostics, the workflow usually runs through triage, disassembly, visual and microscope inspection of the logic board, then targeted cleaning or component replacement depending on what’s actually corroded. Costs vary a lot depending on what’s affected:
| Repair type | Typical driver of cost | Relative cost range |
|---|---|---|
| Keyboard or trackpad replacement | Sticky liquid residue under keys | Lower end |
| Battery replacement | Swelling or liquid contact near cell | Lower to mid |
| Display assembly replacement | Liquid trapped under glass | Mid |
| Logic-board component repair or micro-soldering | Corrosion on board-level components | Higher end |
Our cost breakdown for MacBook liquid damage repairs covers the fuller range, from $150 to $1,200 or more, with free diagnostics included so you know the actual driver before paying anything.
Apple’s own liquid-damage warranty policy excludes liquid damage from the standard one-year limited warranty. AppleCare accidental-damage coverage may reduce the bill, but it still carries service fees and exclusions, and Apple uses built-in Liquid Contact Indicators inside the case to determine whether a claim qualifies.
Protecting your data when the Mac won’t boot
Stop all disk writes immediately if the data on that drive matters to you. Don’t boot into macOS normally, don’t let it attempt an automatic repair, and don’t keep retrying power-on, because every write operation on a failing drive risks overwriting recoverable data.
- If the Mac does boot and you urgently need a few files, consider Target Disk Mode or a read-only connection rather than a normal login, since this limits how much the operating system writes to the disk.
- If the Mac won’t boot, or you’re unsure whether the drive is failing, don’t keep trying. Repeated attempts on a struggling drive are one of the most common ways people turn a recoverable situation into a lost one.
- On modern MacBooks, the SSD is often soldered directly to the logic board, which means there’s no pulling the drive out yourself. Recovery in these cases requires lab-level imaging equipment built for NVMe storage on APFS-formatted drives.
Our no recovery, no charge policy means you only pay when we successfully retrieve your data, which removes the financial risk of attempting recovery on a Mac that might not be salvageable. If the data matters more than the hardware, getting the drive imaged before any further power cycling is the move. Our overview of spill damage and data loss walks through what imaging actually involves.
Why speed matters more than the instinct to fix it yourself
Our view, after years of pulling apart water-damaged logic boards, is that the order of operations matters more than any single trick. Cut power first, protect the data second, then get a real diagnostic, in that sequence. Corrosion doesn’t pause while you deliberate, and a board that could have been cleaned on day one sometimes can’t be saved by day ten. A same-day diagnostic almost always beats a week of hoping it dries out on its own.
— Kaya
Getting your MacBook assessed quickly after a spill
We built our repair process around the fact that every hour matters after a spill. Our team handles liquid-damage repair including logic-board component repair and micro-soldering, so corroded boards are cleaned and repaired on-site rather than shipped out and left waiting. We also handle SSD imaging and data recovery for Macs with soldered NVMe storage, where pulling the drive isn’t an option.
- Free diagnostics on every liquid-damage case, so you know the real scope before paying anything.
- No recovery, no charge on data recovery work: you only pay if we get your files back.
- Same-day appointments for spill emergencies, since waiting days to even get looked at raises the risk of permanent corrosion.
- Serving West LA, Santa Monica, Beverly Hills, Brentwood, Westwood, Venice, Hollywood, and Culver City from our lab at 12041 Wilshire Blvd, Ste 26, between the 405 and Santa Monica, near UCLA and the Getty Center.
If your MacBook took a spill today, bring it in as-is: powered off, unplugged, and without attempting to charge it again. Call us at 3108660828 for a same-day appointment, or start with our liquid damage repair page to see what the lab-first, no recovery, no charge process looks like before you book.
FAQ
How do I fix a MacBook after a water spill?
Shut it down immediately, unplug it, blot visible liquid with a soft cloth, and let it air-dry keyboard-down for at least 24 hours, longer for larger spills. If it won’t boot afterward or you see a liquid-detection alert, a professional diagnostic is the next step rather than continuing to dry it at home.
How do I get water out of a MacBook?
You can’t fully remove internal moisture yourself since the case has to stay closed. Tilting the MacBook keyboard-down lets visible liquid drain out, and passive airflow in a dry room handles the rest, with no rice, heat, or compressed air involved.
Can water damage on a MacBook be repaired?
Often, yes, especially when power is cut quickly and the board is inspected and cleaned before corrosion spreads. Repair shops typically use microscope inspection, ultrasonic cleaning, and component-level micro-soldering to address corroded logic-board components rather than replacing the whole board outright.
Is a MacBook ruined if it gets wet?
Not necessarily. A quick response, power off, drain, dry, and a prompt diagnostic, saves many spilled MacBooks, while delayed action or repeated power-on attempts are what tend to turn a recoverable spill into a total loss.
How long should I wait before turning my MacBook back on?
Wait at least 24 hours for a minor splash, and 48 to 72 hours for a larger or sugary spill, favoring the longer end if you saw a liquid-detection alert. Macworld’s spill guidance recommends passive drying over any shortcut involving heat.
Sources
- MacBook water damage – The definitive guide – iFixit
- Spilled water on your Mac? What to do immediately | Macworld