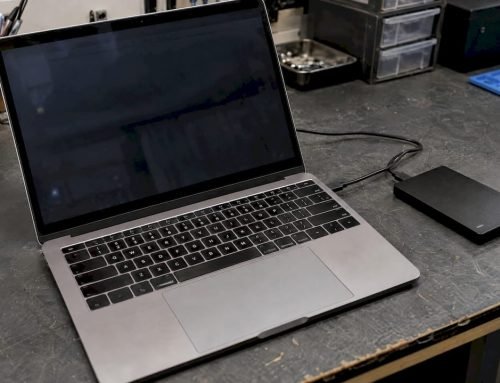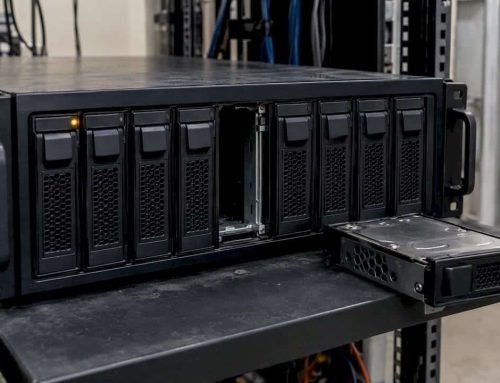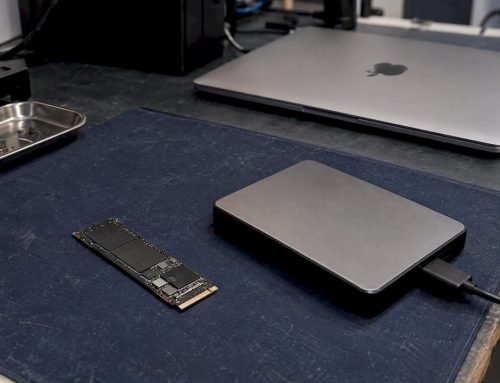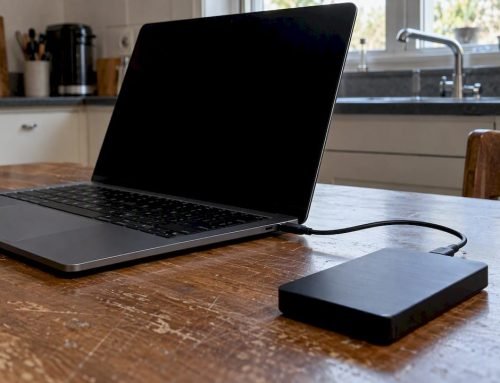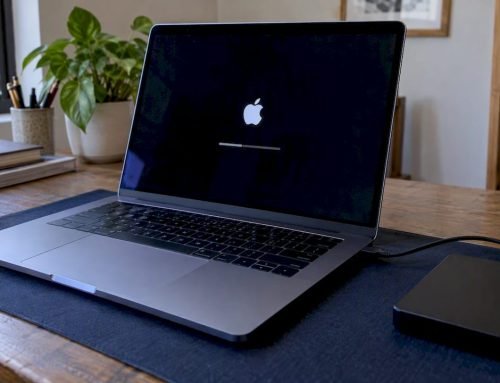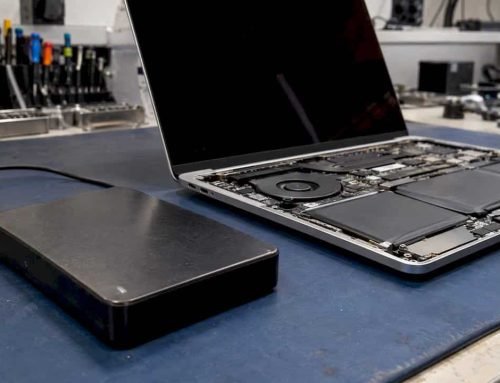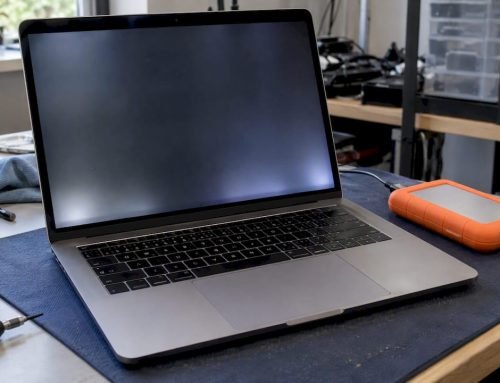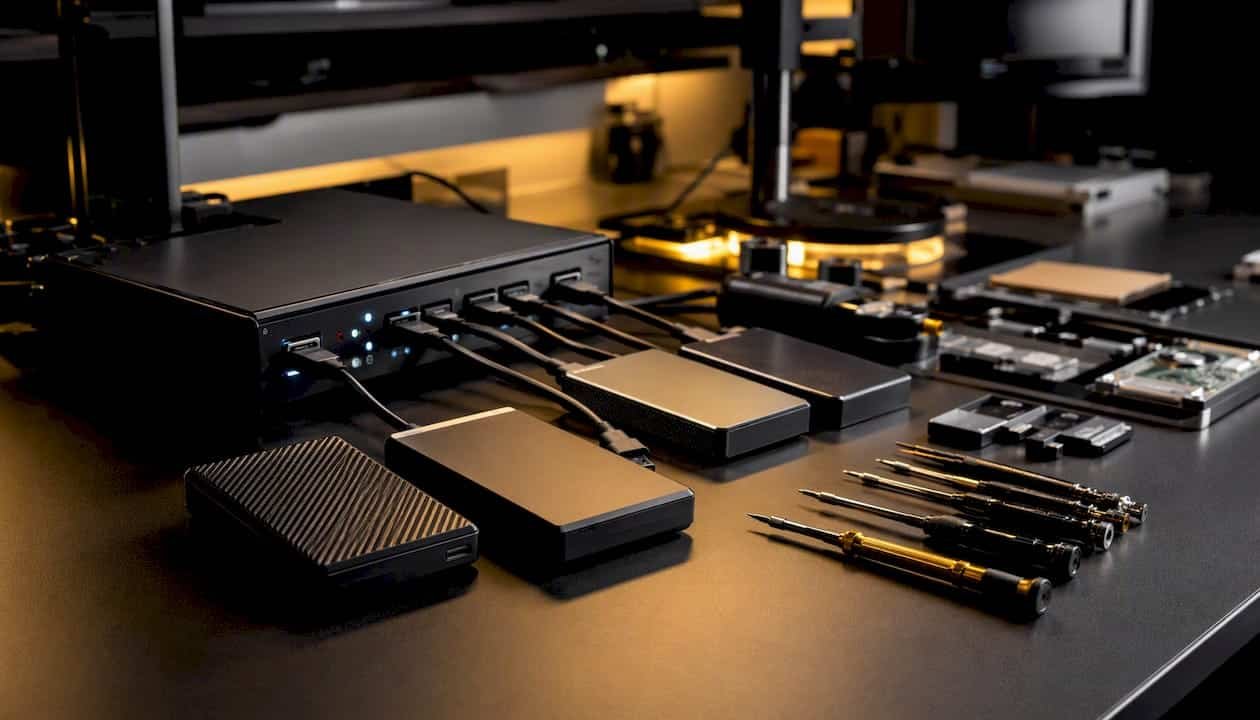
Stop all disk writes immediately. If your Mac partition has disappeared, the single most important action you can take right now is to stop using that drive. Every byte written to the disk after a partition loss reduces the chance of a successful recovery. The core sequence for lost partition recovery on Mac is: power down or unmount the affected drive, boot into macOS Recovery to run a non-destructive check, create a byte-for-byte disk image to an external drive, and then attempt recovery tools or contact a professional if hardware or FileVault encryption is involved.
Before you do anything else: Do not install software, save files, or let macOS run background updates on the affected disk. Unmount it if it is an external drive. If it is your internal drive and the Mac is still running, shut it down cleanly. Every write operation risks overwriting the raw sector data that recovery tools need to reconstruct your partition.
Key Takeaways
When a Mac partition goes missing, the outcome depends almost entirely on what happens in the first few minutes: stop writes, image the disk, and work from the image rather than the original.
| Point | Details |
|---|---|
| Stop writes immediately | Every write to the affected disk reduces the chance of successful partition recovery. |
| Image before scanning | Create a byte-for-byte disk image to an external drive before running any recovery tool. |
| Use a tiered DIY approach | Start with Disk Utility First Aid, then TestDisk, then commercial deep-scan tools if earlier steps fail. |
| Know when to stop DIY | Physical noises, SMART failure, FileVault without a key, or NVMe controller failure all require professional recovery. |
| Macwestlosangeles | Offers free diagnostics, “no recovery, no charge,” and same-day appointments at 12041 Wilshire Blvd, Ste 26, Los Angeles. |
Table of Contents
- What you must do before attempting lost partition recovery on Mac
- How to use macOS built-in tools for a safe first check
- Common lost-partition scenarios and the right next step for each
- Safe DIY workflow using third-party recovery tools
- Terminal commands you can safely run to inspect partition state
- How to recreate or restore a missing Recovery HD partition
- How to decide between continuing DIY and hiring a professional
- When professional Mac data recovery is the only safe path
- A provider’s perspective on what actually goes wrong
- Macwestlosangeles: professional Mac partition recovery in Los Angeles
- Sources
- FAQ
What you must do before attempting lost partition recovery on Mac
Getting the preparation right determines whether recovery succeeds or fails. Skipping this phase and jumping straight to scanning is the most common mistake.
Identify the affected disk first. Open Terminal and run:
diskutil list
This shows every disk and partition currently visible to macOS. Note the disk identifier (e.g., disk0, disk1) and whether the expected partition appears. If you see disk0 with only an EFI partition and free space where your APFS container should be, the partition table has lost its entries but the raw data may still be intact.
What to prepare before any recovery attempt:
- An external drive with at least as much free space as the affected disk’s total capacity (for imaging)
- A second Mac or a bootable USB drive with macOS installer or recovery tools, so you can run software without touching the affected disk
- The affected drive’s FileVault recovery key or Apple ID credentials, if encryption was enabled
- Power adapter for any MacBook; do not attempt recovery on battery alone
When to power down vs. boot into Recovery. If the Mac is still running and the missing partition was on an internal SSD, shut it down cleanly (hold the power button if necessary) rather than letting macOS continue writing. Boot from an external drive or Recovery instead. If the affected drive is external, unmount it immediately using diskutil unmountDisk /dev/diskN before disconnecting.
Why imaging matters. A byte-for-byte disk image captures the raw state of the drive before any recovery tool touches it. If a recovery attempt fails or makes things worse, you can restart from the image rather than from a further-damaged original. Imaging the source drive before recovery is the single most consistently recommended step across every credible recovery guide and tool vendor.
Pro Tip: Use dd or a GUI tool like Carbon Copy Cloner to image the raw device (e.g., /dev/rdisk0, not /dev/disk0) to an external drive before running any scan. The r prefix accesses the raw character device, which is faster and bypasses the buffer cache.
How to use macOS built-in tools for a safe first check
Apple’s own tools are the right starting point because they are non-destructive, free, and already on your Mac. Apple documents macOS Recovery and Disk Utility procedures for exactly these situations, and reinstalling macOS from Recovery will recreate the Recovery HD partition in most modern releases.
Booting into macOS Recovery
Apple Silicon Macs: Shut down, then press and hold the power button until “Loading startup options” appears. Click Options, then Continue to enter Recovery.
Intel Macs: Restart and immediately hold Command + R. Release when the Apple logo appears. For Internet Recovery (when the local Recovery partition is also missing), hold Command + Option + R instead.
Running Disk Utility First Aid
- Open Disk Utility from the Recovery utilities window.
- In the View menu, select Show All Devices to display the physical disk, not just volumes.
- Select the top-level disk entry (e.g., “Apple SSD SM0512” or the disk identifier).
- Click First Aid and run it on the physical disk first, then on any APFS container listed beneath it.
- Read the output carefully. “Overlapping extents,” “invalid node structure,” or “partition map needs repair” are signs that First Aid cannot fully resolve the issue on its own.
Key diskutil commands for read-only inspection
diskutil list                  # Shows all disks and partitions
diskutil verifyDisk disk0      # Read-only verification of partition map
diskutil apfs list             # Lists all APFS containers and volumes
diskutil repairDisk disk0 is the write-capable version of verifyDisk. Run it only after imaging, because it modifies the partition map. If diskutil apfs list returns no containers at all, the APFS container entry in the GPT has been lost or corrupted, and you are past what First Aid can fix.
A non-destructive diskutil verifyDisk that returns errors without crashing is a good sign: the drive is readable, and the partition table is damaged but not physically destroyed. That scenario is where third-party tools and TestDisk perform well.
Common lost-partition scenarios and the right next step for each
Matching your symptom to the correct workflow prevents wasted time and avoids write operations that could permanently destroy data. The table below maps the most common presentations to their likely cause and the safest immediate action.
| Symptom | Likely cause | Safest immediate action |
|---|---|---|
| Partition missing after accidental deletion in Disk Utility | GPT entry deleted; raw data intact | Image disk, then run TestDisk Quick Search |
| Volume reformatted accidentally | New filesystem written over old | Image immediately; commercial deep-scan (Disk Drill, Stellar) for file-signature recovery |
diskutil apfs list shows no containers | APFS container entry lost or GPT corrupted | Image disk; run fsck_apfs -n on raw device; escalate to pro if unreadable |
| GPT header shows corruption errors | Primary or backup GPT header damaged | Image disk; use gpt show disk0 to inspect; TestDisk or pro service for header repair |
| Partition disappeared after macOS update | Update wrote new partition map or resized container | Run Disk Utility First Aid; if it fails, TestDisk from external media |
| Drive makes clicking or grinding noises | Physical head or platter damage | Power down immediately; do not attempt DIY; contact a professional |
| Boot Camp partition not showing in Startup Disk | Boot Camp partition entry missing or Windows BCD issue | Run diskutil list to confirm partition exists; if missing, TestDisk; if present, Boot Camp Assistant or bless command |
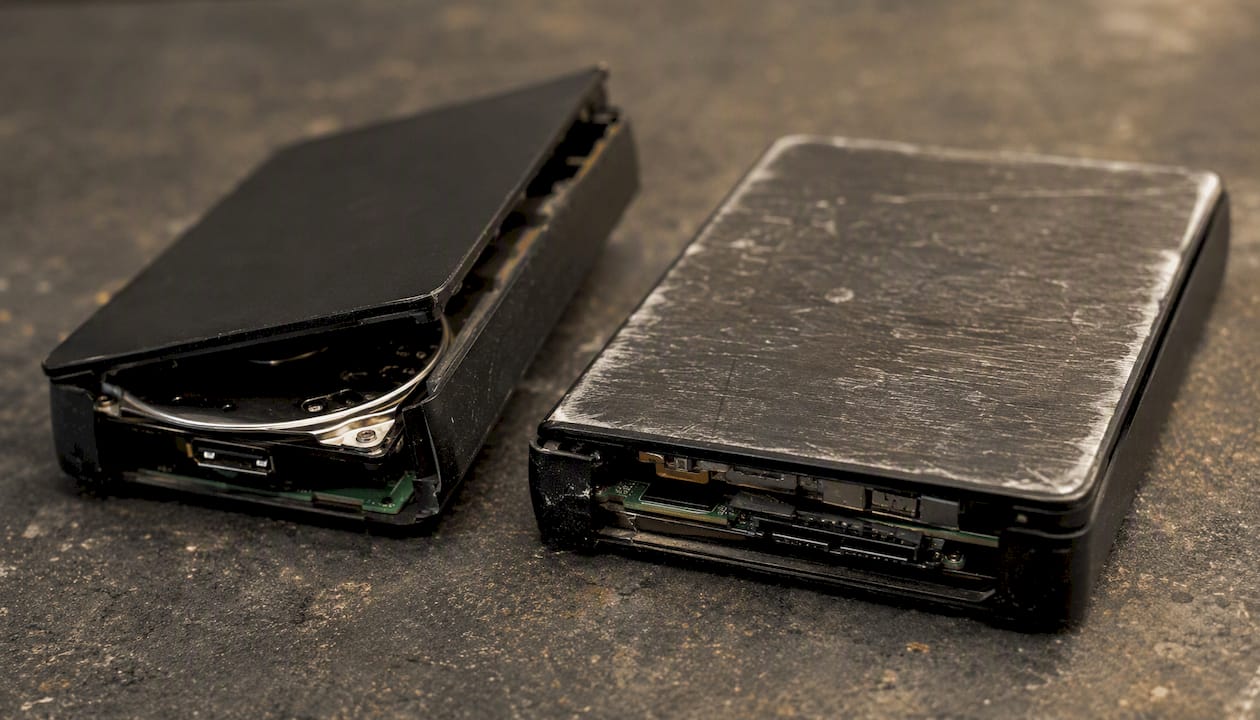
The “stop and call a pro” indicator is clear for physical symptoms. Clicking, grinding, or a drive that spins up and then disconnects are signs of mechanical failure. Any DIY attempt on a mechanically failing drive risks making the platters or heads unreadable even in a professional clean-room environment.
For the Boot Camp partition lost scenario specifically: if diskutil list shows the partition still exists but Boot Camp is not showing in Startup Disk, the issue is often a missing or corrupted Windows boot record rather than a lost partition. That is a different problem from a deleted partition and does not require partition recovery tools.
Safe DIY workflow using third-party recovery tools
The recommended order of operations is: native macOS repair first, then free advanced tools like TestDisk, and finally commercial deep-scan software if earlier steps fail. This sequence minimizes risk and preserves options for professional recovery if needed.
Tool roles and what each one does
TestDisk is a free, command-line partition and boot-sector recovery tool that analyzes EFI GPT layouts and can restore lost partition entries without touching user data when run correctly from external media. It is the best free option for repairing partition tables on GPT disks, provided you are comfortable with a command-line interface. Run it from a bootable USB or a second Mac connected via Target Disk Mode, never from the affected drive itself.
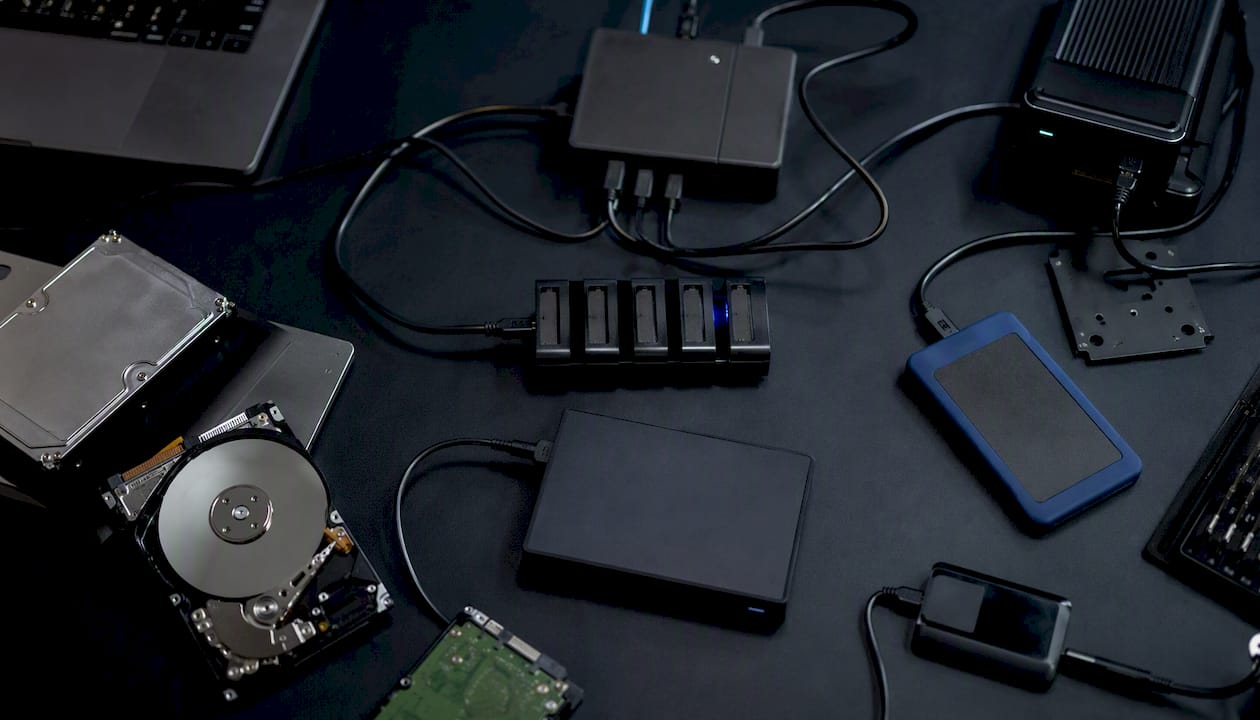
Disk Drill offers partition-header search, catalog rebuild, and raw file-signature scanning. It explicitly recommends imaging the source drive before recovery and supports both APFS and HFS+ volumes. Its GUI makes it accessible to users who are not comfortable with Terminal. The free version allows scanning and previewing; file export requires a paid license.
EaseUS Data Recovery Wizard for Mac provides a similar GUI-driven deep scan with APFS support. It is well-suited for accidental deletion and reformat scenarios where the partition structure is gone but the underlying files can be recovered by file-signature scanning.
Stellar Data Recovery for Mac adds a dedicated partition recovery module alongside standard file-level scanning. Its APFS support covers encrypted containers when you supply the password, and it can recover from NVMe SSDs.
R-Studio for Mac targets advanced users and IT professionals. It supports raw sector scanning, RAID reconstruction, and detailed APFS metadata analysis. The interface is less polished than consumer tools but offers more granular control over scan parameters.
Remo Recover for Mac focuses on ease of use, with a wizard-driven interface for partition and file recovery. It handles common APFS and HFS+ scenarios and is a reasonable choice for users who want a guided experience without deep technical knowledge.
Practical workflow: image first, then scan
- Step 1: Image the raw device to an external drive before any tool touches the source disk.
- Step 2: Run TestDisk on the image (or on the source disk from external media) to search for lost partition entries. If TestDisk finds and restores the partition, verify the volume mounts correctly before writing anything.
- Step 3: If TestDisk cannot restore the partition, run a commercial GUI tool’s deep scan against the image. Recover files to a third, separate drive, never back to the source.
- Step 4: Do not rely on preview-only scans for critical files. Always perform a full export to an external drive and verify file integrity before declaring success.
Key dos and don’ts:
- Do install recovery software on a separate drive, never on the affected disk.
- Do check whether FileVault encryption is active before scanning. Encrypted APFS volumes require the password or recovery key; without them, raw-sector scans return encrypted data that cannot be reconstructed.
- Do not write recovered files back to the source disk.
- Do not run multiple write-capable tools sequentially on the same source disk without re-imaging between attempts.
For a deeper explanation of logical vs. physical recovery and when file-signature scanning is the right approach, see what logical data recovery means for Mac users.
Terminal commands you can safely run to inspect partition state
Read-only Terminal commands give you diagnostic information without risking further damage. The key rule: commands that only read are safe to run on the original disk; commands that write require an image first.
Safe read-only commands
diskutil list                        # Full partition map for all disks
diskutil apfs list                   # All APFS containers, volumes, and roles
diskutil verifyDisk disk0            # Read-only partition map verification
gpt show disk0                       # Inspect GPT header and partition entries (read-only)
fsck_apfs -n /dev/rdisk0s2           # Dry-run APFS check; -n means no writes
The gpt show disk0 command displays the GPT header, backup header, and all partition entries. If the primary GPT header is corrupted but the backup header (stored at the end of the disk) is intact, TestDisk or gpt recover can restore the primary from the backup.
Interpreting critical outputs
When diskutil apfs list returns nothing, or when fsck_apfs -n reports “Device does not contain a valid APFS container,” the APFS superblock is either missing or unreadable. Real-world APFS failure logs confirm that this output appears after crashes or power failures that interrupted a partition-table write. The raw data on the NAND is often still present; the problem is that macOS has lost its map to it.
Signs of GPT header corruption in gpt show output include mismatched CRC values, a partition count of zero when volumes should exist, or an entry type of 0x00000000 where APPLE_APFS or EFI entries should appear. When Disk Utility cannot repair these issues, GPT header recovery and cloning are the recommended next steps, and imaging before any header rewrite is non-negotiable.
Image-first reminder: If the drive shows any sign of hardware instability (slow reads, intermittent disconnects, SMART errors), do not run repeated scans on the original. Create a byte-for-byte image first with a command like
sudo dd if=/dev/rdisk0 of=/Volumes/ExternalDrive/disk0.img bs=4mand run all diagnostics against the image file. This preserves the original evidence for professional recovery if DIY attempts do not succeed.
How to recreate or restore a missing Recovery HD partition
The Recovery HD (or Recovery partition on Apple Silicon) is a separate partition that macOS creates during installation. Losing it does not affect your data, but it does remove your ability to boot into Recovery mode locally.
Check whether Recovery is truly missing. Run
diskutil listand look for a partition with the role(Recovery)or a type ofApple_Boot. On Apple Silicon Macs, the recovery volume is inside the APFS container and labeled with the “Recovery” role indiskutil apfs list. If it appears there, your Recovery environment is intact even if it does not show in Startup Disk.Reinstall macOS over the existing system (non-destructive). Boot via Internet Recovery (Command + Option + R on Intel, or hold power on Apple Silicon and select Options), then choose Reinstall macOS. This process reinstalls the operating system without erasing your data and recreates the Recovery HD in the process. Apple’s official guidance confirms this behavior for modern macOS releases.
Use
createinstallmediaon a second Mac. If you need a bootable USB installer rather than a local Recovery partition, download the macOS installer from the App Store on a working Mac and run thecreateinstallmediacommand Apple provides. This creates a full bootable installer that includes a recovery environment, which you can use to reinstall macOS on the affected machine.Use TestDisk for targeted partition recreation. If the Recovery partition entry was deleted from the GPT but the partition data still exists on disk, TestDisk can scan for and restore the entry without reinstalling macOS. This is the appropriate path when you want to restore the partition map without touching the main APFS container.
Encrypted APFS caution. If FileVault is active, reinstalling macOS over the existing system requires your FileVault password or recovery key at the point of reinstall. Without it, the reinstall process may not complete successfully, and the encrypted volume remains inaccessible. Gather credentials before starting.
Recreating the Recovery HD without a full reinstall is possible using createinstallmedia or targeted partition tools, but reinstalling macOS is the safest and most reliable path for most users.
How to decide between continuing DIY and hiring a professional
The decision is not about technical skill alone. It is about risk: specifically, whether the next DIY step could destroy data that a professional could otherwise retrieve.
Stop DIY and contact a professional when any of these apply:
- The drive makes clicking, grinding, or repetitive seek noises.
- SMART status shows “Failing” or “Imminent Failure” in Disk Utility or a tool like DriveDx.
- FileVault encryption is active and you do not have the recovery key.
- The Mac involves RAID 0, NVMe soldered SSD, or a logic board component failure.
- You have already run two or more write-capable recovery tools without success.
diskutil listshows the disk but every read attempt times out or returns I/O errors.
Questions to ask any professional recovery service before committing:
- Do you image the drive before attempting recovery?
- What is your success rate with APFS and NVMe SSDs?
- Do you offer free diagnostics and a “no recovery, no charge” policy?
- What is the turnaround time, and do you offer same-day appointments?
- Can you handle FileVault-encrypted containers?
Pro Tip: Gather this information before you call: the Mac model and year, the macOS version, the drive type (HDD, SSD, NVMe), whether FileVault was enabled, and any error messages you have seen. A service that can give you a meaningful estimate without this information is not doing a real diagnosis.
For complex cases involving RAID arrays, see Mac RAID recovery workflows to understand what professional RAID 0/1/3/5 recovery actually involves before calling.
Red flags for continuing DIY: changing the partition table without imaging first, running diskutil repairDisk repeatedly on a drive with I/O errors, or attempting fsck_apfs writes on a drive with failing SMART status. Each of these can convert a recoverable situation into a permanent data loss.
When professional Mac data recovery is the only safe path
Some failure modes are simply outside the scope of software tools, no matter how capable. Physical damage to NAND flash, delaminated logic board traces, or a failed SSD controller require hardware-level intervention before any data can be read.
| Recovery scenario | DIY feasible? | Professional advantage |
|---|---|---|
| Deleted partition, drive healthy | Yes, with imaging + TestDisk or GUI tool | Faster, lower risk of error |
| Reformatted volume, no physical damage | Yes, with deep-scan GUI tool | Higher file-count recovery rate |
| APFS container lost, drive readable | Partial (fsck_apfs + TestDisk) | APFS metadata reconstruction |
| GPT header corruption, drive readable | Partial (TestDisk, gpt recover) | Header rebuild without data risk |
| NVMe SSD controller failure | No | NAND-level chip-off recovery |
| Logic board component failure | No | Component-level soldering repair |
| RAID 0/1/3/5 array failure | Rarely | RAID reconstruction + data extraction |
| FileVault encrypted, key unavailable | No | Forensic-grade decryption attempts |
| Physical head crash or platter damage | No | Clean-room disassembly |
What professionals do that software cannot: logic board component repair at the chip level, NVMe NAND access after controller failure, safe handling of FileVault-encrypted APFS containers with partial credential recovery, and RAID 0/1/3/5 reconstruction from degraded or failed arrays.
Typical professional recovery timelines range from same-day for straightforward logical cases to several days for complex hardware failures. Exact cost estimates depend on diagnosis, which is why a free diagnostic evaluation is the right first step rather than a flat-rate quote over the phone.
What to bring to a professional service: the Mac or drive, its power adapter, any FileVault recovery key or Apple ID credentials, and information about the most recent backup. If you have already attempted DIY recovery, bring notes on exactly which tools you ran and in what order. That information helps the technician understand what has already been written to the disk.
For same-day help in Los Angeles, call Macwestlosangeles at 310-866-0828. The team is located at 12041 Wilshire Blvd, Ste 26, between the 405 and Santa Monica, near UCLA and the Getty Center, and serves West LA, Santa Monica, Beverly Hills, Brentwood, Westwood, Venice, Hollywood, and Culver City.
A provider’s perspective on what actually goes wrong
Working with APFS and NVMe drives since their introduction, the pattern that causes the most preventable permanent data loss is not the original failure. It is the recovery attempt that follows. A user discovers a missing partition, installs a recovery tool directly onto the affected drive, runs three different scans in sequence, and by the time a professional sees the disk, the original partition data has been partially overwritten by the tool installations themselves.
Since 2006, Macwestlosangeles has handled data recovery across every Mac storage generation, from spinning HDDs to soldered NVMe SSDs, and the imaging-first discipline has never once made a case harder. It has made many cases possible that would otherwise have been permanent losses. Free diagnostics and a “no recovery, no charge” policy exist because a real diagnosis requires seeing the drive, not guessing from symptoms. Same-day appointments are available because data loss does not wait for a convenient schedule.
Macwestlosangeles: professional Mac partition recovery in Los Angeles
When DIY tools reach their limit, or when the risk of another write operation is too high to accept, Macwestlosangeles provides professional hard drive and SSD data recovery for Mac users across West LA, Santa Monica, Beverly Hills, and surrounding neighborhoods. The service covers logical partition recovery, APFS container reconstruction, NVMe NAND-level recovery, RAID 0/1/3/5 array rebuilding, and logic board component repair for cases where hardware failure is the root cause.
Free diagnostics mean you know exactly what you are dealing with before committing to a recovery job. The “no recovery, no charge” policy removes the financial risk of attempting professional recovery on a difficult case. Same-day appointments are available for urgent situations.
To get started, call 310-866-0828, bring your device to 12041 Wilshire Blvd, Ste 26, Los Angeles, or visit Macwestlosangeles to book online. Bring the device, its power adapter, any FileVault recovery key, and notes on what you have already tried.
Sources
- How to Recover Deleted/Lost macOS Partition 2026
- How to Recover a Lost or Deleted Partition on macOS | TheSweetBits
- TestDisk
- Rapidrepair
FAQ
Can you recover a lost partition on a Mac?
Yes, in most cases where the drive is physically healthy. If the partition entry was deleted or the GPT header was corrupted but the underlying data was not overwritten, tools like TestDisk or commercial GUI software can restore the partition or recover the files from it.
Is there free disk recovery software for Mac?
TestDisk is a fully free, open-source tool that handles partition-table repair on GPT disks. Commercial tools like Disk Drill, EaseUS, and Stellar offer free scanning with paid export; TestDisk is the strongest free option for partition-level repair specifically.
Do you really need a Recovery partition on your Mac?
The Recovery partition is not required for day-to-day use, but losing it means you cannot boot into local Recovery mode for Disk Utility, reinstall macOS, or reset the system without an internet connection or external bootable media. Internet Recovery (Command + Option + R on Intel Macs) is the fallback when the local Recovery partition is missing.
Why does Find My Mac require a Recovery partition?
Find My Mac’s Activation Lock feature relies on the Recovery partition to enforce lock status during startup. Without a Recovery partition, certain Activation Lock behaviors may not function correctly, which is one reason Apple recreates it automatically during macOS reinstalls.
When should you call a professional instead of using DIY tools?
Call a professional when the drive makes physical noises, SMART status shows failure, FileVault is active without a recovery key, or the Mac involves a soldered NVMe SSD, RAID array, or logic board damage. Macwestlosangeles offers free diagnostics and same-day appointments at 310-866-0828.