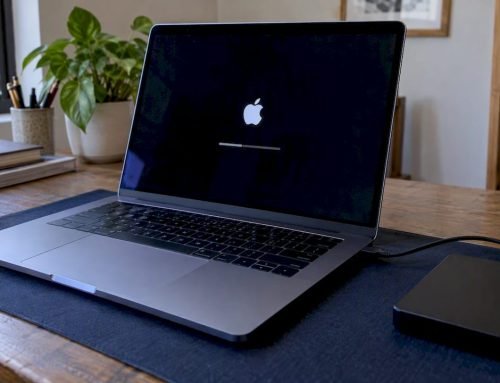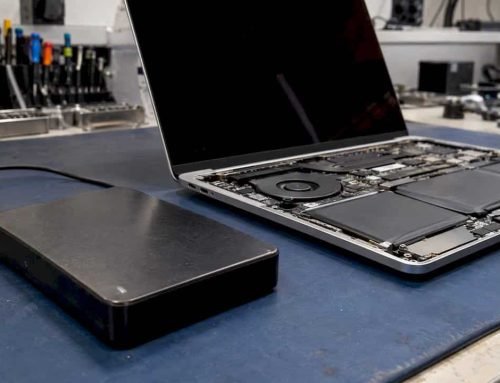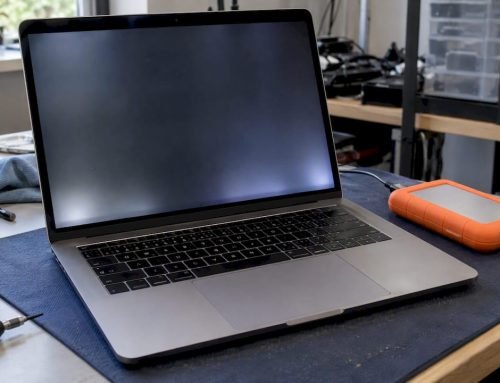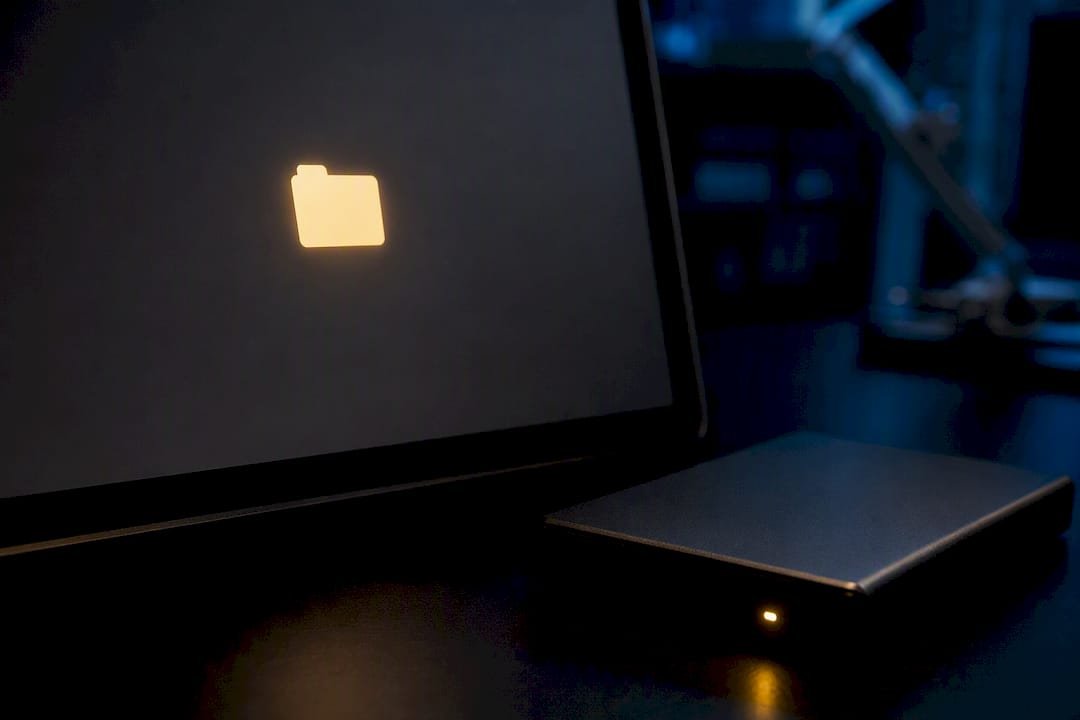
A blinking folder with a question mark means your Mac cannot find a bootable startup disk or a working copy of macOS. If the drive holds files you cannot lose, stop all disk writes immediately and don’t restart repeatedly. Otherwise, boot into macOS Recovery or Startup Options to check whether the disk is simply mis-selected or genuinely failing.
TL;DR:
- Most startup disk issues are caused by filesystem corruption or misconfigured settings rather than a dead drive, especially if
diskutil listshows the disk but no data.- Running First Aid on all disk layers and reselecting the startup disk in Recovery can often resolve the blinking folder problem without erasing data.
- If the disk does not appear in
diskutil listor shows physical damage, hardware failure is likely, and stopping destructive attempts is critical to prevent data loss.- Mac owners should prioritize professional diagnostics if repeated errors, clicking sounds, or missing disks occur, as DIY efforts may worsen the situation.
- Avoid multiple restart attempts on a failing drive; seek expert help immediately once hardware failure is suspected.
Table of Contents
- What Does a Blinking Folder on a Mac Mean?
- Quick Checklist: What To Try First
- Startup Options, Disk Utility, and Reinstalling: The Full Path
- Diagnosing Hardware vs. Software With Diskutil
- When to Call a Professional Recovery or Repair Shop
- A Technician’s Honest Take on the Panic Factor
- Get Your Mac Diagnosed Today in West LA
- Sources
- FAQ
What Does a Blinking Folder on a Mac Mean?
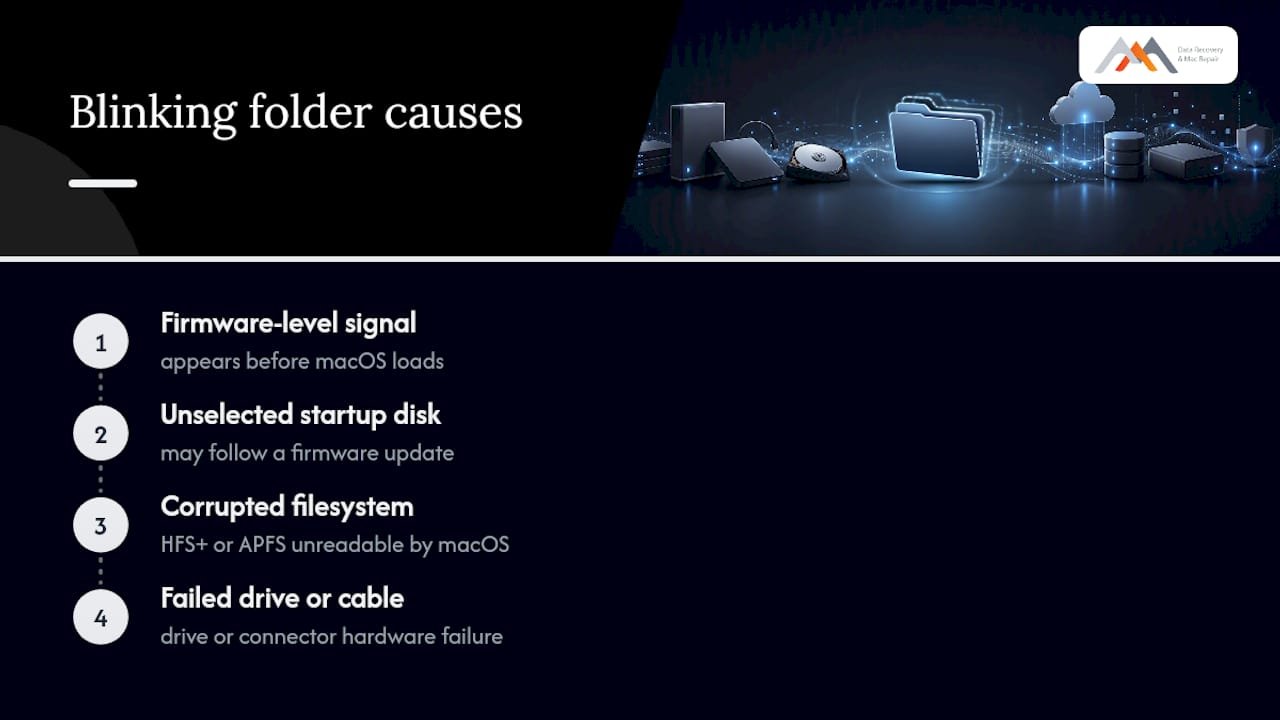
The flashing folder icon appears before macOS ever loads, which tells you the problem lives in the firmware or storage layer, not inside an app or from malware. Your Mac’s firmware scans every connected disk at startup looking for a valid, bootable macOS installation, and when it comes up empty, it shows this icon instead of your desktop. That’s a distinct signal from the spinning pinwheel of death, which shows up after macOS has already loaded and usually points to an overloaded process or a struggling app rather than a missing startup disk.
Three separate things can trigger it. The startup disk might just be unselected in system settings after a firmware update. The disk might be present but its file system, whether HFS+ or APFS, could be corrupted enough that macOS can’t read it. Or the drive itself, or the cable connecting it, could have failed. Figuring out which of the three you’re dealing with is the entire point of the troubleshooting that follows, and it determines whether you’re minutes from a fix or looking at a professional data recovery job.
Quick Checklist: What To Try First
Work through these in order before diving into anything more involved. Most mis-selected startup disk problems get resolved in the first two steps.
- Force shut down and reboot into Startup Options. On Apple silicon Macs, hold the power button until you see the “Loading startup options” screen. On Intel Macs, hold Option immediately after the startup chime to open Startup Manager.
- Disconnect every external drive and nonessential peripheral, then restart. A USB hub, external SSD, or even a printer cable can confuse the firmware’s disk scan.
- Reset NVRAM on Intel Macs. Shut down, then hold Option-Command-P-R for about 20 seconds during startup. This step alone often restores startup disk selection without any reinstall. Apple silicon Macs handle this differently and don’t need a manual NVRAM reset.
- Go to macOS Recovery and reselect the Startup Disk in System Settings once you’re back at a desktop.
- Run Disk Utility First Aid from Recovery if the disk is visible but the Mac still won’t boot from it normally.
- If you see clicking sounds, repeated errors, or the disk simply isn’t listed, stop trying repeated restarts and contact a data recovery service instead. Every extra boot attempt on a failing drive raises the odds of losing files for good.
Startup Options, Disk Utility, and Reinstalling: The Full Path
Once the quick fixes are exhausted, work through this sequence methodically. Skipping ahead to a reinstall before you’ve confirmed the disk itself is healthy is one of the most common mistakes Mac owners make, and it can turn a recoverable filesystem issue into a much bigger headache.
Getting into Startup Options or Recovery
Apple silicon Macs (the M1 through M5 chips) use a unified process: hold the power button down as the Mac starts until “Loading startup options” appears, then choose Options and click Continue. Intel Macs use a different set of key combinations depending on what you need. Holding Option alone opens Startup Manager, which lists every bootable volume it can find. Holding Command-R boots straight into macOS Recovery. Holding Shift-Option-Command-R attempts Internet Recovery using the version of macOS that came with the machine, which matters if your local Recovery partition is also damaged.
Here’s the diagnostic fork in the road: if Startup Manager or Startup Options shows your internal disk as a bootable option, your startup disk selection was likely just wrong, and picking it should get you back to your desktop. If the internal disk doesn’t appear at all, you’re looking at either a filesystem so damaged the firmware can’t recognize it, or a hardware failure. That distinction is exactly what the next section walks through with Terminal.
Running Disk Utility First Aid correctly
From the macOS Recovery menu, open Disk Utility and click View → Show All Devices in the toolbar. This matters because Disk Utility hides sub-volumes by default, and you need to see the full disk hierarchy: physical device, APFS container, and individual volumes, to run First Aid in the right order.
- Run First Aid on each individual volume first (Macintosh HD, Macintosh HD – Data, and any others).
- Then run First Aid on the APFS container itself.
- Finally, run First Aid on the physical device (the actual disk, listed above the container).
Disk Utility can fix many directory and formatting problems this way, but it can’t repair everything. A message that says the disk “appears to be OK” or that specific errors “were repaired” is your green light to restart normally. A message referencing “overlapped extent allocation” or one where First Aid simply fails partway through is a warning sign; those often indicate corruption too deep for First Aid’s repair logic, or early symptoms of a drive that’s physically degrading.
Pro Tip: Never run First Aid more than two or three times expecting a different result. If it fails the same way twice, that’s your signal to stop clicking Repair and start thinking about imaging the drive or calling a professional instead.
Reinstalling macOS: what it does and doesn’t touch
If First Aid resolves the errors, Apple’s own guidance is to restart and see if the Mac boots normally. If it doesn’t, or if First Aid can’t fully repair the disk, the next step is reinstalling macOS from Recovery, not erasing the disk. A standard reinstall over an existing, intact volume typically preserves your user data, applications, and settings, because it replaces the system files without touching your Data volume on APFS setups. Erasing and reinstalling is a separate, more destructive option Apple recommends only when a straightforward reinstall doesn’t resolve the startup failure.
If you chose Internet Recovery and hit an error code like -2001F, -2002F, or -2003F, that’s almost always a networking problem rather than a disk problem. Switch to a wired Ethernet connection if you can, or try the alternate key combination (Option-Command-R for the recommended macOS version versus Shift-Option-Command-R for the original shipped version) since one path sometimes succeeds when the other times out.
Diagnosing Hardware vs. Software With Diskutil
Terminal is available inside Recovery under Utilities, and running diskutil list there tells you more in ten seconds than another hour of restarts will. It prints every physical device and partition the Mac’s firmware can currently detect, which is the clearest window you have into whether this is a filesystem problem or a hardware problem.
If the physical disk shows up in the list but has no readable volumes underneath it, or the volumes are marked unmounted, you’re most likely dealing with filesystem corruption, something First Aid or a reinstall has a real shot at fixing. If the disk doesn’t appear in the list at all, the likely cause is a hardware failure or, on machines with a separate internal cable, a disconnected connection. An APFS container that shows zero volumes is a serious sign, and repeatedly erasing or reformatting it to “try to fix it” is exactly the wrong move if you still need the files on it. Each erase overwrites more of the data you’d want a recovery service to pull back.
| Diskutil result | Likely cause | Recommended next step |
|---|---|---|
| Disk visible, volumes readable | Startup disk mis-selected | Reselect Startup Disk, restart |
| Disk visible, container has no volumes | Filesystem corruption | Run First Aid; avoid repeated erases if data matters |
| Disk visible, First Aid fails repeatedly | Deep corruption or early drive failure | Image the disk before further attempts |
| Disk not listed at all | Hardware or cable failure | Stop writes; seek professional diagnostics |
Apple silicon Macs complicate this further because internal storage is soldered to the logic board on most models, not a swappable module. That limits DIY repair options considerably and makes logic board level diagnostics the realistic path once hardware failure is confirmed rather than suspected.
When to Call a Professional Recovery or Repair Shop
Call a shop the moment you see any of these: the internal disk missing entirely from diskutil list, repeated I/O errors during First Aid, an audible clicking drive, or First Aid failing on the same volume more than twice.
- Ask what their success-rate estimate is for your specific failure type (SSD controller failure recovers differently than a failing spinning platter).
- Ask about turnaround time and whether same-day diagnostics are available.
- Ask directly whether they operate on a “no recovery, no charge” basis before you commit to anything.
Macwest Data Recovery & Mac Repair has been doing exactly this kind of triage in Los Angeles since 2006, offering free diagnostics, a genuine no recovery, no charge policy, and same-day appointments for cases where every hour counts. Reaching a real technician who can look at your specific error, rather than guessing further on your own, is often the difference between a full recovery and a permanent loss.
A Technician’s Honest Take on the Panic Factor
Most people who see a blinking folder assume the worst immediately, and most of the time that assumption is wrong. The overwhelming majority of these cases trace back to a startup disk selection issue or a fixable filesystem error, not a dead drive. The mistake that actually causes permanent data loss isn’t the blinking folder itself; it’s the repeated restarting, erasing, and “just try it again” instinct that people fall back on when they’re anxious and don’t understand what’s happening.
If you take away one thing, take away this: the single most reliable triage step is checking diskutil list before you touch anything destructive. It tells you, in plain terms, whether you’re fighting software or hardware. If it points to hardware, stop writing to that disk and get it into a technician’s hands. Every additional power cycle on a failing drive is a gamble you don’t need to take.
— Kaya
Get Your Mac Diagnosed Today in West LA
Macwest Data Recovery & Mac Repair is the direct alternative to guessing your way through Disk Utility screens alone, offering free diagnostics and hands-on evaluation the moment you walk in, rather than another round of trial-and-error restarts. Whether the issue turns out to be a simple startup disk mismatch or a failing NVMe drive that needs logic-board level attention, our technicians can tell you which one you’re facing and what it takes to fix it. We’re centrally located at 12041 Wilshire Blvd, Ste 26, between the 405 and Santa Monica, close to UCLA and the Getty Center, and we serve Santa Monica, Beverly Hills, Brentwood, Westwood, Venice, Hollywood, and Culver City with same-day appointments.
Since 2006, we’ve built our reputation on a simple policy: no recovery, no charge. If your Mac’s internal drive is showing signs of hardware failure, bring the machine in as soon as possible rather than continuing to restart it, and check our hard drive data recovery service page for what to expect from the process. Call 310-866-0828 now to book a same-day diagnostic appointment.
Sources
For the official word straight from Apple, start with Apple’s question mark folder guidance and its companion page on using macOS Recovery. For a deeper look at imaging and recovery workflows used across the data recovery industry, see this practical guide to data recovery techniques.
FAQ
What does a blinking folder on a Mac mean?
It means the firmware couldn’t find a bootable startup disk or a working macOS installation on any connected drive during startup, which is a storage or firmware level failure rather than an app problem.
How do I fix a flashing folder with a question mark on Mac without a disc?
Boot into Startup Options (Apple silicon) or hold Command-R for Recovery (Intel), then run Disk Utility First Aid on the volume, container, and device in that order; no physical disc is needed since Recovery lives on the Mac itself or downloads over the internet.
How do I stop the spinning pinwheel of death?
The pinwheel usually signals an overloaded process after macOS has already loaded, not a startup disk problem, so force quitting the stuck app or restarting typically resolves it; if it happens constantly, check Activity Monitor for a runaway process.
How do I boot a Mac into repair mode?
Hold the power button on Apple silicon Macs until “Loading startup options” appears, or hold Command-R on Intel Macs right after the startup chime, both of which open macOS Recovery where Disk Utility and reinstall options live.
Can a blinking folder mean my hard drive is dead?
Sometimes, but not usually; running diskutil list in Recovery’s Terminal shows whether the disk is even detected, and if it’s missing entirely, contacting a data recovery service like Macwest Data Recovery & Mac Repair for free diagnostics is the safer next move than repeated restarts.