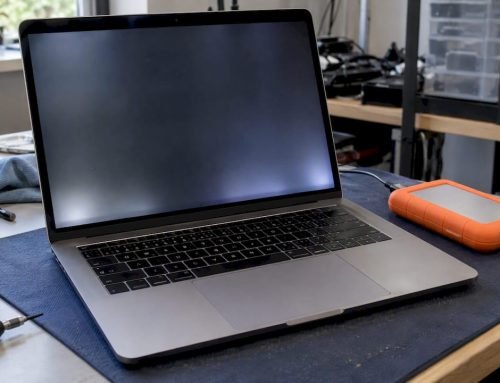
Stop all disk writes immediately. That single action, taken in the first 30 seconds after you hear repetitive clicking, is the difference between a recoverable drive and a permanently damaged one. If the drive is still detected by your system and the clicking remains moderate, your next move is to create a read-only, byte-for-byte forensic image using GNU ddrescue before attempting anything else. If the drive is undetectable or the clicking is intensifying, power it down now and do not restart it.
Clicking hard drive recovery, in professional terminology, refers to the process of stabilizing and imaging a mechanically failing drive whose read/write heads are failing to complete their calibration sweep, producing that characteristic rhythmic knock. Every additional power cycle risks scoring the magnetic platters and turning a difficult recovery into an impossible one.
What to do right now:
- Unplug the drive (external) or shut down the computer (internal) immediately.
- Do not run CHKDSK, Disk Utility First Aid, or any surface scan.
- Do not open the drive enclosure under any circumstances.
- Do not freeze the drive.
- Label the device with the date, model, and a brief description of what happened.
- If the drive is external and you suspect a power issue (underpowering), try a different USB port or powered hub before concluding it is mechanical, but limit that test to one attempt.
For Los Angeles readers who need professional help today, call Macwest Data Recovery at 310-866-0828 for same-day appointments and free diagnostics.
Pro Tip: Set a phone timer for 90 seconds the moment you power the drive on for any diagnostic attempt. Exceeding that window during a failing state accelerates head wear and reduces the sectors you can recover.
Key Takeaways
A clicking hard drive requires immediate power-off, a read-only forensic image if the drive remains detectable, and professional lab intervention when DIY imaging stalls or the drive is undetectable.
| Point | Details |
|---|---|
| Power off immediately | Every additional power cycle risks platter damage; shut down within 30 seconds of hearing clicking. |
| Image first with ddrescue | Use GNU ddrescue with a mapfile and 90-second timeout; never scan the original source with recovery software. |
| Avoid common DIY fixes | Freezing, tapping, and repeated restarts all carry high risk of permanent data loss on modern drives. |
| Know when to call a lab | Undetectable drive, intensifying clicks, or critical data are all clear signals to stop DIY and contact a professional. |
| Macwestlosangeles | Offers free diagnostics, no-recovery-no-charge, and same-day appointments in Los Angeles since 2006. |
Table of Contents
- What should you do in the first 90 seconds after clicking starts?
- How do you recognize the click of death vs. a harmless noise?
- How to safely image a clicking drive before it fails completely
- Why the freezer trick and other DIY fixes usually make things worse
- When should you stop DIY and call a professional recovery lab?
- What do professional data recovery labs actually do for clicking drives?
- Macwest Data Recovery in Los Angeles: what to expect for a clicking drive
- The case for restraint: why less is more with a clicking drive
- Macwest Data Recovery: same-day service for clicking drives in Los Angeles
- Sources
- FAQ
What should you do in the first 90 seconds after clicking starts?
The checklist below is ordered by priority. Work through it top to bottom without skipping steps.
Immediate actions (do these first):
- Power off the drive or computer. For an internal drive, hold the power button; for an external, unplug the USB or Thunderbolt cable.
- Note the drive model, serial number, and capacity from the label on the enclosure or the system’s last known device listing.
- Place the drive on a flat, static-free surface. Do not stack it or leave it where it can fall.
- If the drive is external and you have not yet tried a direct SATA connection, note that for later. Do not attempt it now.
- If the drive is still detected and you have a dedicated target drive ready, consider a controlled imaging attempt (see the imaging section below). Otherwise, leave it powered off.
Do / Don’t reference:
| Do | Don’t |
|---|---|
| Create a read-only image if the drive mounts briefly | Run CHKDSK, fsck, or Disk Utility repair |
| Use a powered SATA dock for better power delivery | Plug into a bus-powered USB hub |
| Limit each powered-on session to under 90 seconds | Restart the drive repeatedly to “see if it comes back” |
| Document failure circumstances in writing | Open the enclosure outside a cleanroom |
| Call a lab if the drive is undetectable | Run a full surface scan on the original drive |
Limiting powered-on time to under 90 seconds during diagnosis preserves recoverable sectors. ddrescue is the recommended imaging tool for this exact scenario.
Macwest Data Recovery offers free diagnostics and same-day appointments. If you are in West LA, Santa Monica, Beverly Hills, Brentwood, Westwood, Venice, Hollywood, or Culver City, call 310-866-0828 to arrange an urgent pickup or drop-off.
Pro Tip: Listen to the click rhythm before powering off. A slow, regular knock (2–3 clicks, pause, repeat) points to head calibration failure. A rapid, irregular grinding suggests platter contact, which is more urgent. That distinction helps the technician triage your case faster.
How do you recognize the click of death vs. a harmless noise?
Not all clicking noises signal the same problem, and responding to the wrong category with the wrong action can cause unnecessary damage. There are three practical categories to distinguish.
Category 1: Benign head parking
Modern drives park their read/write heads when power is cut or when the OS issues an idle command. This produces a single soft click or a brief two-click sequence. It occurs at shutdown, sleep, or when you unplug an external drive. No action needed.
Category 2: Power-starved enclosure clicks
An external drive drawing insufficient current from a bus-powered USB port will attempt to spin up, fail, and retry, producing a rhythmic clicking or ticking. The fix is straightforward: connect to a powered USB hub, a direct SATA dock, or a wall-powered enclosure. If the clicking stops and the drive mounts cleanly, the drive itself may be fine.
Category 3: The mechanical click of death
This is the rhythmic, repetitive knock that continues regardless of power source. It typically means the read/write heads have failed to locate the servo tracks on the platters and are resetting to their home position in a loop. Common underlying causes include:
- Failed read/write heads: The most frequent cause of the click of death. Heads can fail from impact, age, or a sudden power loss mid-write.
- Servo/firmware unreadability: The drive’s internal firmware zone (stored on the platters) is unreadable, so the heads cannot complete initialization.
- Spindle motor seizure: Less common, but a seized motor produces a grinding or buzzing alongside clicking.
- PCB or firmware corruption: The controller board fails to communicate correctly with the heads, causing repeated reset attempts.
- Platter damage: Physical scoring of the magnetic surface, often the result of a head crash, produces clicking combined with a scraping sound.
Triage by system behavior: If the drive appears in BIOS or Disk Utility intermittently, the heads are still partially functional and imaging may be possible. If the drive never appears, or appears and immediately disappears, the damage is more severe. A drive that runs warm to the touch within 60 seconds of power-on suggests spindle stress.
SMART signals worth checking (only if the drive mounts): Reallocated Sector Count, Current Pending Sector Count, and Uncorrectable Sector Count are the three ATA attributes most predictive of imminent failure. Use smartctl (Linux/macOS terminal) or CrystalDiskInfo (Windows) for a quick read. Keep the session short. Running a full SMART self-test on an unstable drive is counterproductive and can accelerate the failure.
How to safely image a clicking drive before it fails completely
The answer-first rule here: only attempt DIY imaging if the drive is detected by your system and the clicking is moderate, not intensifying. If either condition is not met, power down and contact a professional lab. Stepwise home imaging workflows must be attempted only when the drive is briefly detectable and the user understands how to use ddrescue and live-USB forensic environments safely.
What you need before starting:
- A target drive with capacity equal to or greater than the source (never image onto the same drive).
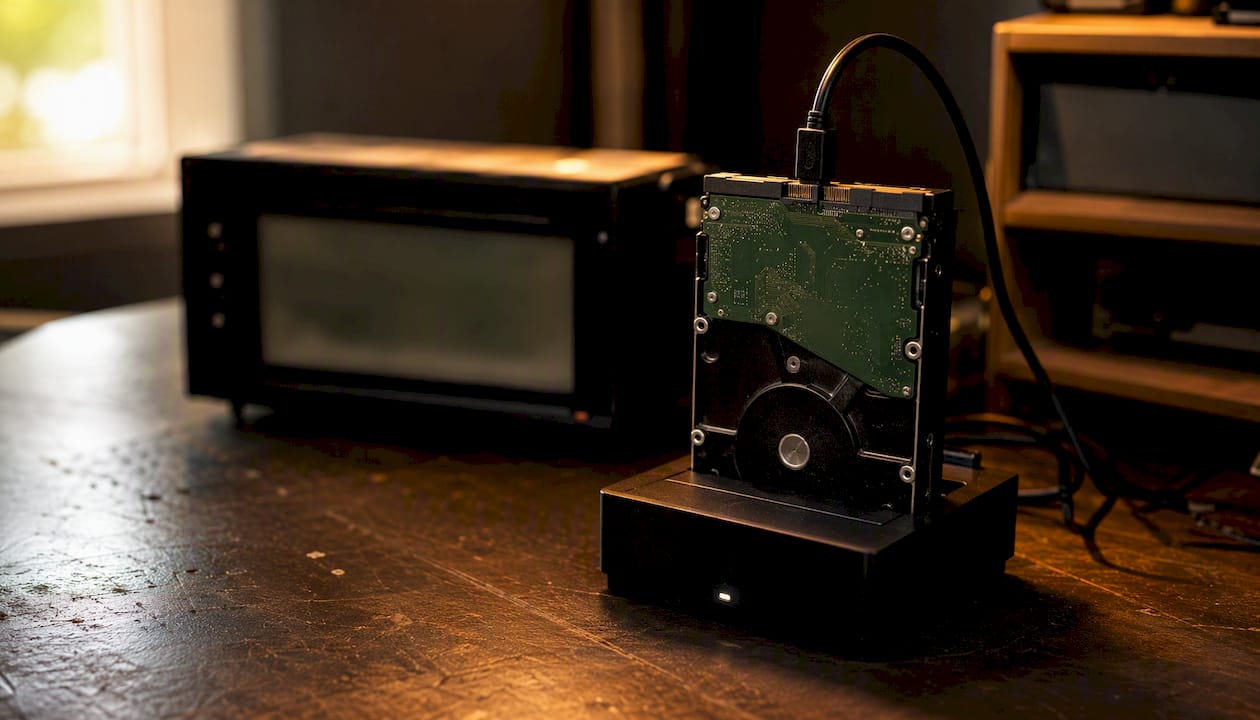
- A powered SATA dock or a direct SATA-to-motherboard connection (preferred over USB for stability).
- A Linux live USB (Ubuntu, Fedora, or a dedicated forensic distro like SystemRescue).
- GNU ddrescue installed (available in most Linux package managers as
gddrescue). - A phone timer set to 90 seconds.
Imaging steps:
- Boot from the Linux live USB without mounting the failing drive.
- Connect the failing drive to the powered SATA dock. Confirm it appears in
lsblkoutput as/dev/sdX(replace X with the actual letter). Do not mount it. - Connect the target drive and confirm its device path (e.g.,
/dev/sdY). - Run the initial ddrescue pass with a mapfile to log progress:
ddrescue -d -r0 --timeout=30 /dev/sdX /dev/sdY /home/user/recovery.map
The -d flag uses direct disk access (bypasses OS cache), -r0 means zero retry passes on the first run (skip bad sectors for now), and --timeout=30 aborts if the drive stalls for 30 seconds. The mapfile records which sectors completed successfully.
- If the drive is still responding after the first pass, run a second pass targeting only the bad sectors logged in the mapfile:
ddrescue -d -r3 --timeout=30 /dev/sdX /dev/sdY /home/user/recovery.map
Here -r3 allows up to three retries on each bad sector. Stop if clicking intensifies.
- Power off the source drive as soon as ddrescue reports completion or stalls.
GNU ddrescue records progress in a mapfile and allows incremental retries without repeating successful reads, which makes it the reference tool for this workflow. dd does not have this capability and should not be used on failing hardware.
After imaging: Run Disk Drill or a comparable file-reconstruction tool against the cloned image, never the original source. Disk Drill supports APFS, HFS+, NTFS, and exFAT volumes and can reconstruct deleted or corrupted file structures from a stable image. Running intensive scans against a failing source drive risks accelerating data loss, so the clone is the only surface you should scan.
Mac-specific note: APFS volumes use a copy-on-write architecture that can complicate partial-image reconstruction. If your Mac hard drive clicking noise started after a macOS update or an abrupt shutdown, the APFS container metadata may be partially intact even when the drive is unstable, which is one more reason to capture the full sector-level image before any file-system-level work.
Pro Tip: If ddrescue stalls repeatedly on the same LBA range, add --skip-size=512s to skip that region and continue imaging the rest of the drive. You can always return to the stuck region in a later pass. Recovering 90% of the data is far better than stopping at a bad sector cluster and recovering nothing.
Why the freezer trick and other DIY fixes usually make things worse
The short answer: these methods occasionally produced marginal results on drives manufactured before roughly 2005, but on modern 2.5-inch and 3.5-inch drives they tend to reduce recovery odds, sometimes permanently. The freezer trick is an outdated approach, and on modern drives condensation and fluid-dynamic bearings make it dangerous.
Common DIY methods and their actual risk:
Freezing the drive: The theory is that thermal contraction will free a seized spindle or shrink a warped component enough to allow a brief read. The reality on modern drives is that condensation forms inside the sealed enclosure when the drive warms back up, coating the platters and heads with moisture. Fluid-dynamic bearings, standard since the early 2000s, do not respond well to temperature shock. Risk to data: high.
Tapping or dropping the drive: Occasionally dislodges a stuck spindle on older drives. On a drive with already-damaged heads, any impact risks dragging a failed head across the platter surface, scoring the magnetic layer and destroying data that was previously recoverable. Risk to data: high.
Repeated power cycling: The most common mistake. Powering the drive on repeatedly is the single biggest error people make after a hard drive starts clicking, because each cycle forces the failing heads through another calibration sweep across the platters. Risk to data: high.
PCB swap without ROM matching: Swapping the controller board from an identical-model donor drive sounds logical, but modern drives store drive-specific calibration data (the adaptive firmware) in a ROM chip on the PCB. Transplanting a board without transferring or matching that ROM produces a drive that spins but cannot locate its own data. On some models, an incompatible PCB can overwrite the service area on the platters. Risk to data: medium to high.
Running CHKDSK or fsck: These tools write to the drive as part of their repair process. On a mechanically failing drive, any write operation risks overwriting recoverable data in sectors the OS marks as available. Repeated restarts and running surface scans on a mechanically failing drive are common mistakes that often worsen the damage. Risk to data: medium to high.
A PCB swap is legitimate in one narrow scenario: when the original board has a clearly burned component (a visible scorch mark or blown fuse) and the drive’s heads and platters are intact. Even then, the ROM chip from the original board must be transferred to the donor board, which requires soldering and a firmware-matching process that most home users cannot perform safely.
When should you stop DIY and call a professional recovery lab?
Stop DIY and contact a lab if any of the following apply:
- The drive is not detected by BIOS, Disk Utility, or
lsblkat all. - The clicking is intensifying or has changed to a grinding or scraping sound.
- The drive becomes warm within 60 seconds of power-on.
- ddrescue stalls on more than 20–30% of sectors in the first pass.
- The data on the drive is business-critical, legally sensitive, or irreplaceable.
- You have already attempted a DIY fix that did not work.
Professional labs begin with non-invasive diagnostics and imaging-first workflows to maximize recoverable data, and they have donor parts inventories and cleanroom environments that no home setup can replicate.
Cost and timeline expectations (reported price bands from professional labs):
These ranges come from lab pricing data reported by professional recovery services. Actual quotes vary by drive model, capacity, and the extent of damage found during diagnostics.
Questions to ask any recovery lab before committing:
- Do you have an on-site ISO Class 5 (Class 100) cleanroom, or do you outsource internal work?
- What is your free diagnostics policy, and does it include a written quote before work begins?
- Do you offer a no-recovery, no-charge guarantee?
- How do you handle data confidentiality for business customers (HIPAA, NDA)?
- Do you maintain a donor parts inventory for my specific drive model?
- What is your success rate for head-swap cases on drives of this type?
Pro Tip: For any drive that may be involved in litigation or insurance claims, document the chain of custody in writing before handing it to a lab. Photograph the drive’s label, note the serial number, and get a signed receipt. A reputable lab will not object to this and may already have a chain-of-custody form.
What do professional data recovery labs actually do for clicking drives?
Professionals stabilize the drive, image it under controlled conditions, and only then perform internal repairs when the imaging attempt is insufficient. The recovery workflow centers on imaging-first and uses ISO Class 5 cleanrooms for internal interventions; the objective is a sector-level image and file extraction, not returning a repaired drive for reuse.
Lab workflow stages:
- External inspection and documentation: The technician photographs the drive, records the model and firmware revision, and notes any physical damage before powering it on.
- Non-invasive diagnostics: Using specialized hardware interfaces (PC-3000, DeepSpar Disk Imager, or equivalent), the lab accesses the drive’s service area and SMART data without mounting the volume to the OS. This reveals whether the failure is firmware-based, head-based, or platter-based.
- Controlled limited-power imaging: If the drive responds to service-area commands, the lab begins a read-only sector-level image using hardware imagers that handle timeouts, retries, and bad-sector mapping far more precisely than software tools.
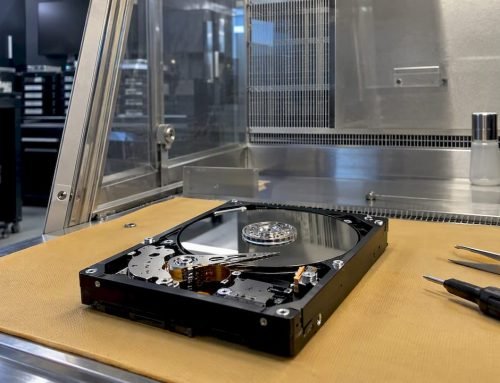
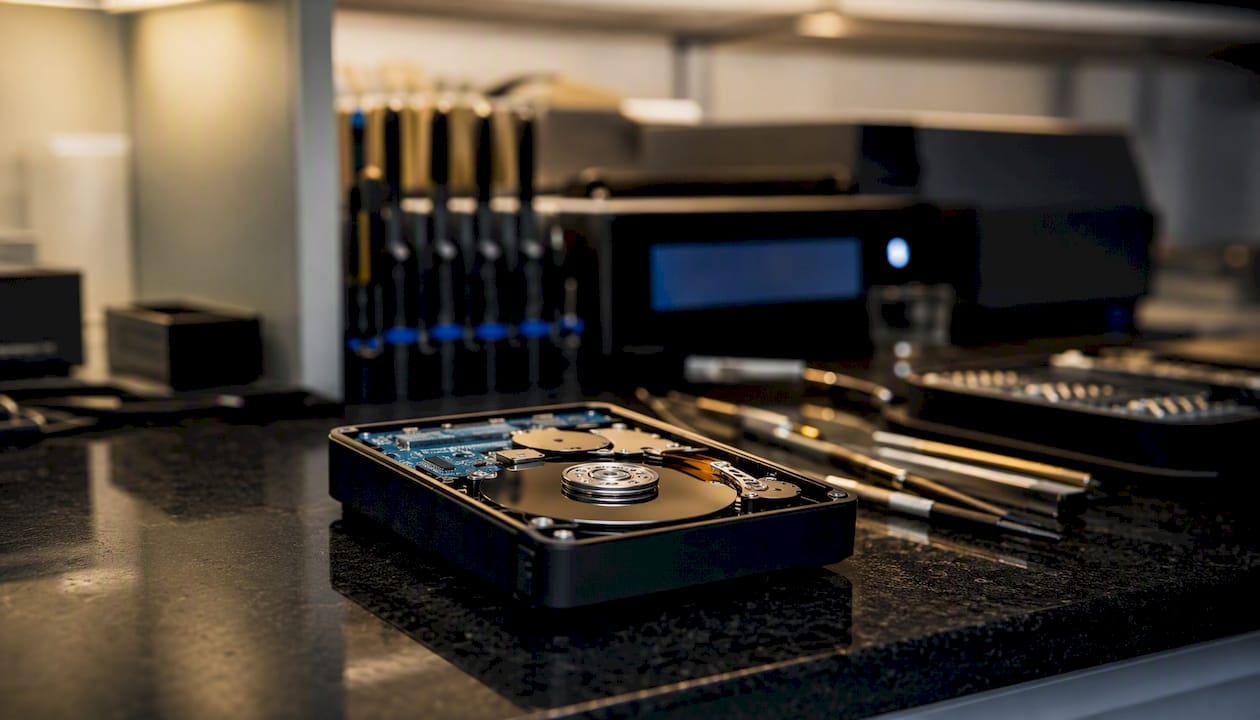
- Cleanroom intervention (ISO Class 5 / Class 100): When imaging fails due to head damage, the drive is opened in a cleanroom where airborne particle counts are controlled to prevent platter contamination. Technicians swap the read/write head assembly using matched donor parts from the same drive family and firmware revision.
- Platter transplant (severe cases): If the spindle motor has seized or the platters are physically damaged, platters may be transferred to a donor drive chassis. This is the most technically demanding procedure and carries the highest risk of additional data loss.
- File-system reconstruction: Once a complete or partial sector-level image exists, the lab runs file-system analysis tools to reconstruct the directory structure, recover deleted entries, and extract files. For APFS volumes, this includes parsing the B-tree metadata and checkpoint structures.
Trust signals to look for in a lab:
- On-site ISO Class 5 cleanroom (not outsourced).
- Written no-recovery, no-charge policy before work begins.
- Free initial diagnostics with a written quote.
- Documented donor parts inventory.
- Secure handling protocols for business data (signed NDA or HIPAA-compliant procedures).
- Verifiable years in business and local references.
Labs cannot guarantee full recovery even after a successful head swap, because platter surface damage may have occurred before the drive arrived. A reputable lab will tell you the recovery percentage estimate after diagnostics, not before.
Macwest Data Recovery has operated in Los Angeles since 2006, offers free diagnostics on every case, and follows a strict no-recovery, no-charge policy. Same-day appointments are available for urgent cases.
Pro Tip: Ask the lab to provide an MD5 or SHA-256 hash of the recovered image file alongside the recovered data. That hash proves the image was not altered after creation, which matters for legal cases and insurance claims.
Macwest Data Recovery in Los Angeles: what to expect for a clicking drive
For Los Angeles readers, the most direct path to recovering data from a clicking drive is to call Macwest Data Recovery at 310-866-0828. Same-day diagnostic appointments are available, and the free diagnostics policy means you receive a written assessment and quote before any paid work begins.
What Macwest provides for clicking-drive cases:
- In-house imaging using read-only, sector-level workflows for HDD, SSD (NVMe and SATA), and RAID arrays (RAID 0, 1, 3, and 5).
- Support for APFS and HFS+ file systems on Mac drives, including FileVault-encrypted volumes.
- Logic board component repair for cases where PCB or firmware corruption is contributing to the clicking.
- Cleanroom partnerships for head-swap and platter-transplant cases requiring ISO Class 5 conditions.
- Secure, confidential handling for business clients with sensitive data.
- No-recovery, no-charge guarantee on every case.
Next steps for an LA customer:
- Power off the drive and do not restart it.
- Call 310-866-0828 to book a same-day or next-available appointment.
- Bring the device to 12041 Wilshire Blvd, Suite 26, Los Angeles (between the 405 and Santa Monica Freeway, near UCLA and the Getty Center). Brentwood, Westwood, Venice, Hollywood, Culver City, Santa Monica, and Beverly Hills are all within easy reach.
- Receive a free diagnostic assessment and written quote, typically within the same appointment.
- Approve the quote and let the recovery proceed. If no data is recovered, you owe nothing.
Macwest also handles Mac hard drive recovery for cases where the clicking began after a drop, a liquid spill, or a sudden power loss, and the team has experience with the full range of Apple hardware from MacBook Air to Mac Pro.
Pro Tip: If your clicking drive is inside a MacBook or iMac, do not attempt to remove it yourself before calling. Macwest’s technicians handle the extraction as part of the diagnostic process, and improper removal can damage the flex cable connecting the drive to the logic board.
The case for restraint: why less is more with a clicking drive
The most consistent pattern in clicking-drive cases is that the drives arriving in the worst condition are the ones that were “worked on” the most before reaching a lab. A drive that was powered on twice and then brought in is almost always in better shape than one that was frozen, tapped, restarted a dozen times, and run through a surface scan.
The imaging-first principle is not just a procedural preference. It reflects the physical reality of how read/write heads fail. A head that is partially functional can still sweep across most of the platter surface on its first few attempts. Every additional attempt after that risks the head contacting the platter, scoring the magnetic layer, and destroying data that was readable moments before. Restraint, in this context, is a technical strategy, not passivity.
For anyone in Los Angeles dealing with a clicking drive, Macwest Data Recovery’s combination of free diagnostics, same-day availability, and a no-recovery, no-charge policy removes the financial risk from the decision to call a professional. Since 2006, the team has handled the full spectrum of mechanical failures, from simple firmware recoveries to multi-platter transplants on enterprise RAID arrays.
Macwest Data Recovery: same-day service for clicking drives in Los Angeles
When a drive starts clicking, the window for recovery narrows with every power cycle. Macwest Data Recovery offers Los Angeles residents and businesses a direct path to professional-grade recovery without the uncertainty of DIY attempts: free diagnostics, a no-recovery, no-charge guarantee, and same-day appointments for urgent cases.
Hard drive data recovery services at Macwest cover the full range of mechanical failures, including head crashes, spindle failures, PCB corruption, and firmware-zone damage, across HDD, NVMe SSD, and RAID (0, 1, 3, 5) configurations. The team also handles logic board component repair for cases where electronics failure is part of the problem.
To get started: pack the drive carefully (anti-static bag if available, padded envelope if not), call 310-866-0828, and bring it to 12041 Wilshire Blvd, Suite 26. You will leave with a written diagnosis and a clear quote, and you pay only if data is successfully recovered. For a broader look at data recovery options in Los Angeles, including RAID and SSD cases, the Macwest service overview covers the full scope.
Sources
- Hard drive clicking: data recovery and diagnosis (2026) – Save My Disk
- Hard Drive Clicking: Normal Noise vs the Click of Death (2026)
- Cleverfiles
FAQ
Can data be recovered from a clicking hard drive?
Yes, in many cases. Recovery success depends on how quickly the drive was powered off and whether the platters have been physically scored. A drive that is powered down promptly and sent to a professional lab with an imaging-first workflow has a meaningful chance of partial or full recovery.
Can a clicking hard drive be repaired?
The drive itself is rarely returned to working condition after a head crash or mechanical failure. Professional labs focus on recovering the data, not repairing the drive for reuse. Head swaps and platter transplants are performed to enable imaging, not to restore the drive to service.
How much does it cost to recover a clicking hard drive?
Costs vary by damage type, with logical and firmware repairs generally less expensive than mechanical fixes like head swaps or platter work. Macwestlosangeles offers free diagnostics and a no-recovery, no-charge policy, so you receive a written quote before any paid work begins.
Can you fix the click of death yourself?
Safely, only if the drive is still detected and you can run a read-only forensic image with GNU ddrescue before the clicking worsens. Any method that involves opening the drive, freezing it, or writing to it carries a high risk of permanent data loss. If the drive is undetectable or the clicking is intensifying, DIY attempts are not recommended.
What causes a Mac hard drive to make a clicking noise?
The most common cause is read/write head failure, where the heads cannot locate the servo tracks on the platters and reset repeatedly. Other causes include firmware-zone unreadability, spindle motor stress, PCB corruption, and, in cases involving a drop or impact, a head crash where the heads have made direct contact with the platter surface.